Monday, January 2, 2012

Christmas Crafting and Channeling my Inner Martha

I use Stumbleupon a lot for finding crafts.  I use it the way people use Pintrest, which I have never really gotten keen on.  I just keep folders and bookmarks to delineate the different types of crafts.
So, let's just get to it, eh?
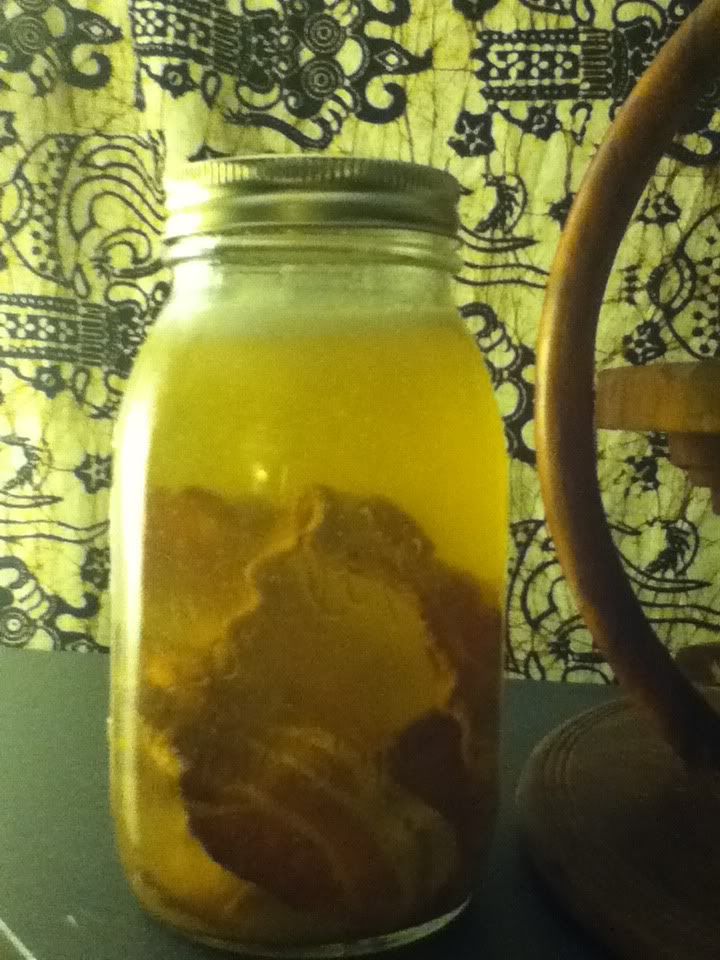
Bacon Vodka in the making!
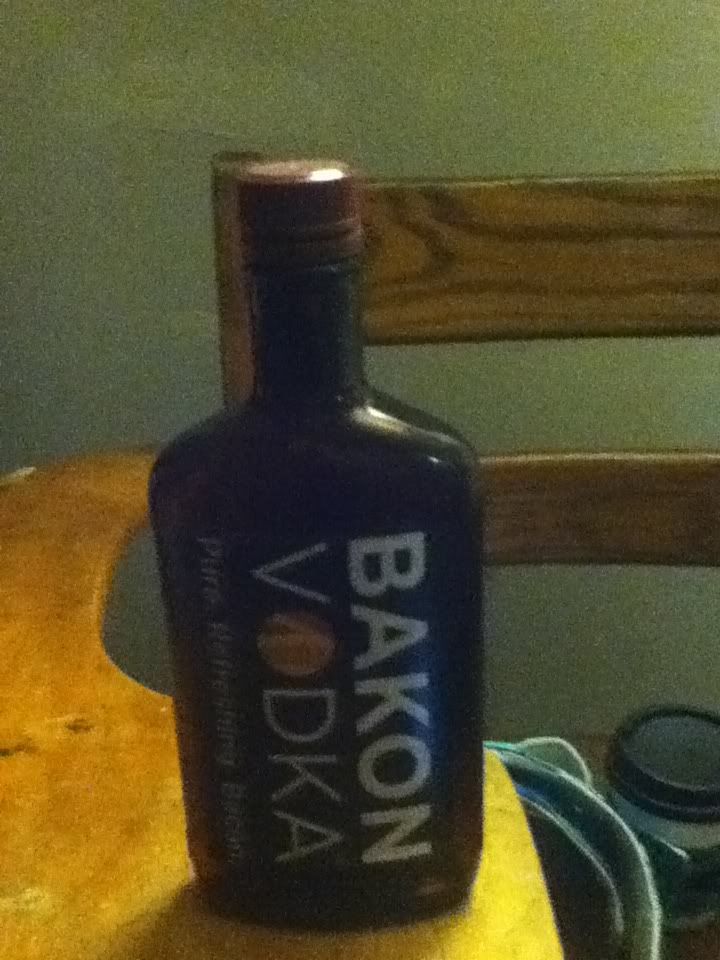
Label I made for the Bacon Vodka, using an old
Seagram's bottle.
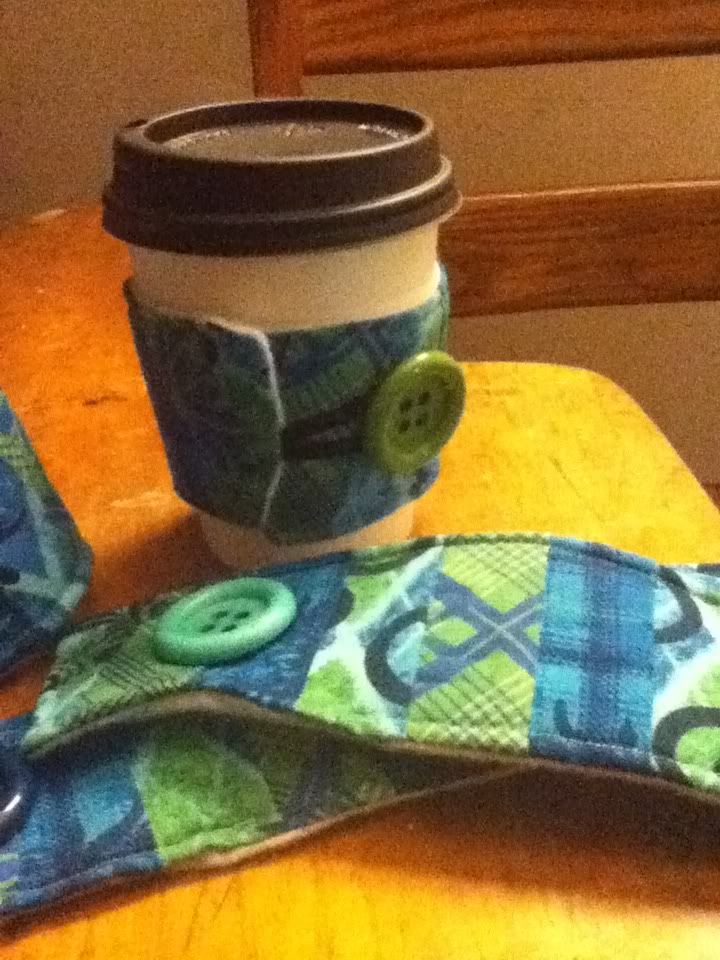
Coffee Cup Cozies.  LOVE these!
The bacon vodka sounds gross, right?  It even looked gross while it was extracting pure bacon awesomeness into the alcohol.  It took 3 weeks, but when it was suitable to be imbibed, boy howdy was I happy!  It makes awesome Bloody Marys and I even used it for a bacon chocolatini!  The bottle was an up-cycled Seagram's 7 container.  I used a homemade Mod Podge to seal on the front and back labels.  The back label is completely customized for my brother-in-law.  I put all the makings for Bloody Marys into a basket for his gift.  It was SO fun.
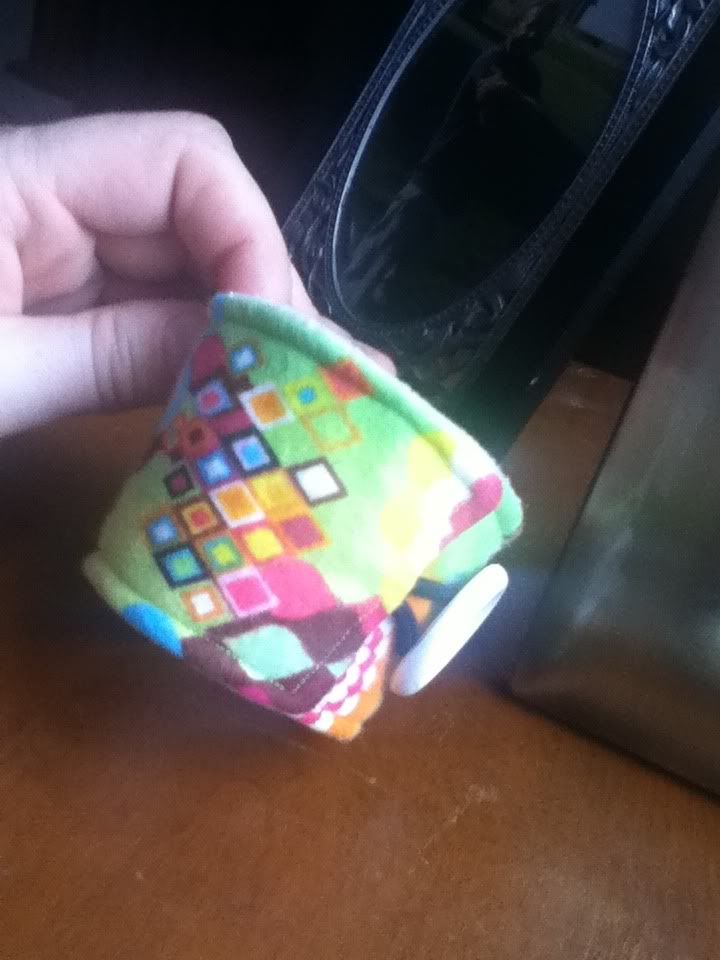
Another style of Cozy.
The coffee cozies were frustrating at first to figure out how to sew, but after the first few ones, I got better.  As with most things.  I love using these and I keep one on me at all times.  It makes me feel so trendy and cute...both things I seem to be lacking in day to day existence.
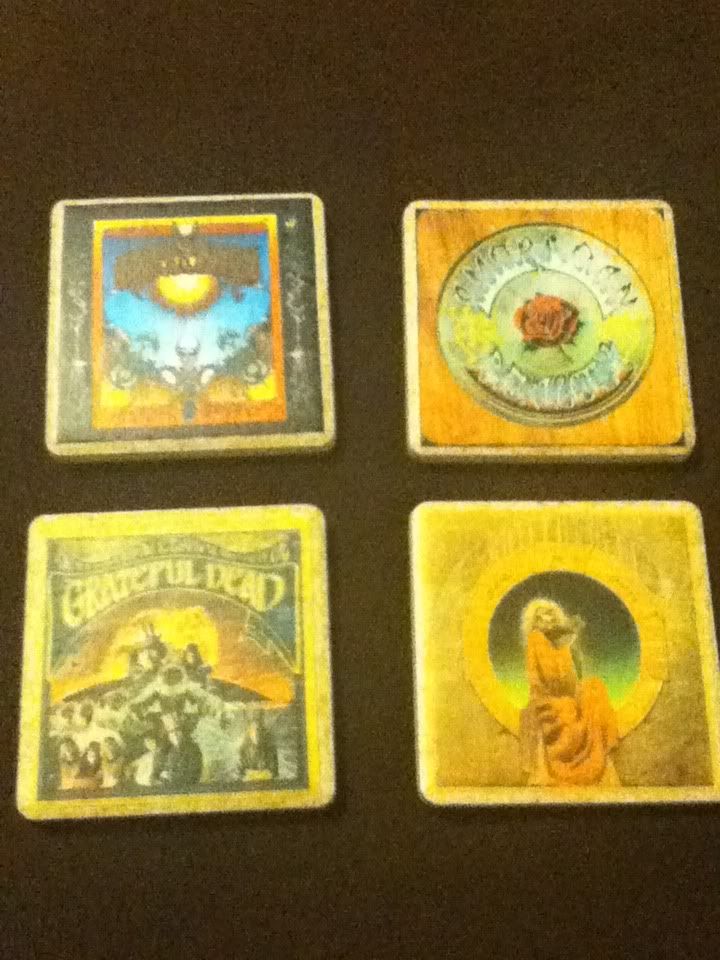
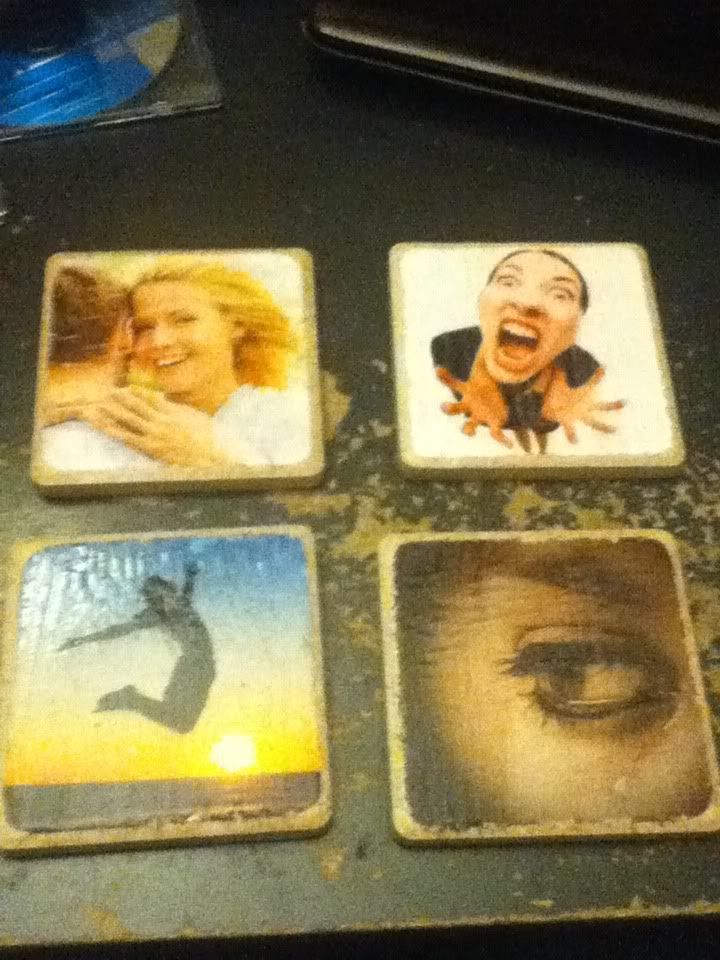
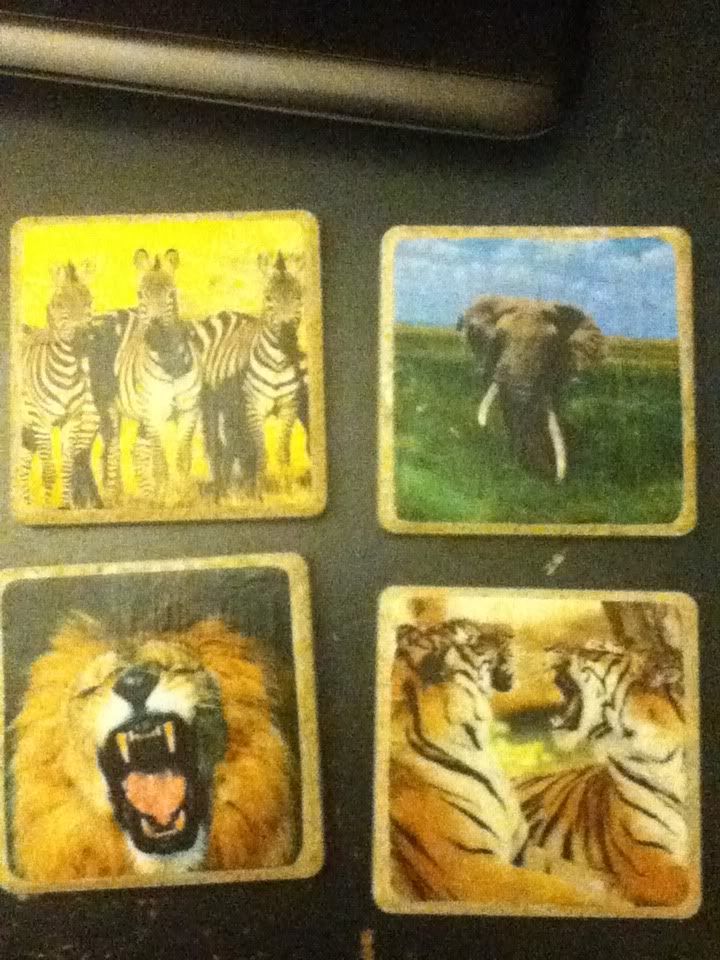
The tile coasters were time consuming but very gratifying.  I used Mod Podge to seal the pictures on, and sprayed them with resin to keep them sealed tight.  They are great because it's simple to customize them perfectly for whomever you wish!
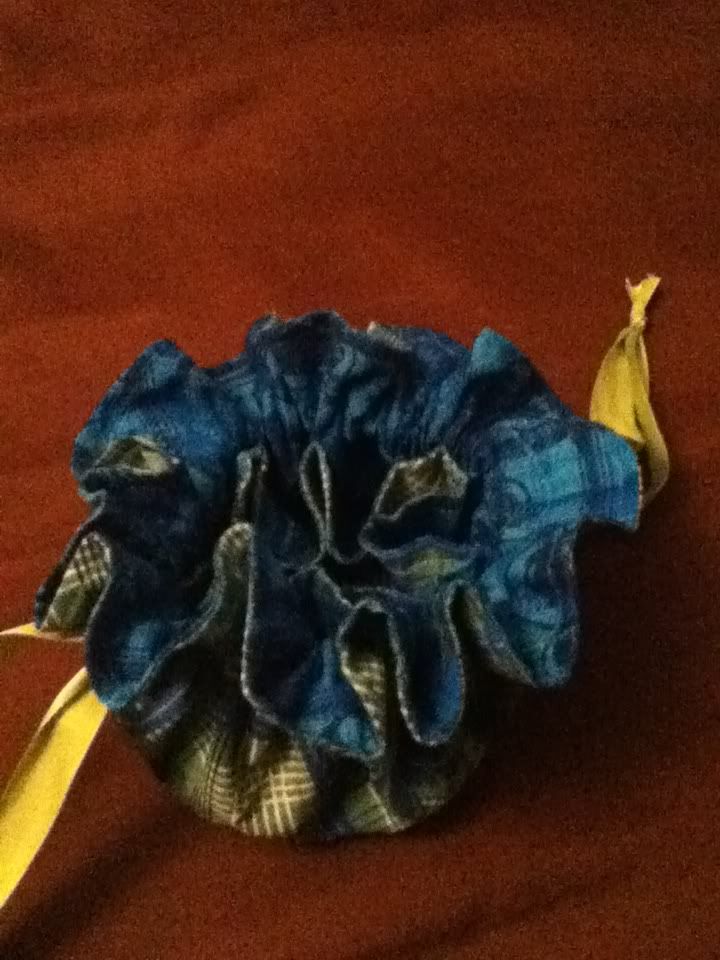
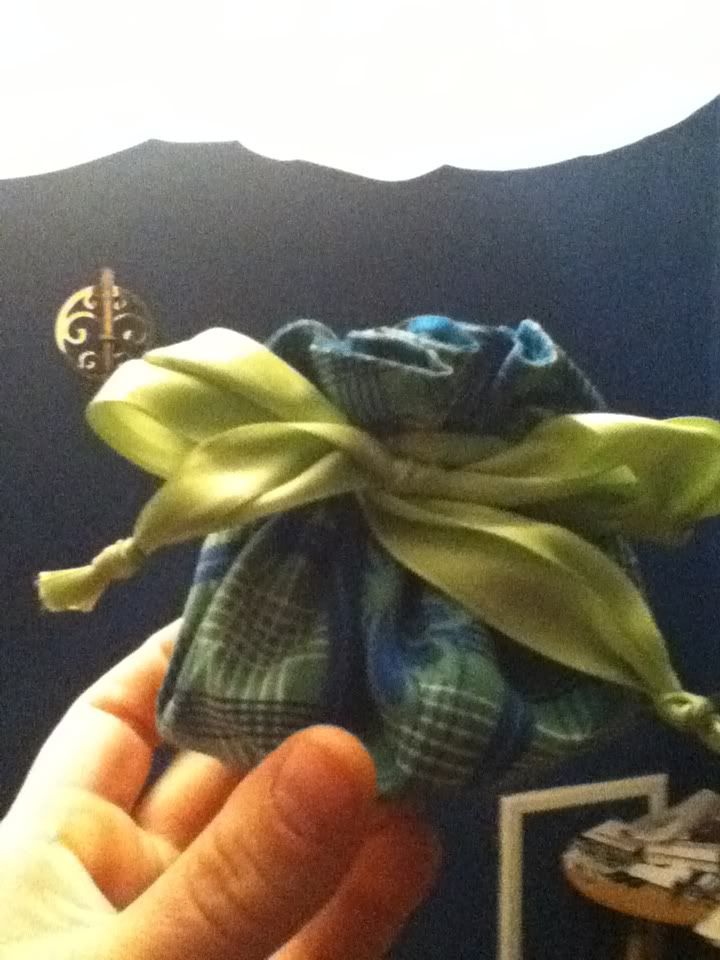
The jewelry satchels seemed to confuse everyone until I explained to them.  You know when you go somewhere for a few days and you want to bring your necklaces, so you toss them in a ziplock or just into a smaller pouch in your suitcase, and they get all tangled and it's a total pain to separate them?  Well, these satchels have 8 pockets inside that are the perfect size for your necklace.  One necklace or bracelet into each, toss some earrings or whatever into the center, and tie it up tight.  No tangles, no mess, and it's TOO stinking cute!  Well, at least I think it is!
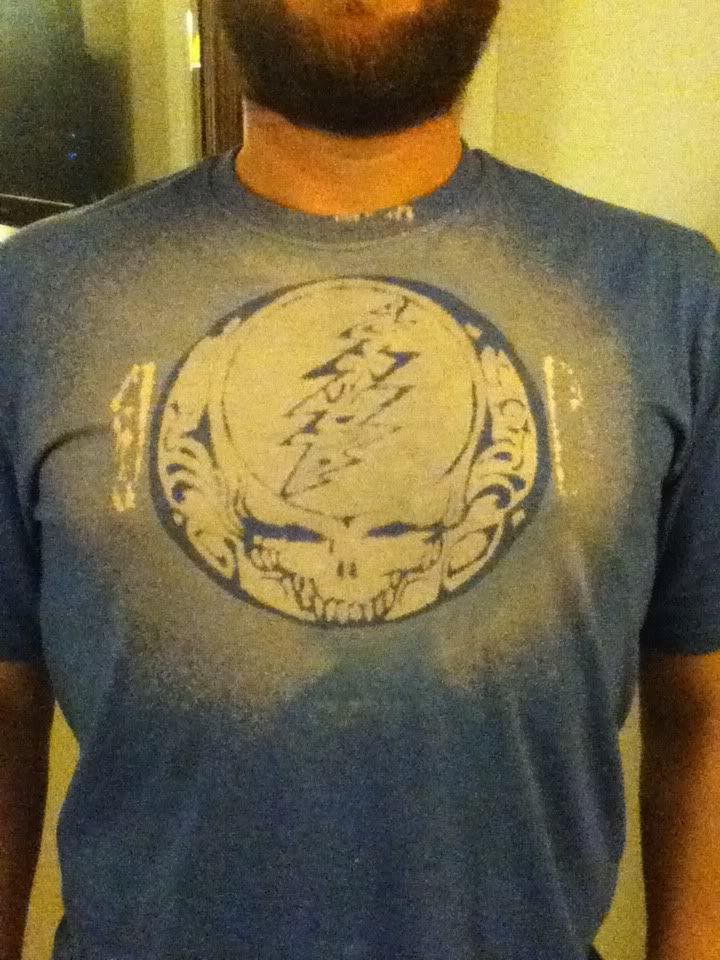
Oh, the freezer paper stencil shirts!  I am totally in love with these.  Freezer paper is CHEAP, and you can cut a stencil and iron it into place wherever you want.  I made the Steal Your Face shirt for my hubby using bleach spray instead of paint.  You can tell I goofed a little, but he doesn't mind.  I made a few other shirts for him in this manner but I haven't taken pictures yet.  Maybe next post, I will.  I love customizing clothing.
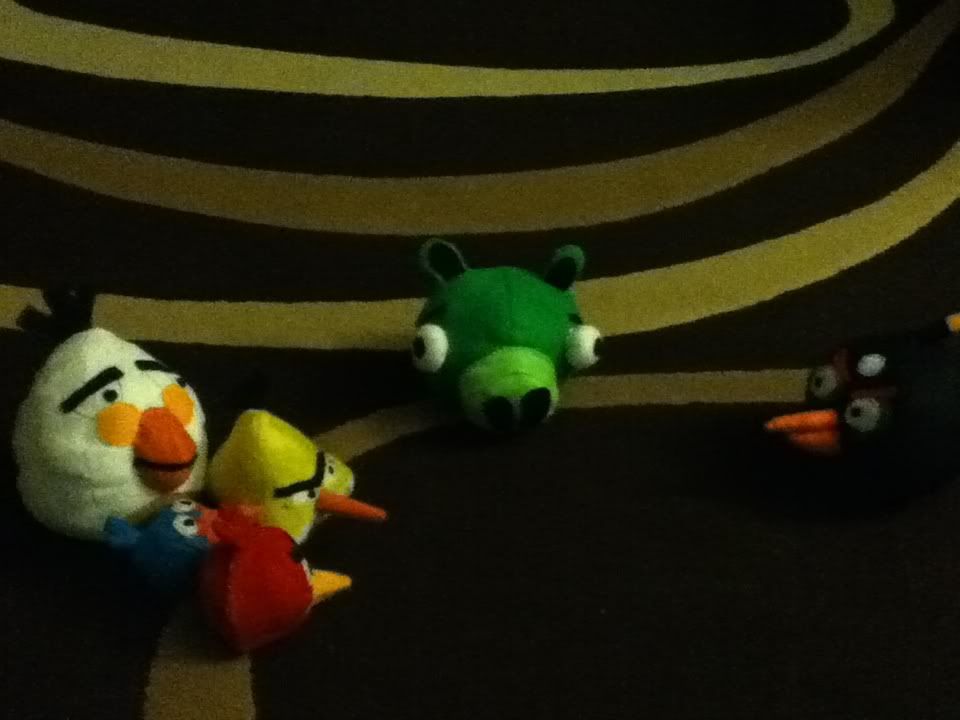
The Angry Birds were my favorite gift this year.  Stinkie loved them.  I made them during his naps and at nighttime.  Total cost?  Maybe $10.  Maybe.  And I'm totally mom of the year now.  He is getting to be a really good aim, practicing in the morning and night on knocking Pig off his dresser with his Birds.  THEY ARE SO ANGRY!!  I was giggling the whole time I made them.
Yeah, my kiddo is too cute.

I made some other things that I didn't get pictures of.  I made a set of candlestick holders out of candy canes and ribbon (and of course, hot glue).  I made a few scarves that never got pictures taken of them.  I think I am now fascinated by felt flowers.  I am having such a superb time with it all!  I also made my husband an applique'd handprint canvas for the wall, with our three handprints.  He seriously thought it was so precious that he nearly cried.
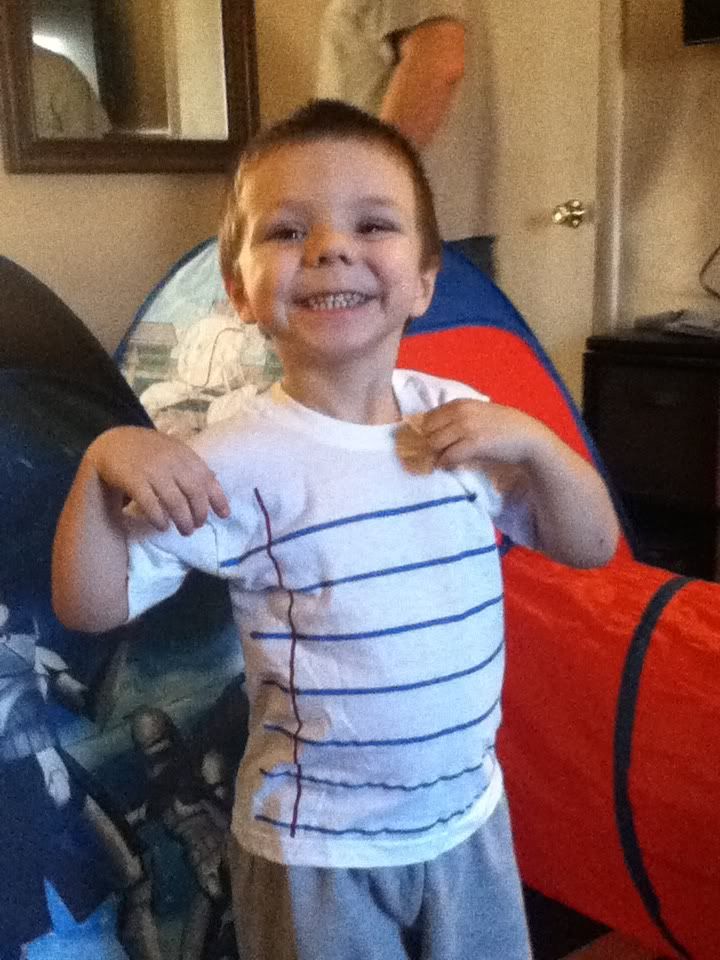
Yesterday I made a little crazy paper toy thingy (I know, right?  So graphic, you can almost see it), a notebook paper lined t-shirt for The Boy using painter's tape and paint, and a Yoda snowflake.  I really need to take pictures of this stuff.  Today I didn't craft anything.
I have a cake this weekend for a first birthday for the cutest little dude.  YAY!
Till next time, internet warriors.
Grateful Dead album cover tile coasters.
Emotions tile coasters.  Love, Anger, Joy, and Grief.
African animals coasters
Jewelry Travel Satchel.  See the little pockets?
Jewelry satchel all closed up.
Freezer paper stencil/bleach t-shirt for my hubby!
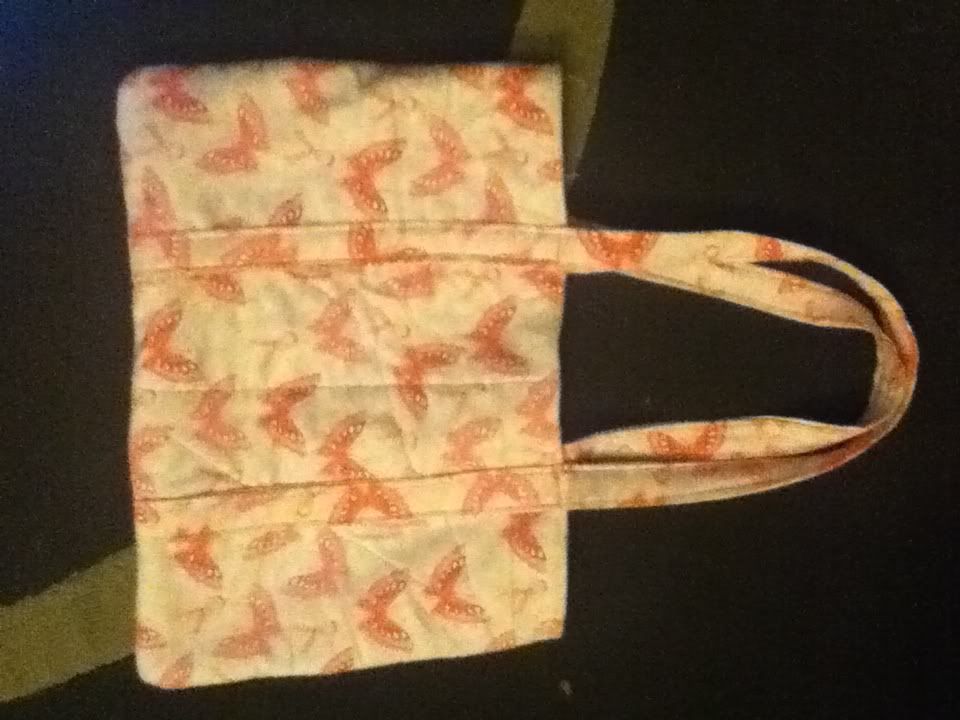
Laptop bag for myself...I had to make something for me!
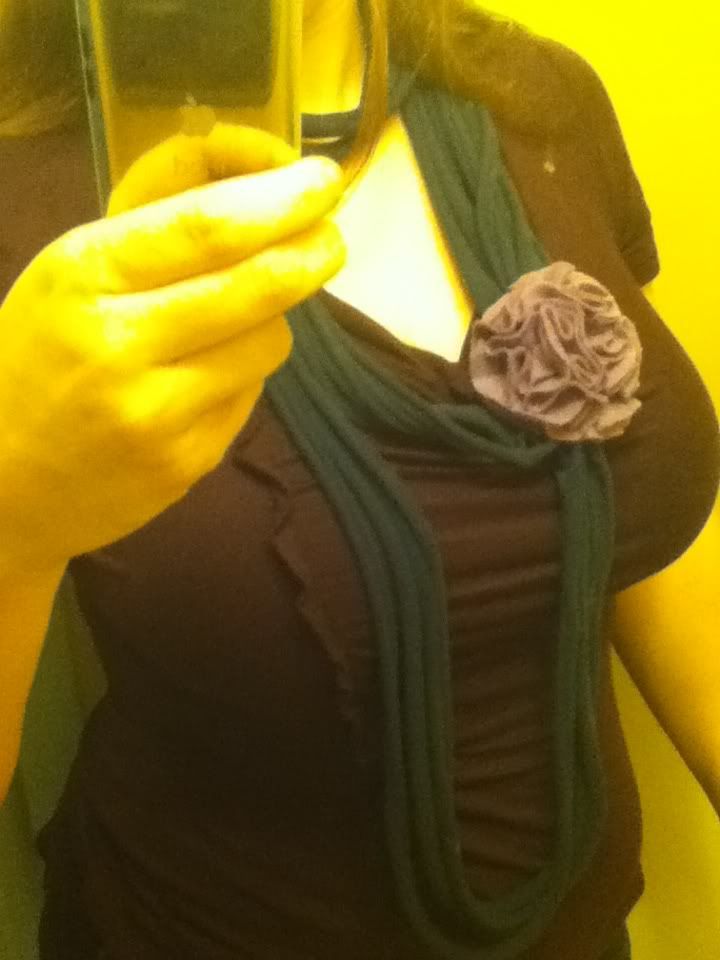
One of my t-shirt scarves.  I made several.  I love them.
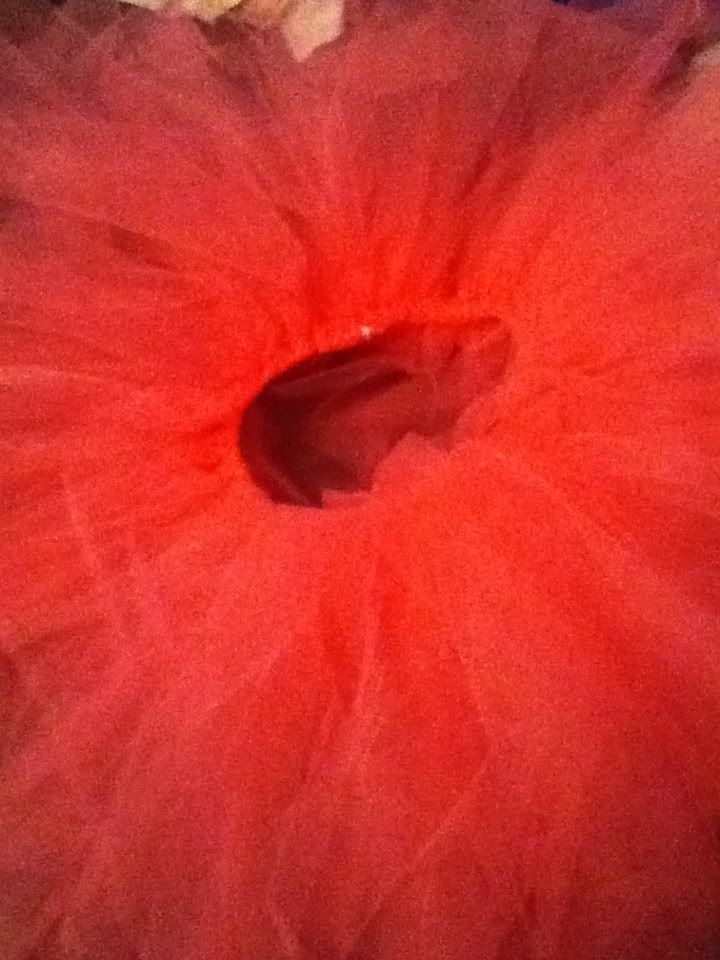
No-Sew Tutu for a Little in my life!
Felt Angry Birds for my kiddo.  He loves them, and they are
good for working on aim!
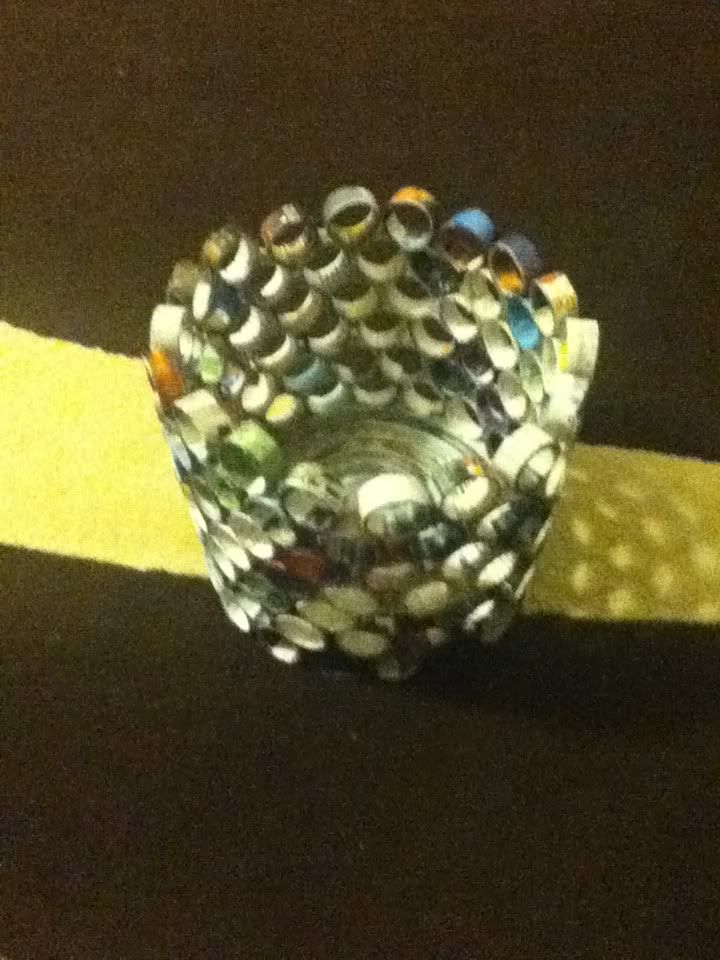
Wastebasket made out of magazines and hot glue.
Sandwich/snack holders made out of old milk jugs.

Sunday, January 1, 2012

I'm back!

The holidays are simply craft crazy for me.  I had a wonderful time this year, though it did mean that I slacked off on making cakes.  There are a couple there, but really I just focused on making special things for all the special people in my life.  Here is a brief photo catalog of what I've been up to.  Please excuse the quality of the photos - they say that the new iPod touches take the best pictures...bah!
I'll post the cakes in this entry, and the awesome craftiness that is my Christmas presents in another post.
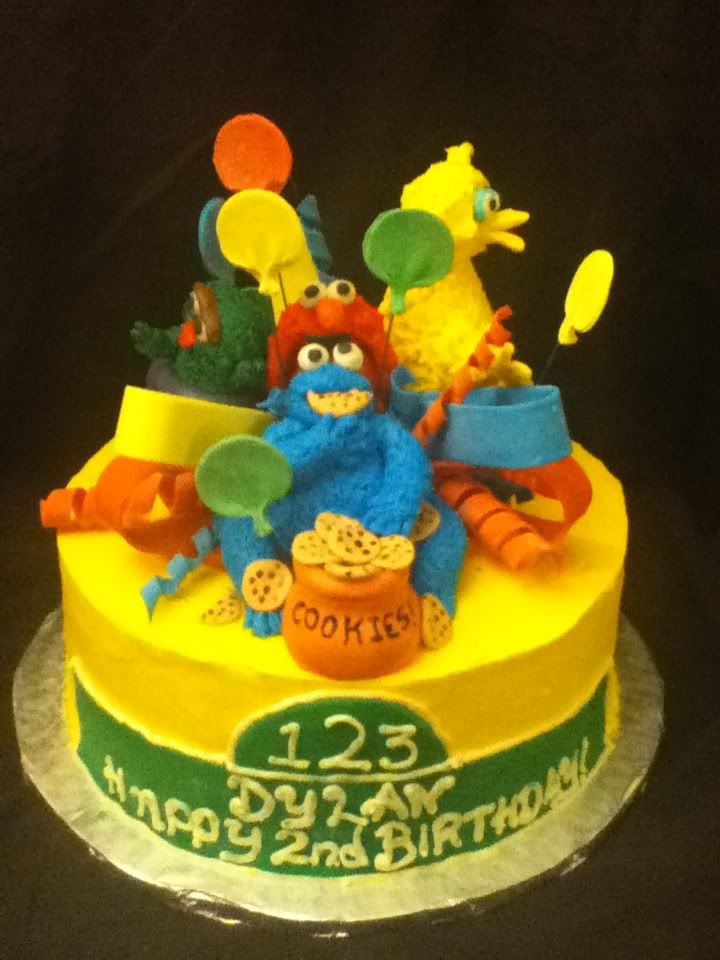
Sesame Street Cake for Cartwheels and Coffee
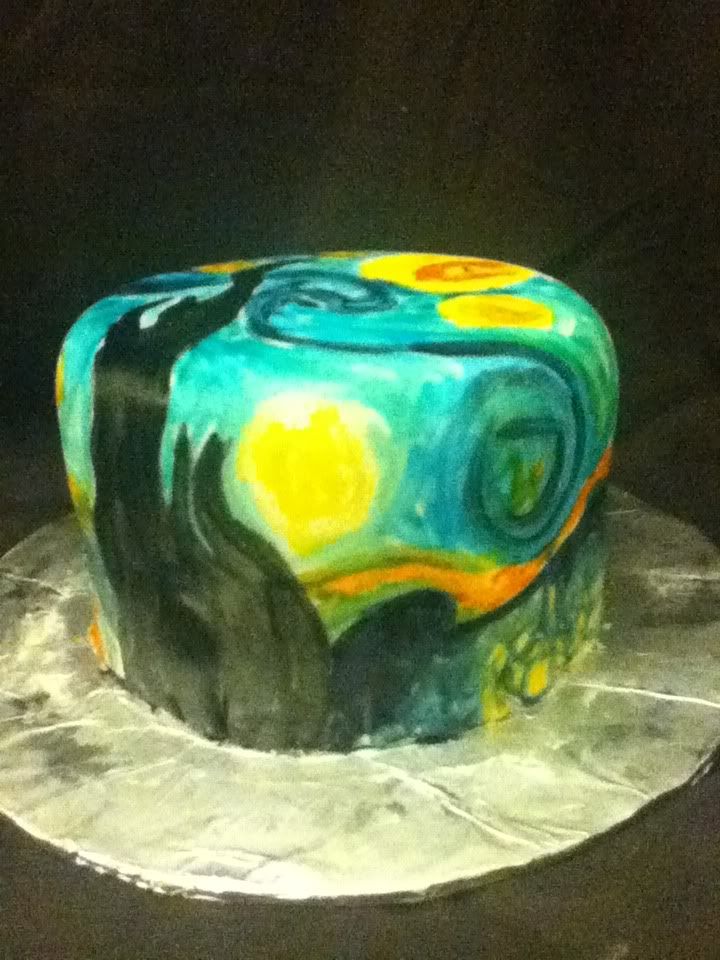
Van Gogh Starry Night cake.  Painted fondant.
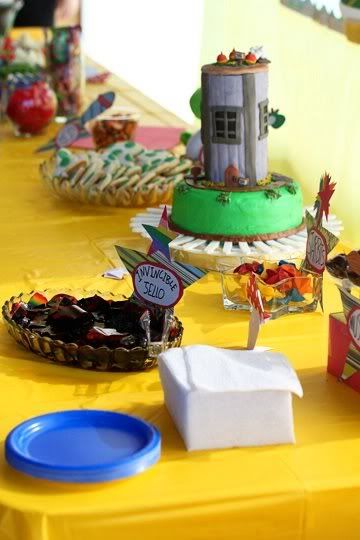
The spread at my kiddo's 4th birthday!
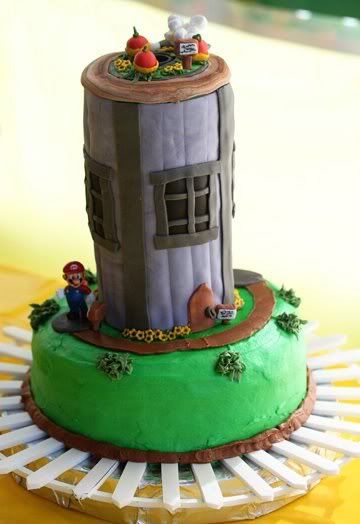
Super Mario Cake for my son's 4th.
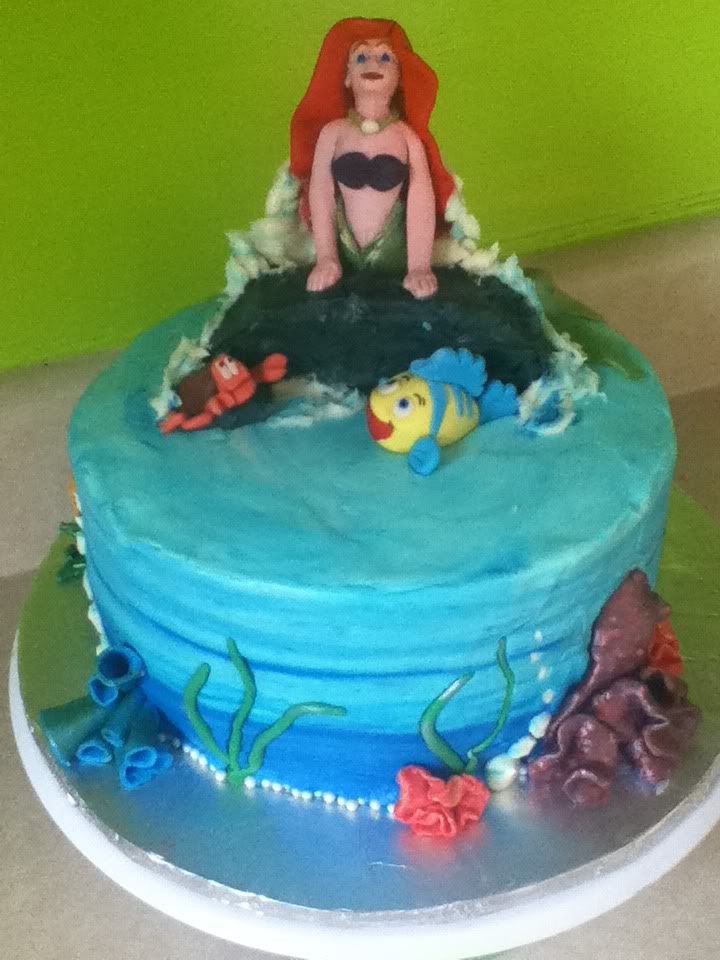
The Little Mermaid cake, made with my super cool new fairie mold!
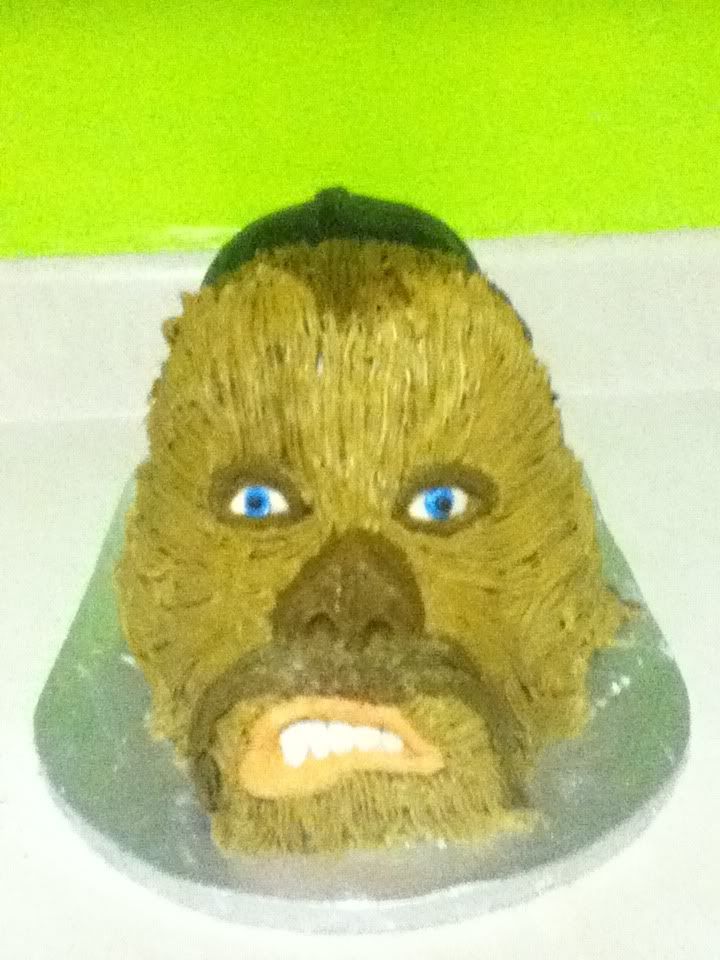
Chewbacca - my first 3d face
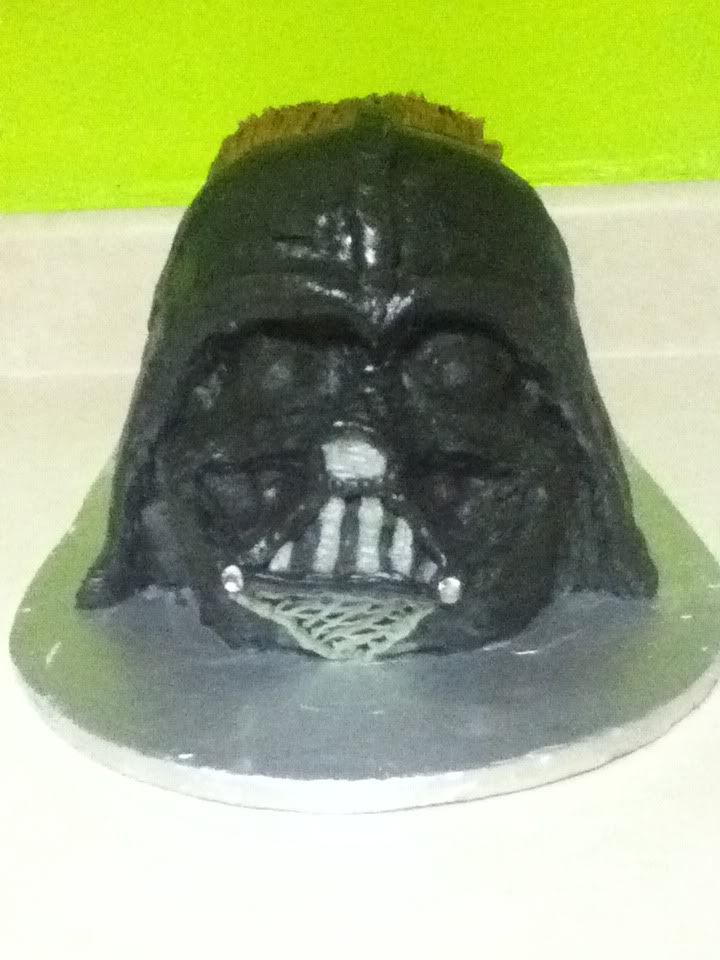
Other side of Chewbacca - Darth Vader, in buttercream.
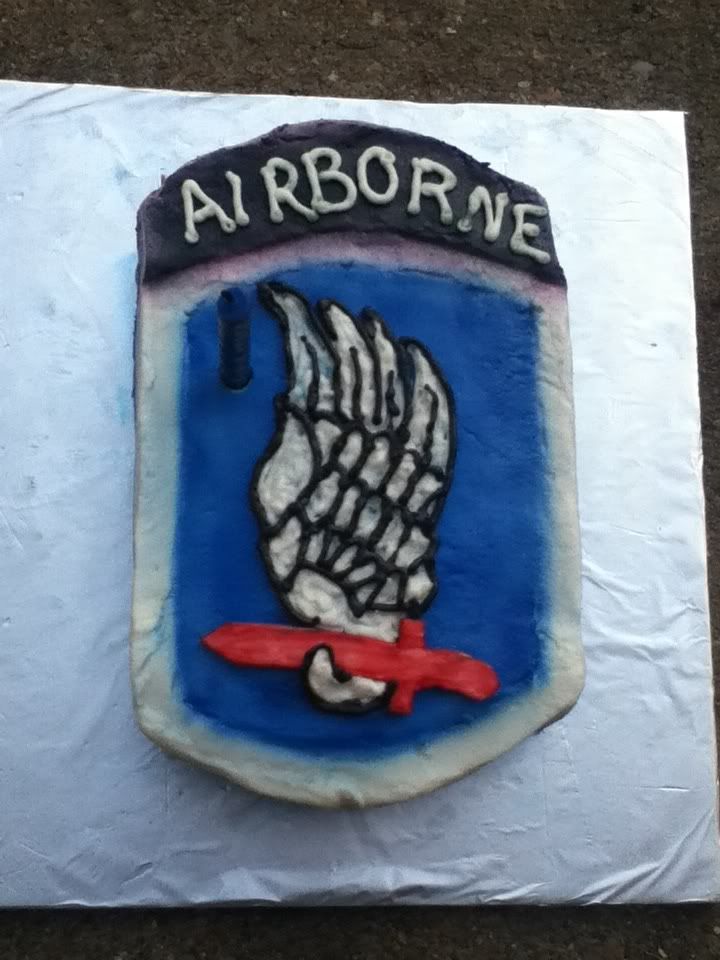
173rd Airborne pin re-creation for my Father-In-Law
 and my first use of the airbrush.
Thomas the Train cake for Cartwheels and Coffee.
Baby Shower Present cake.
I had such a wonderful time doing all of these.  My new doll/girl/faerie mold has been most fun.  The Starry Night cake was an incredibly freeing experience.  I have always loved that painting, so to try to re-create it was fascinating.  I did get a new airbrush from my wonderful hubby.  My first attempts to use it are very... unpolished looking.  There is definitely a learning curve!  I did use it to to a pearlized look on the Baby Shower cake, and that was easy.  The Mario birthday party was SO much fun to put together, I think it deserves its own post.  I used the checkerboard cake pans my Mom sent me, so the insides are blue and red.  Too fun.  I was most disappointed in the Darth Vader cake.  I kept messing with it and eventually just made myself stop touching it.  I couldn't even find a Darth Vader cake done in BC online  though.  They are all made with fondant, and with good reason!  What a pain in the rear!  Chewbacca's expression made me chuckle.  The birthday boy asked his mama if it was real...he thought I had lopped off Chewie's head and served it up!  He did get over that though in time to let everyone know Chewie was just cake and stuck his fingers right in!
A whole lot of typing.  I hope I haven't bored you!  Next time I sit down to type another novel, it probably won't even have anything to do with cakes at all.  I've started to realize I have an inner Martha Stewart that is dying to come out.  Today alone I have made two crafts.  I may have to join C.A...Crafters Anonymous.  Till next time, toodles!

Sunday, October 30, 2011

My cakes are now in Photobucket!

Hi! I lost my home computer a while back and now I have to use my iPod to post. It is very wonky and difficult to use, so for the time being, I am going to simply upload my cakes onto Photobucket. Here is the mobile site.  Here is the PC site.
Thanks everyone and have long days and pleasant nights!

Thursday, September 8, 2011

American Girl and Calla Wedding Cakes!

It's getting late and I'm rushed to get this post written, so I'm sorry for my brevity.

The first cake here is an American Girl cake.  It's yellow cake with vanilla buttercream frosting and filling, and gumpaste and fondant topper and fondant diamonds.  The "pearl" necklace is non-pariels, painstakingly put in place one by one.  It was a fun cake and I loved making it!  The photo is a little blurry, but the bag says "American Girl" on it.

This cake was for my husband's Godmother's wedding last weekend.  It is Deep Chocolate and Yellow Almond cake with vanilla buttercream filling and marshmallow fondant.  The flowers are all hand made, about 40 of them, out of gumpaste.  Getting the dark blue color was difficult, so after making the flowers, I used Wilton spray to get them a more vibrant shade of blue.  For the berry colored flowers I painted over a more matte color after the flowers were formed.  The stenciling was done with matching buttercream.  This was my first attempt at stenciling and I was pleased with the outcome.  The wedding was beautiful and the cake was delicious.  The bride said of the cake: "That was the best cake I've ever put in my mouth!"  What a wonderful day.  Congratulations, April!

Friday, August 26, 2011

Thomas the Train!

Here's another cake I made for Cartwheels and Coffee.  Stinkie was dying to put the train on the cake...so I LET HIM!  He was so careful and did such a great job, don't you think?
The cake is Chocolate Sour Cream cake, a new recipe that I am in love with that bakes up like a dream and tastes lovely.  The filling and frosting are vanilla buttercream, with fondant accents.  Everything is edible except the Happy Birthday sign and the Thomas, which I got on sale at Walmart for $3!  It's not the regular Thomas train for the tracks, though.  It's...wait for it....MEGA BLOCKS!  It comes apart into 5 pieces.  Stinkie loved it but I wouldn't let him play with it.  I hope James has the best birthday ever!  The party is tomorrow morning.
  This was my first time doing a spiral carving on a cake, so it was a little nerve-wracking.  Thankfully, I had to carve out enough cake so there was a lot of "leftovers" to snack on!  The technique ended up being pretty simple and I didn't have too stressful a time with it.
The hardest part of this, believe it or not, was the mountains.  The funnest part was the clouds.
HAPPY BIRTHDAY, JAMES!

Sunday, August 14, 2011

I haven't posted in a while!

I'm pretty pooped out from dancing all night last night at a FABULOUS wedding, so this is going to be brief.  I took a cake hiatus to prepare myself for this coming month.
Last night I did my second wedding cake...well, it was kind of my first since this was the first one I was paid for.  It was SO stressful but I did like that it came out looking like the picture the bride provided and that the tablecloth I made fit so well!


Hm.  Let's see, did I make any cakes since the Father's Day cake?  YES!  I made a cake for my Father-in-Law's birthday.  It was a fun little cake and it was completely custom.
I don't know that I can go into all the details that made this cake perfect for him, but I'll tell you what it is.  It's him sitting in his LaZboy with his headphones on, knitting a new car.  Around him are three of his grandchildren (he is raising the two girls with my Mother-in-Law) causing mayhem.  He is smiling.  It's like cracking a code...but MIL LOVED it and FIL saved the topper!  Here he is...see the resemblance?


Wednesday, June 29, 2011

Happy Father's Day!

This was a quick and fun little cake to do to show a certain special someone how loved he is!  I saw a cake with generic handprints on it while browsing Father's Day cakes on Bing images.  It's just a one layer yellow cake with vanilla buttercream frosting.  The decorations?  Actual handprints from his 3 of his 4 kids and wife (the youngest was sleeping when they came by).  I frosted the cake and let it crust, then pressed their hands into the finished frosting layer about 2cm deep.  Then I painted the buttercream indents with colors they chose beforehand.  It was fun and easy.  What a cute cake!  I didn't have a chance to photograph it, but I got a few pictures they posted for me on Facebook.
Happy Father's Day!

Congratulations, Class of 2011!


  This cake was inspired by another cake of mine from back in 2009 (maybe early 2010?)  The graduate-to-be's school colors were blue and green, and she informed me she is "In Love With Pink".  She was so cute!  She wanted yellow cake with fondant, so I got going on it and cranked out this fun, whimsical cake.

  It's been a while since I did fondant, and I realized yet again that while I don't ejnoy cooking with a microwave, they really are quite useful for warming fondant for easier rolling and for making it have more elasticity.  I think I will have to finally cave and buy one for cake use.
  My camera batteries died the second I tried to take a picture of this cake, so I was stuck with a very bad picture taken with my webcam.  Thankfully, my client agreed to send me a couple of pictures she took so I'd have something to show here.  Thank you!
  I tried to make up a decent sugar-free cake recipe for the top tier, but I fell short after two completely botched tries.  The second one wasn't as embarassing, but still pretty bad.  I did purchase a huge bag of granulated Splenda and I plan on finding something that tastes as good as my special yellow cake...it's just going to take time and patience.
  Congratulations, Class of 2011!  You Did It!

Monday, June 13, 2011

Elmo on Safari with a Monkey!

This cake was made for a birthday party for twins at Cartwheels and Coffee.  I was told to include a monkey and Elmo and the colors pink and orange, so I came up with the idea of Elmo on safari, looking for a monkey.  The flowers and the bow in the monkey's hair fulfilled the orange requirement, and the pink car took care of the pink.  The waterfall was so cute and fun to make.  The rocks are brown/orange fondant rippled with brown gel coloring.  The cake itself is vanilla cake with vanilla buttercream frosting and filling.  Everything else on the cake is fondant and entirely edible.

I made the monkey using a tutorial online and I was very happy with how it turned out.  I love the bananas.  And I'm getting better at Elmo, as I've made the little stinker about 45,000 times now.  He really is the epitome of happy and glee, isn't he?  I have a pair of binoculars tucked under Elmo's hand in this cake.

Toy Story Cake

This cake is vanilla cake with vanilla buttercream frosting and filling, fondant accents, and plastic figurines.  The Toy Story logo is fondant that I made a week in advance to let it dry and harden.
It was a fun and straight-forward cake and I really enjoyed making it.  I got to go to the birthday party at Chuck-E-Cheese's and I got to see the birthday boy's face light up like a Christmas tree when he saw the cake.
I must start remembering to carry my cards around with me.  I always forget and there were many people asking for my information.

Saturday, May 28, 2011

Babybug Baby Shower Cake

Last week I released 1000 ladybugs into my aphid-ridden, tiny garden.  So it seemed fitting that this week's cake was a fun take on a ladybug.

  The cake is yellow cake with chocolate BC frosting and filling.  The face, antennae, and butterfly are fondant.
  I never thought much about how difficult it would be to sculpt a baby's face out of fondant.  I kept trying and failing miserably.  After an hour and a half, I had come up with a dozen or so ways NOT to do it.  Every face I made looked like an adult.  I watched YouTube videos and pulled up pages on CakeCentral.com but had no luck.  I just couldn't get the lips right.  So I finally tried something completely different and came up with the finished product here.  I think I can do better next time, but I think it looks pretty good and it's definitely a far cry from what I started with!

  I carved the cakes and did a crumb coat, which I usually don't do but this time I got the urge for ease.  I set the crumb-coated cake into the freezer for about 15 minutes before doing the final frosting.
  The antennae are fondant shaped on wires.  Pretty easy peasy.  The leaves the babybug is laying on are buttercream.  The butterfly was fun to make.  I love making butterflies.  This one I wanted to be simple and pretty, so I put a simple pattern on the back in a darker pink and sprinkled it with shimmer dust.  I added GumTex to the fondant so it would dry hard and set it to dry on balled up cotton.  It works well.

  My client loved it and said "It's PERFECT!" when she saw it, and made my day.  It was a fun little cake and I learned that I need more work with my sculpting.  I'm very much looking forward to this next few weeks and the cakes I'm going to do.

Friday, May 20, 2011

Tie Dye Cuppies and Mondavi

I've been on a cake hiatus of sorts, getting ready for a few big ones coming up and resting a little bit. 

Wednesday was Stinkie's last day of gymnastics class and he wanted to make cupcakes for all his little friends, so I let him pick four colors (pink, red, blue, and yellow) to make tie dye cupcakes with.  He helped me make the batter and spoon it into the muffin tins, then it was bedtime for him.  I took them out (they were so pretty!) and decorated them with a really simple swirl of buttercream using the same colors that were inside the cupcakes.  Then I went to the dollar store and bought a package of the little white wedding favor boxes, a package of spring inspired cellophane gift bags, and some foam stickers.  My original plan was to let Stinkie decorate the bags but it was late and I didn't want to hassle with it in the morning sooooo...I did it!  And dang it, it was FUN!  The cupcakes were just a little big for the favor boxes, but that made for a nice tight fit.  I just stuck the cakes in the freezer for 10 minutes to harden up so I could put them in without squishing the frosting.  Then I put the boxes into the bags and tied them up with the twisties.  I think they came out really great!
 
The Mondavi cake was a rush job.  I forgot about my brother-in-law's birthday until yesterday morning!  So I hurried to make two 9x13 chocolate cakes and frosting without even knowing what I was going to make out of them.  After talking with my hubster, I decided on a nice 1987 Cab Sauv Mondavi Reserve.  It's something like $200 a bottle.  The shape didn't come out like I wanted, but it would have been so small had it really been to scale so I went with oddly shaped.  I didn't even have time to cover the cake board...but I figured, it's for family, so that's okay! 

I thought I would have a really hard time with the label but it was actually really fun and I'm pretty proud of it, other than the little goof under the Mondavi title.

Wednesday, March 23, 2011

The Castle Cake that keeps on giving...

I have made a few of these cakes to where I now have them down to science!  The color for this was was to be Barbie Purple (or as the birthday girl described it, pink-purple).  Neither of the photos I took captured the color just right (flash and low light) but you get the general idea.
The shoes here were the color I was going for:


Yes, they are amazing shoes and the price is $129.  I looked them up.  Fabulous shoes.
Here's with the flash:

And here's without the flash in my low light house:

It was a pretty fun and easy cake and I loved making it!

Friday, March 11, 2011

Betty Boop-boop de doop!

Two fun cakes for one fun event!  This Betty Boop cake was requested by the client based on her photo.  It is yellow cake with vanilla buttercream filling and marshmallow fondant (MMF) frosting.  I thought the composition of this cake would be more difficult than it was.  It turned out to be pretty fun!  I have always loved Betty Boop!

The hardest part for me was getting the flesh colored fondant.  It was a total pain.  The red fondant should have been the hardest, but I made up a special batch just of the red and added all the coloring to the melted marshmallows before adding all the sugar.  That made things very easy there.  I used powdered red as well because it has no taste whatsoever and the Americolor Super Red because it has very little flavor.  I will never again use the Wilton no-taste red...it certainly DOES have a bitter taste!
I love her little eyelashes.

The second cake is yellow cake with vanilla BC frosting and filling.  I usually use the chocolate BC as the base for any black frosting, but this time I tried something I read on a caking website.  I used the Wilton Juniper gel color first (man is that an ugly color) and then used a bit of the Americolor black (just a tiny bit) and a package and a half of the Chefmaster black food powder.  It darkened overnight and turned darker still when it was warmed by my hands.  The hearts are simply fondant cutouts.

The picture I took used flash and it came out looking gray, so I took another quick snapshot of it next to my Adidas bag in natural lighting and it looks much more true to life.  YAY! Oh, and yes, that is one of my custom made, super sturdy crazy awesome cake boxes.  I rock.
These cakes were not as stressful as I had anticipated and I am very glad I got a chance to make them!