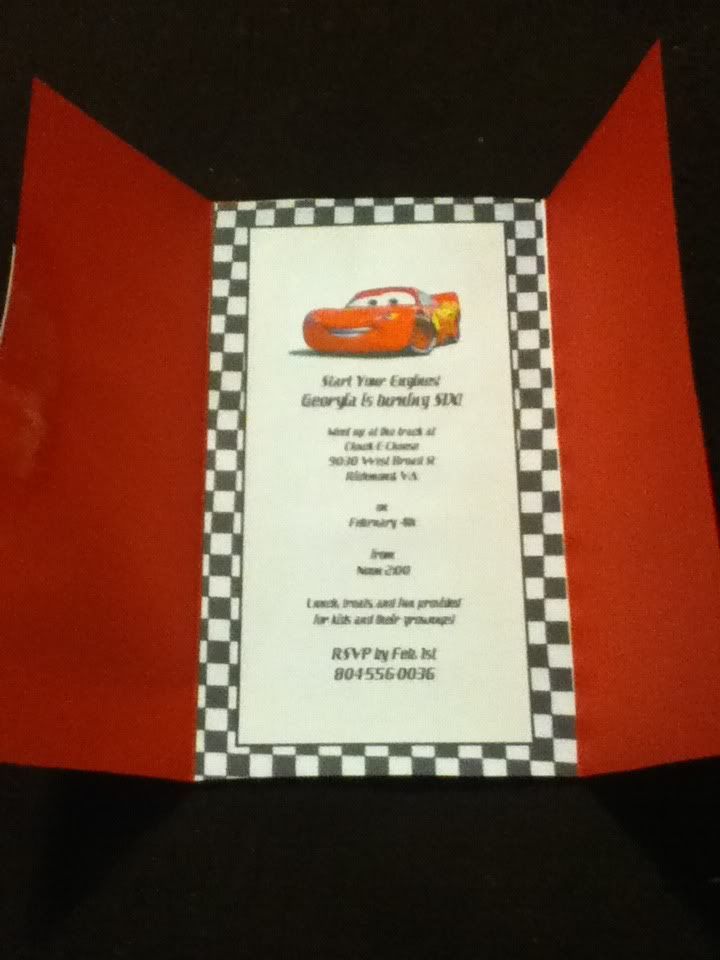
I started using Pinterest to keep track of ideas. The first thing is the invitation of course. I got my inspiration here. I am pleased with how it came out, though I'm sure they could have been nicer and I didn't include an envelope. They are pretty big too, like 8" tall and 4" wide. I like that though, it adds to the awesome. I made the insert on my computer using a really old program I had on hand called CD Stomper. It's a really cool program, but the downside is that you can't convert the file type (.cd2) to pdf for printing by, say, Office Depot. I printed off the inserts (2 per page) and cut them out. The red is just construction paper. I thought about buying red cardstock but DANG, I'm not paying $13 for 500 sheets of red paper when I only need 16. Cheapo here, people! The construction paper was $2 and I have half the pack left for other crafts. I cut the construction paper along the tall side to fit the height of my inserts and marked where to place the inserts. I used a glue stick for pasting and my scale (fancy engineer's ruler. I used to do engineer's work) to smooth. Then I used the scale to make crisp clean fold lines on each invite. The checkered "wrap" I just printed off using my computer and a Nascar .jpeg (here) and cut into 2" strips. I used the glue stick for those too.
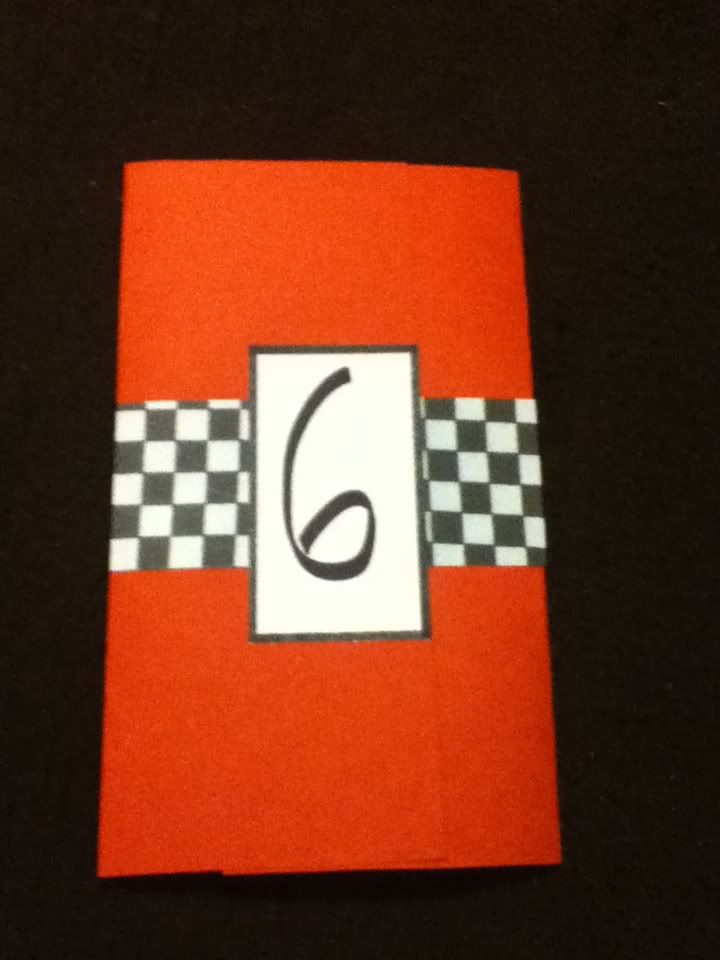
The "seal" is just some old blank business cardstock I used a sharpie on with my ruler to make the borders and then drew a 6 on, and separated then glued to the left flap. The whole invite is held closed with some light strength spray adhesive. I think it's a little too strong, and next time I would use something like maybe that blue tacky silly putty type stuff, or something that is specifically for this type of thing. We live and learn! Total cost for invites: $8 (estimate including ink, red paper, glue stick. I had the spray adhesive on hand)
The next thing is the party favors. Since we are having the party at CEC, I thought that having something to identify the kids among the masses would be good. I found the idea for pit passes on this blog and thought it was perfect. I love the color scheme there too, and it is what I went with for inspiration. I did want the passes to be more Lightning McQueen instead of generic racing, and that was easy since I was making them from scratch!
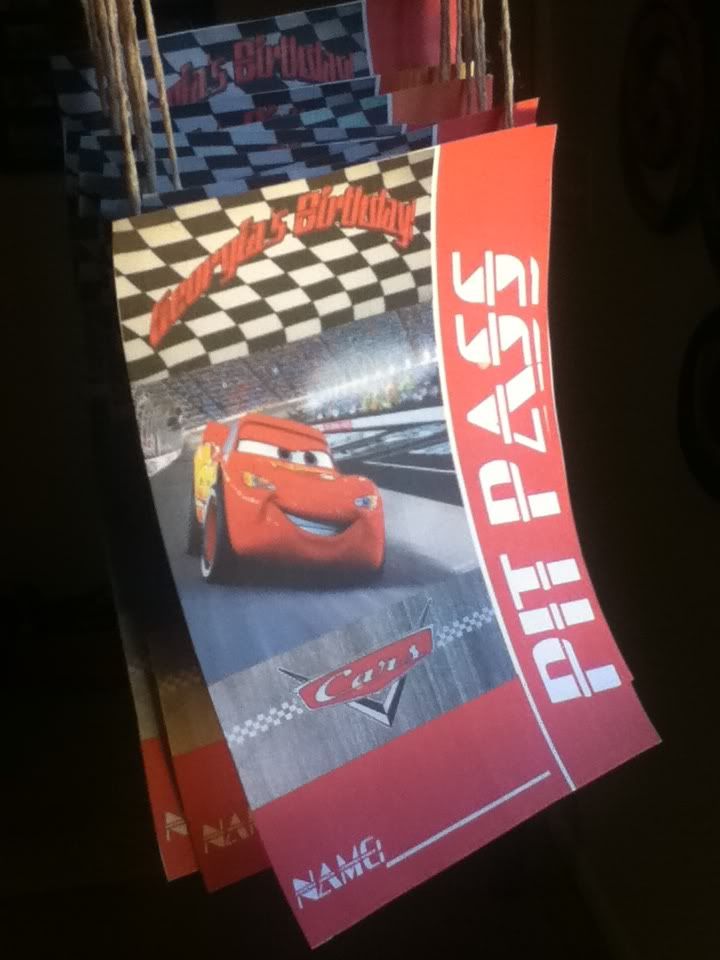
I used the CD Stomper program again...and ran out of red ink quickly! Holy cow! I need to get a program that makes stuff I can convert ASAP. After I got all the ones I could out of my printer cartridge, I hot glued some string to the backs. Easy peasy. Total cost: $0 because I had stuff on hand, but probably closer to $3 with ink and string included.
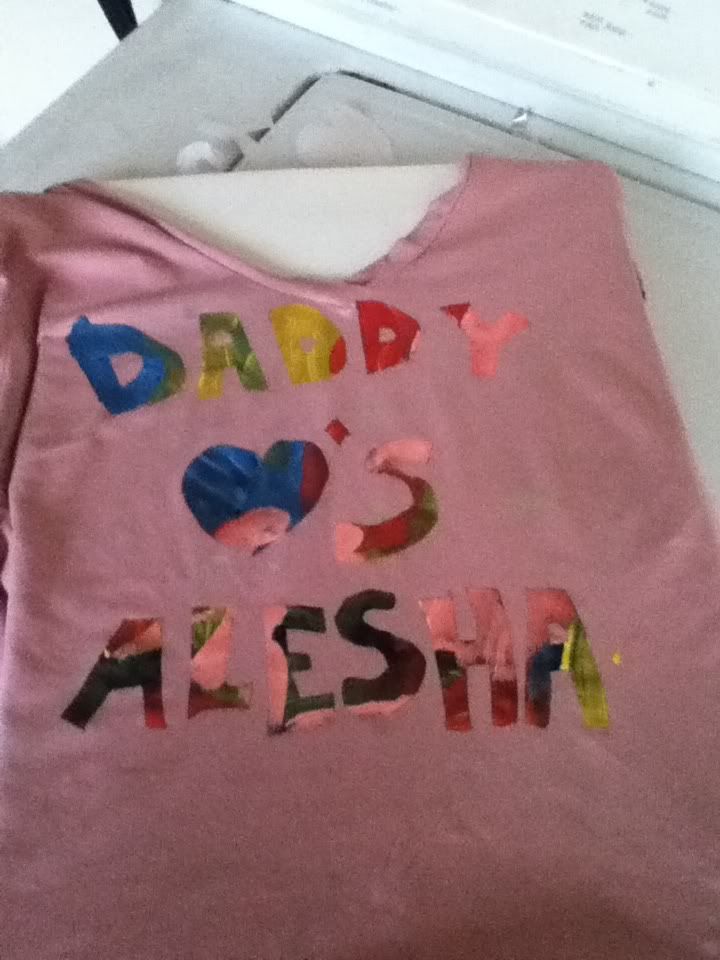
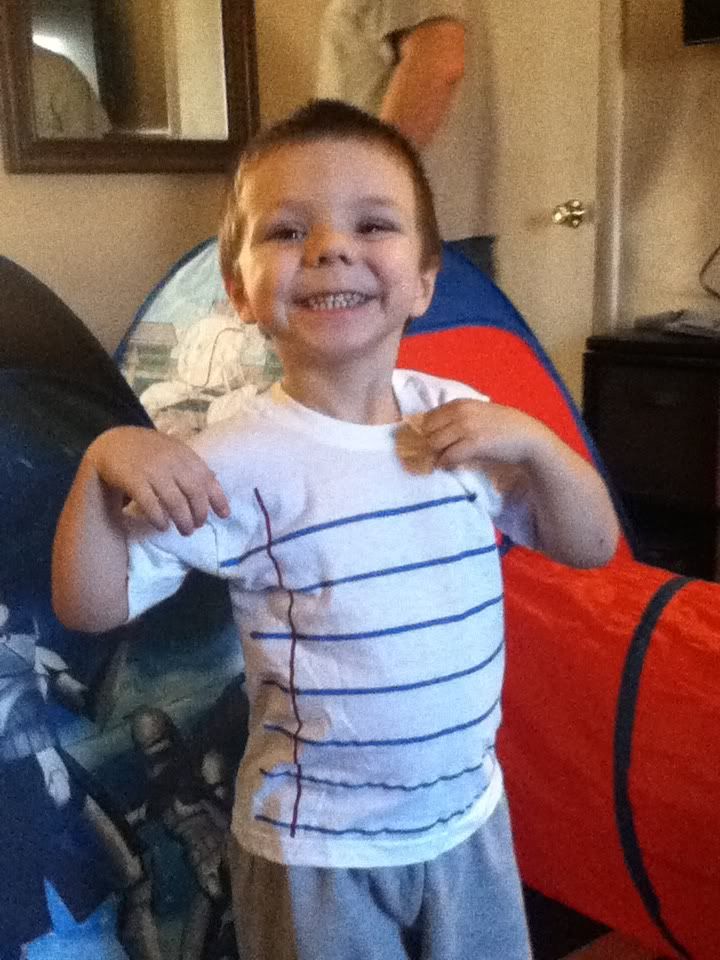
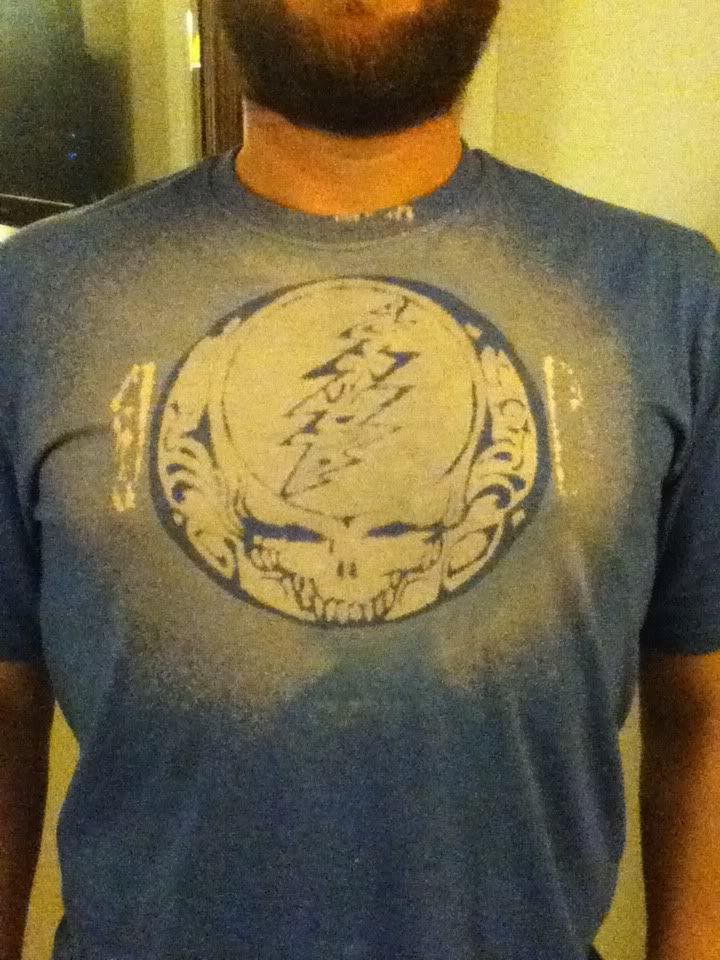
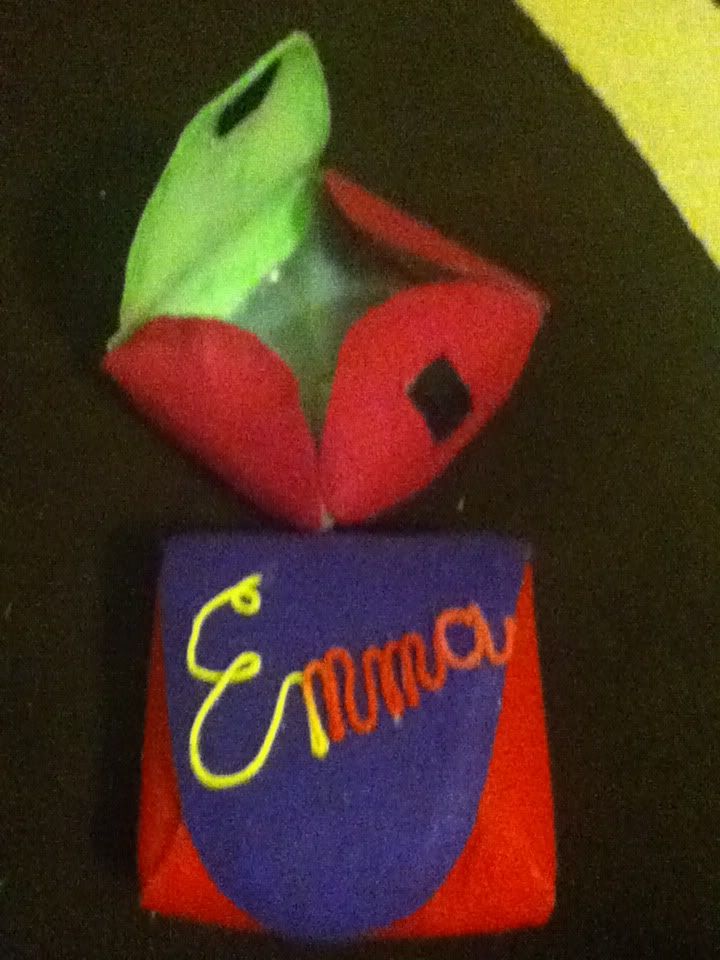
Dollbaby's Mama (SIL) and I thought it would be cool to do a craft, since the party is 2 hours and each kid only gets 20 tokens. The original idea was to have the kids paint their names onto shirts using pre-cut and ironed-on freezer paper stencils like I did with Stinkie here, but that is just too messy for CEC.... especially considering that the paint can't be washable! So we got together one morning with two Hot Wheels monster trucks, white t-shirts in sizes 4 and 5, freezer paper, Xacto blades, an iron, and some paint. First thing, we ran the trucks through some black paint and used the tires to make tracks. While those dried, we cut out names from the freezer paper. I just used a kids marker to write the names on. I ironed the names onto the shirts and SIL painted. She was so excited! It was her first time doing the freezer paper stencils and they are pretty stinking cool. This is how they came out:
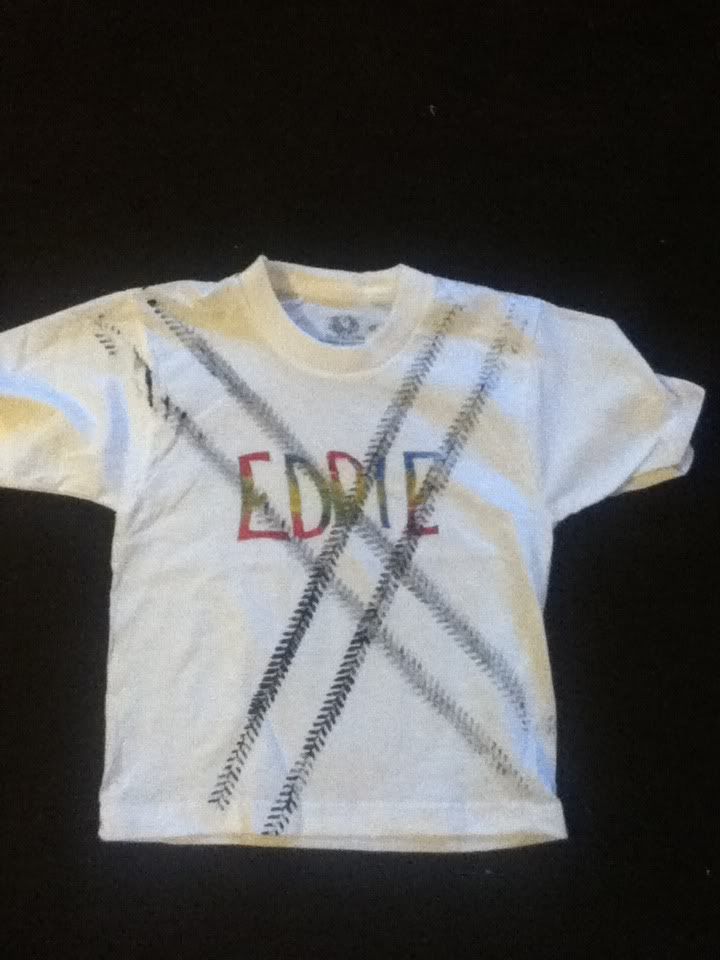
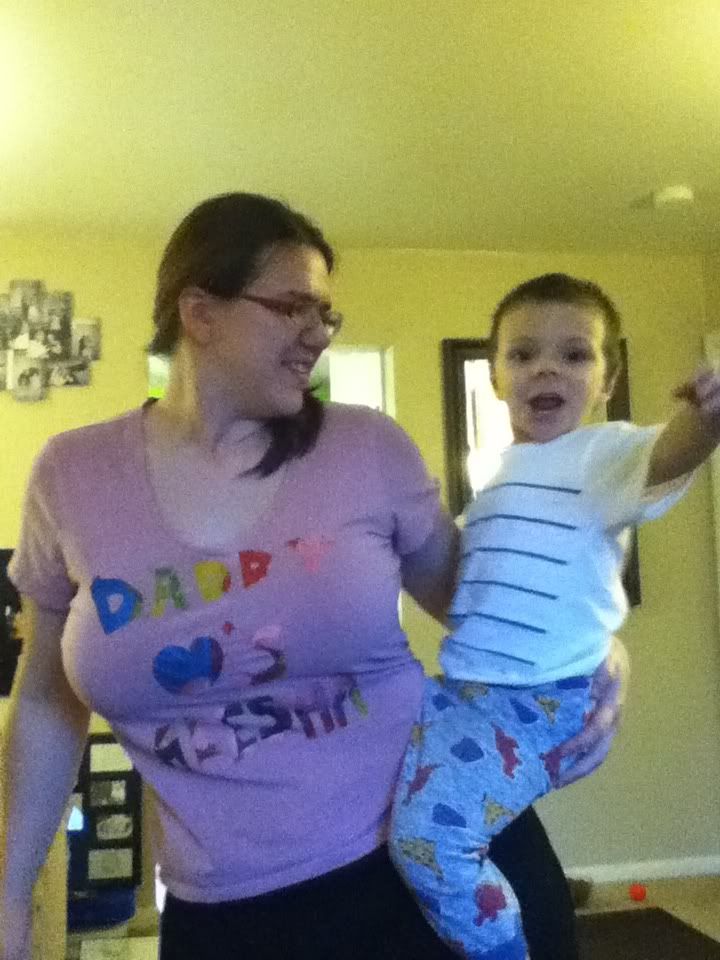
I found that cutting out all the little insides of the O's and D's and whatnot made them too easy to lose, so I left them connected to the stencil and just made the final cuts right before ironing. This was great. We made 15 shirts, total cost $23 (with paint and freezer paper included). Yes, spendy-ish, but I really wanted something to make the party pop and something that the kids could wear and remember her birthday party! Here's my kiddo in one of the shirts!
This was especially great because there were so many kids at CeC and it was EASY to spot all our party goers and call them by name!
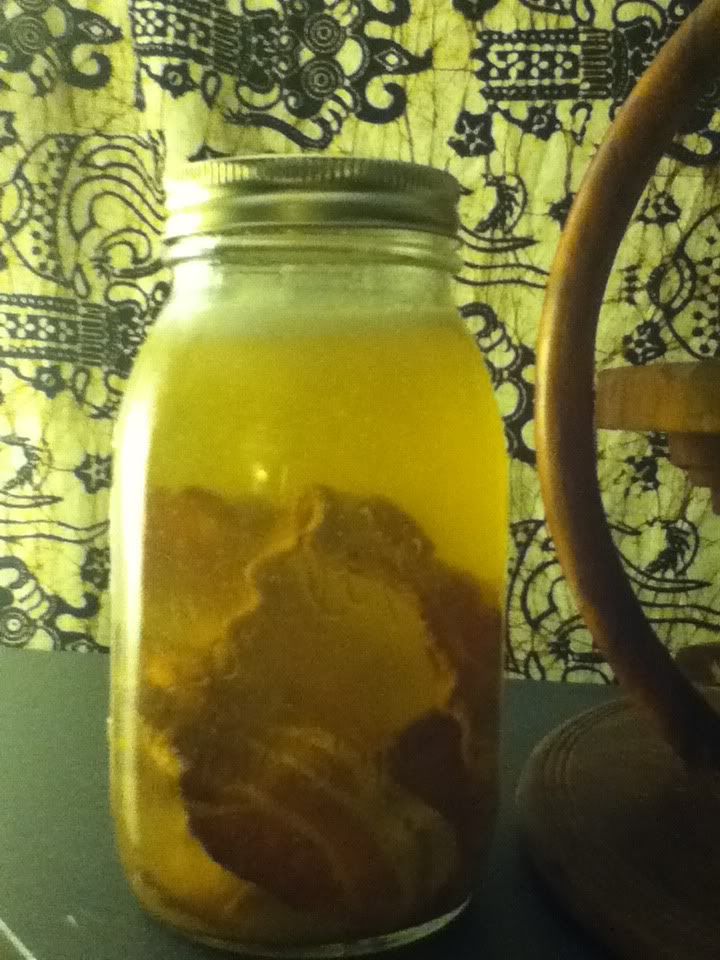
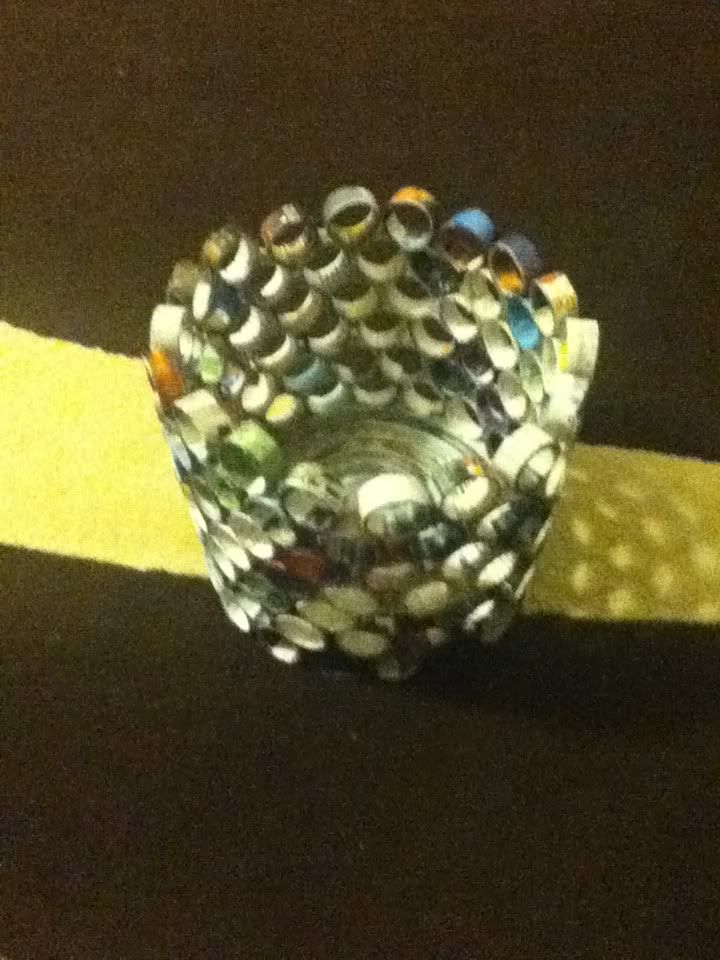
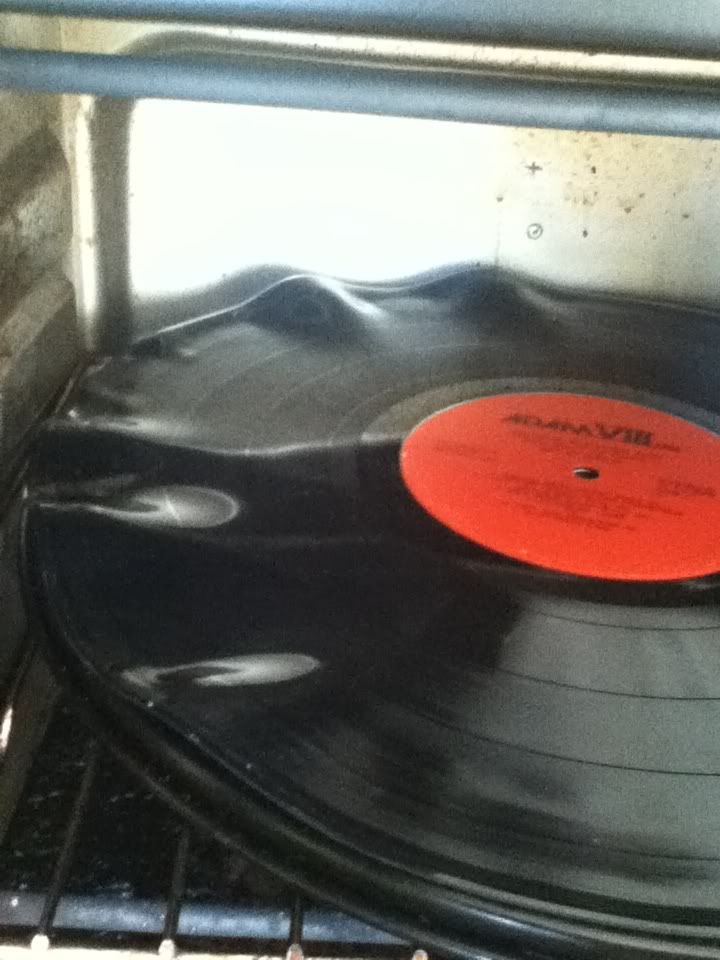
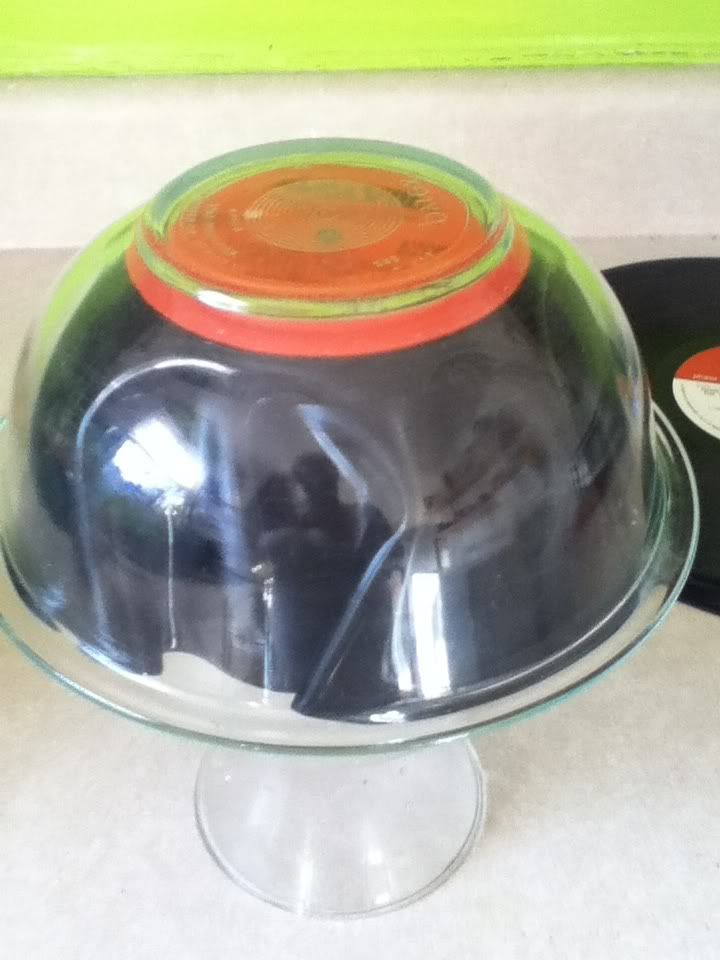
Instead of goodie bags, I thought it would be cool to have reusable goodie BOWLS! Cars has this 50's feel to me (and records are cheap and flashy) so I went with record bowls. I mean, holy cow, 10 records for $1 at one of our local thrift stores (not Goodwill! That place was 79 cents PER record!) I picked through the ones without sleeves for the red, white, and black labels. To make a record bowl, you just preheat the oven to around 300 and put the record in on a pizza pan for maybe 30 seconds. Unless you have fingers of steel from baking for years like me, you'll want to wear gloves. It will be weirdly floppy. You can use a wide mouthed jar or another bowl, something made of glass or metal, to shape around. Whatever you pick, shape your record how you want it and hold it in place until it cools (about 30 seconds). I used a bowl to easily shape the records without scorching my hands.
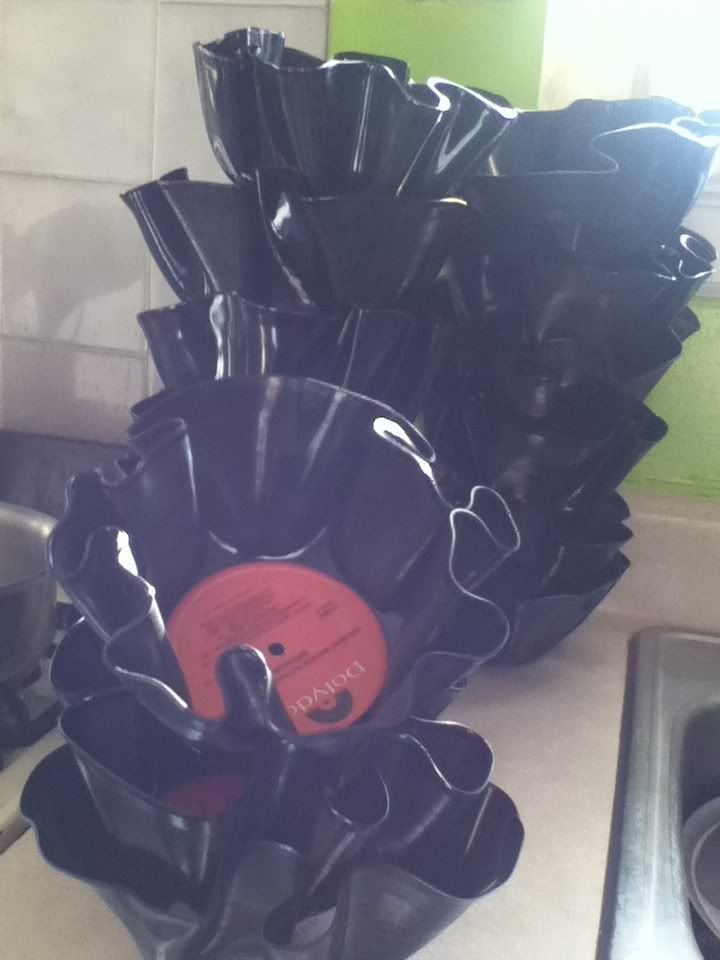
Total cost: $2!!! For 20! OMG!
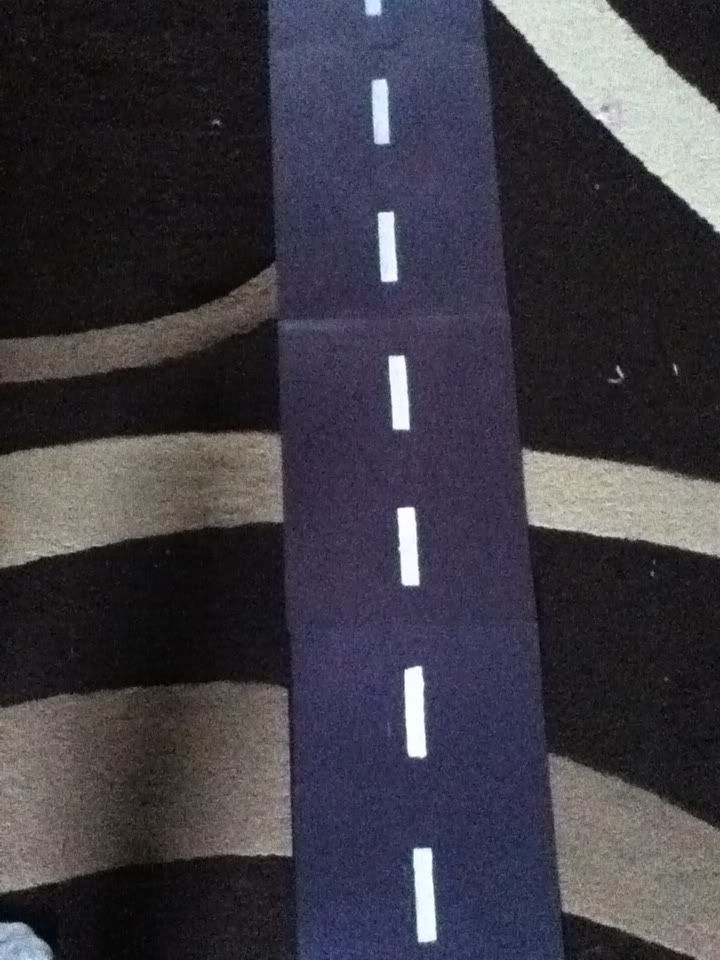
I did buy a checkered flag tablecloth from Amazon.com that was spendy. Oh well. We live and we learn. I bought two red tablecloths from the dollar store to make sure we had enough area covered. To tie the table design together, I made a runner. It's a road. Totally. It's black construction paper I had on hand from Stinkie's last party where I bought tons of paper reams and didn't use the black. So it was FREE, because I also had white paint on hand from other projects. And it looks awesome and will tie the checkered tablecloth to the red seamlessly. I love it. I made a stencil out of another piece of paper so each piece would be identical and taped them end to end.
Total cost for tablecloth/runner: $8. It could have been less but I bought the crazy expensive tablecloth :(.
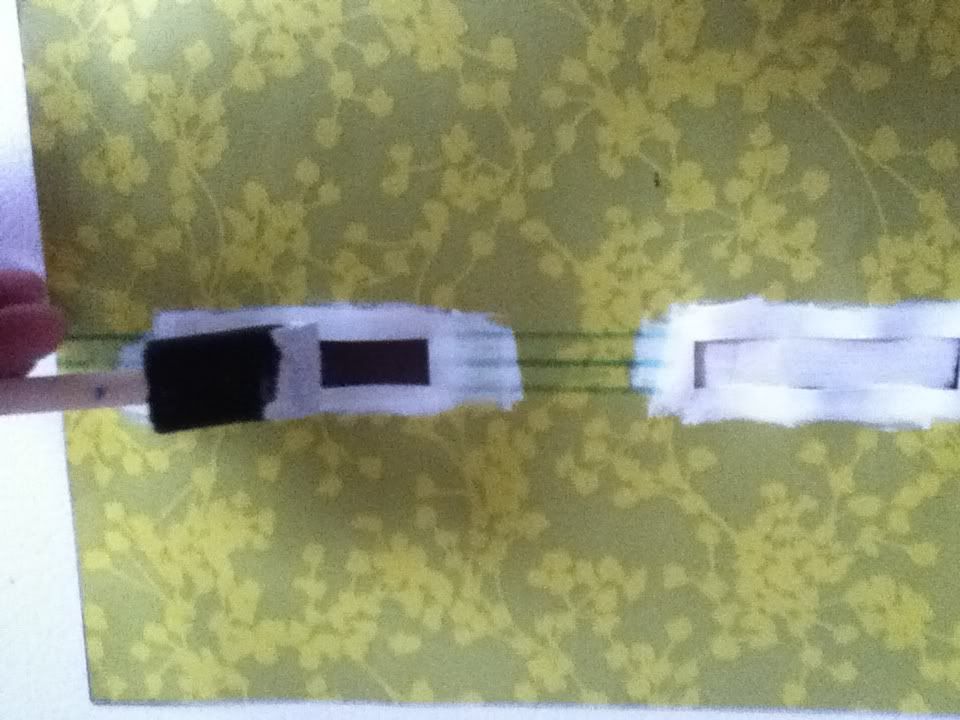
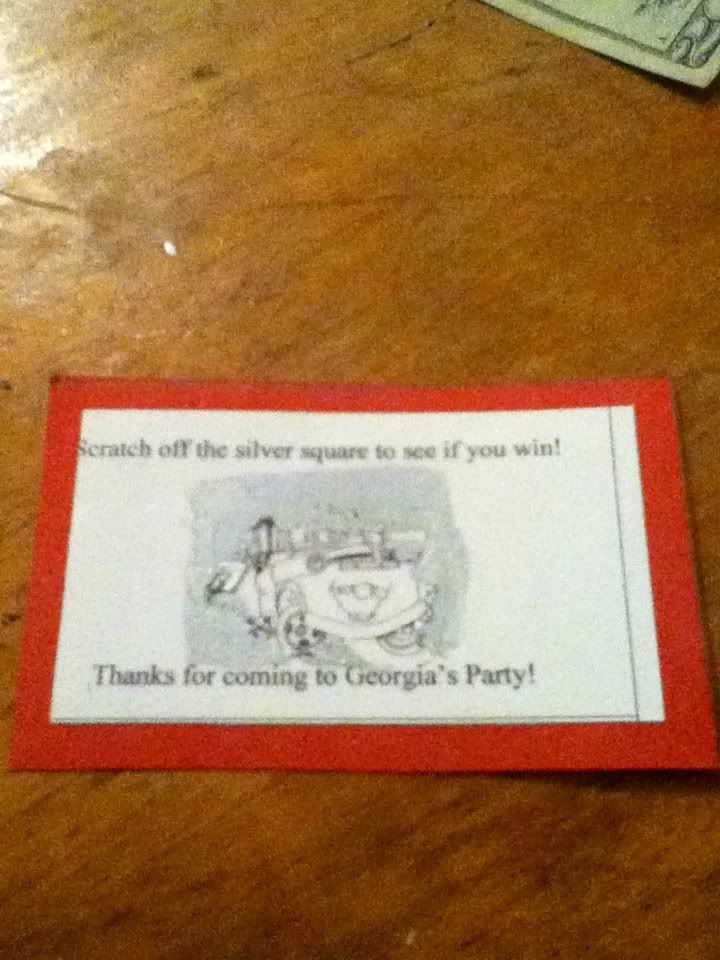
I made some custom scratch-its with my Microsoft Word business card document template and business cards. I printed them off and put some packing tape over the image, then glued that to a slightly larger piece of construction paper. The silver scratch-off part is just silver acrylic paint. That's it. Three coats or so until I couldn't see the image anymore. Mater was the loser, McQueen was the winner. I had three prizes and three winners! They were just dollar store items, so total cost for this was $3 for prizes, minus ink, card paper, construction paper, paint, and tape. All those things I had on hand.
The pennant banner was a pain to figure out because I couldn't find checkered paper OR fabric. Eventually I found checkered felt at Hancock Fabrics in the kid craft section. Thank goodness! I cut triangles out of it and hot glued it onto a ribbon. Boom. Done. It came out awesome. You can see it in the pictures but I didn't take a picture of it by itself. We hung it by the balloons attached to the buckets and anchored the ends. Great way to hang a banner over a table without walls to attach it to! Total cost: $7 minus hot glue and ribbon (on hand).
There was a tattoo station. I found 50 Cars tattoos at Michael's and promptly returned the $3 for 12 tattoos I got at Party City.
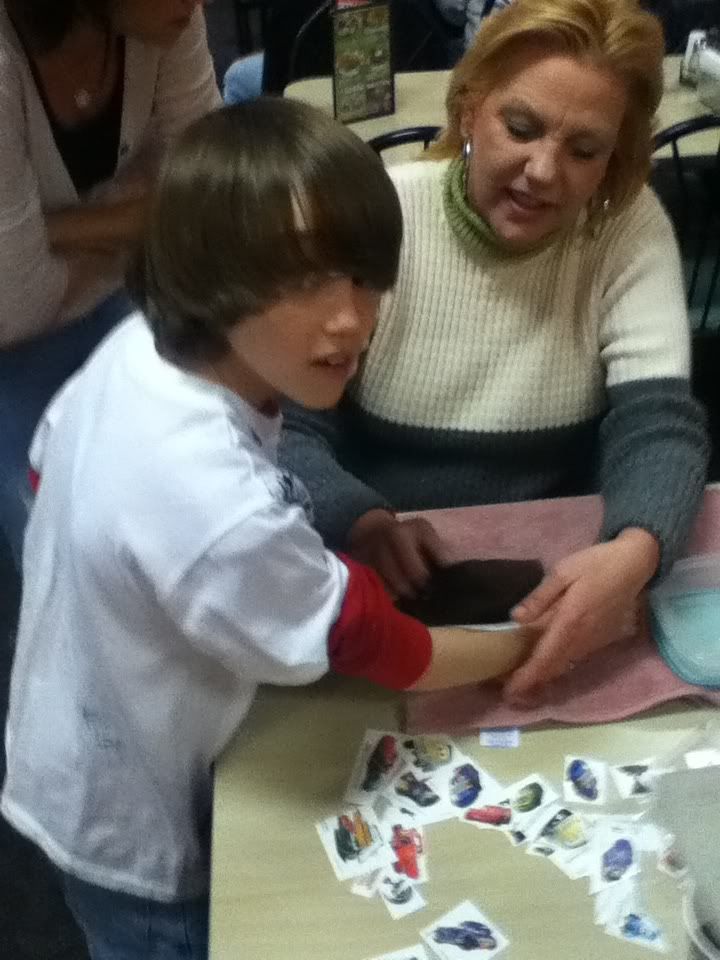
Total cost: $5.
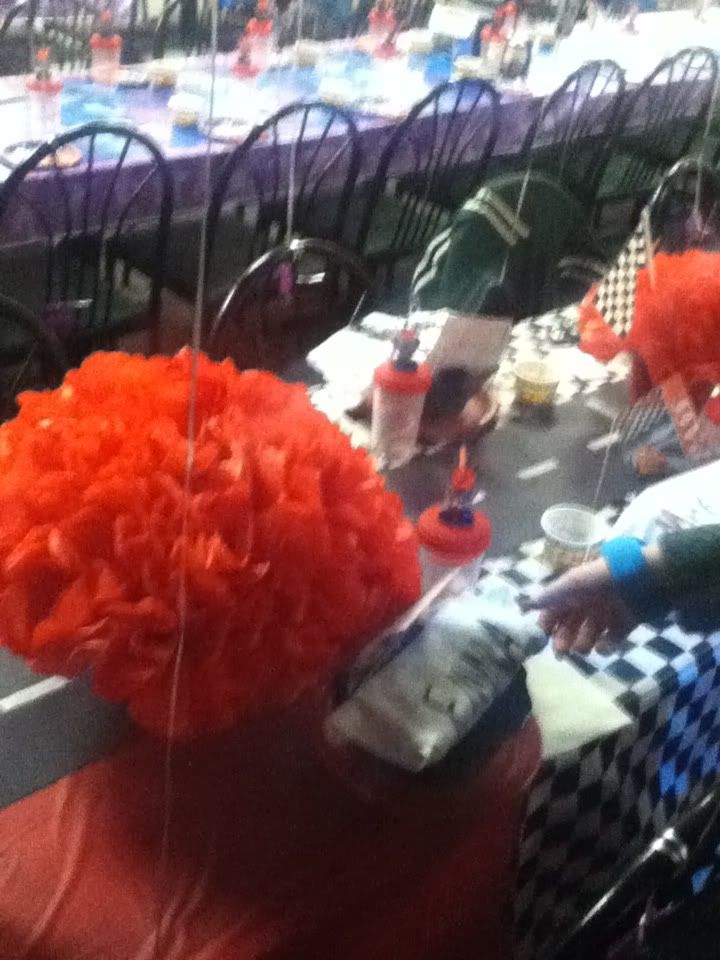
These tissue pompoms were awesome. Just tissue and a rubber band. They really made the centerpieces. I didn't make them, the mama did! The pails were borrowed from her work, so they were free! The little flags sticking out of the three smaller ones were received free from a mommy website I frequent. Total cost for centerpieces with balloons (blown up by the awesome CeC employees): $8
Here's the whole shebang. Hang on to your lugnuts, it's awesomesauce.
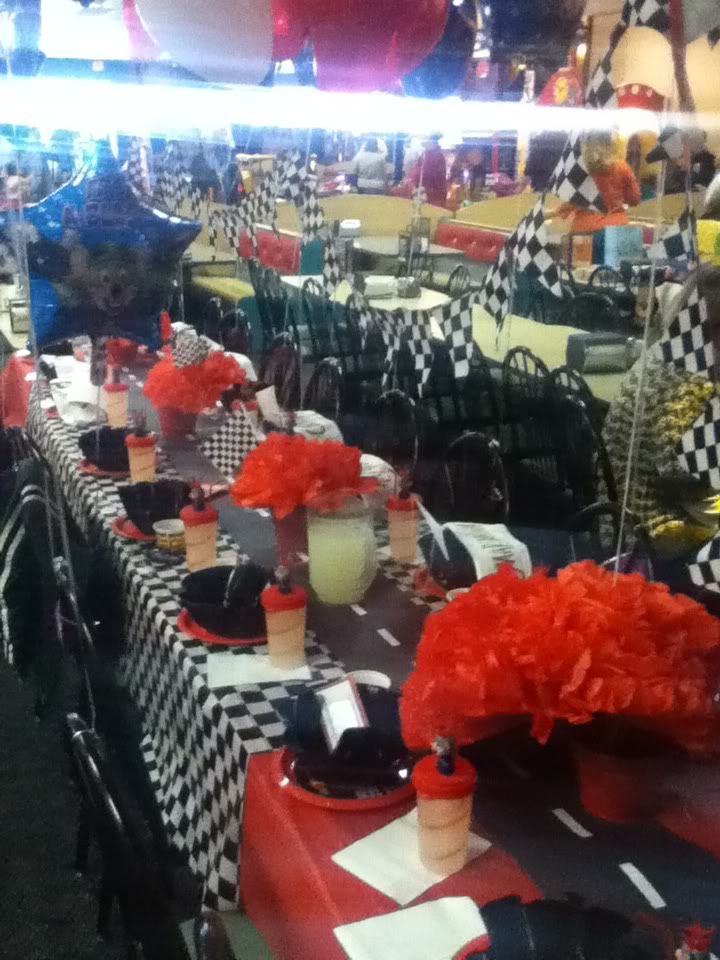
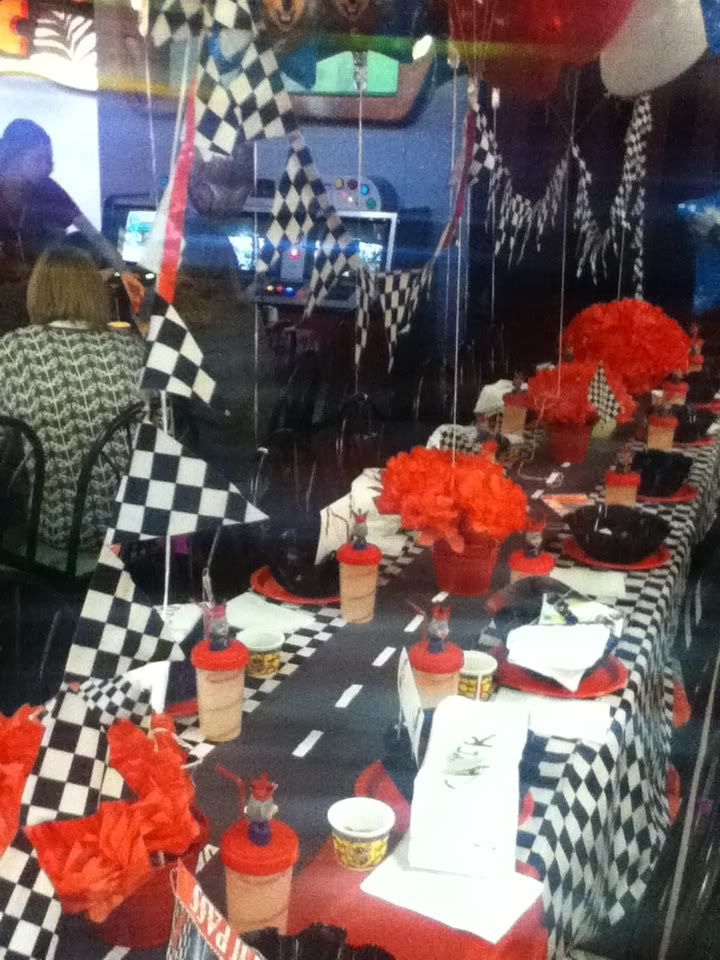
So pretty much as original as a CeC party can be, right? Dollbaby seemed to be having the time of her life, and all the kids love CeC. The parents seemed blown away by the coolness, and can you blame them? I almost felt bad for the other birthday groups....almost :)
Total cost? $59! Plus a few more for goody bag junk (candy). It may not sound cheap but putting on a custom shindig isn't cheap. I think there could have been a better deal on the shirts but they were bought on the fly. I think I could have pulled it together for under $50. Next time, Gadget!