Wednesday, August 29, 2012

On a Hiatus

It's been a while since I posted (goodness!  A really long time)!  I have done a few cakes (and even forgot to photograph some of them) but mostly I've been taking a break.  There has been some pretty heavy family emergencies that have left me not feeling much like making cakes, and I've been recovering for a few months.  I think I'm finally feeling better and I'm ready to start up doing all this again!
Let's see, the last cake I posted here was WAY back in March!?  I guess that sounds about right.  I ended up taking an emergency trip to Oregon in April and then was blessed to be able to visit again in July for my mother's 60th birthday and bake her a cake.  That was one of the ones I didn't catch a picture of :(.
Well, enough about that, and onto the cakes!

This Mario cake was so fun to make!  It is chocolate on bottom and yellow cake on top, with vanilla buttercream and fondant accents.  I love how the Mario came out!

Another Thomas the Tank Engine cake!  I swear I've made more Thomas cakes than anything else!  They added the train after delivery.

Noah's Ark cupcakes for a baby shower.  I thought it would be crazy to make but it ended up being exhilarating.  I wish I had gotten better pictures.  Everyone raved about the new recipe I'm trying out!

I have a few cakes in the works for this weekend and I'm really happy about it!   

Sunday, March 18, 2012

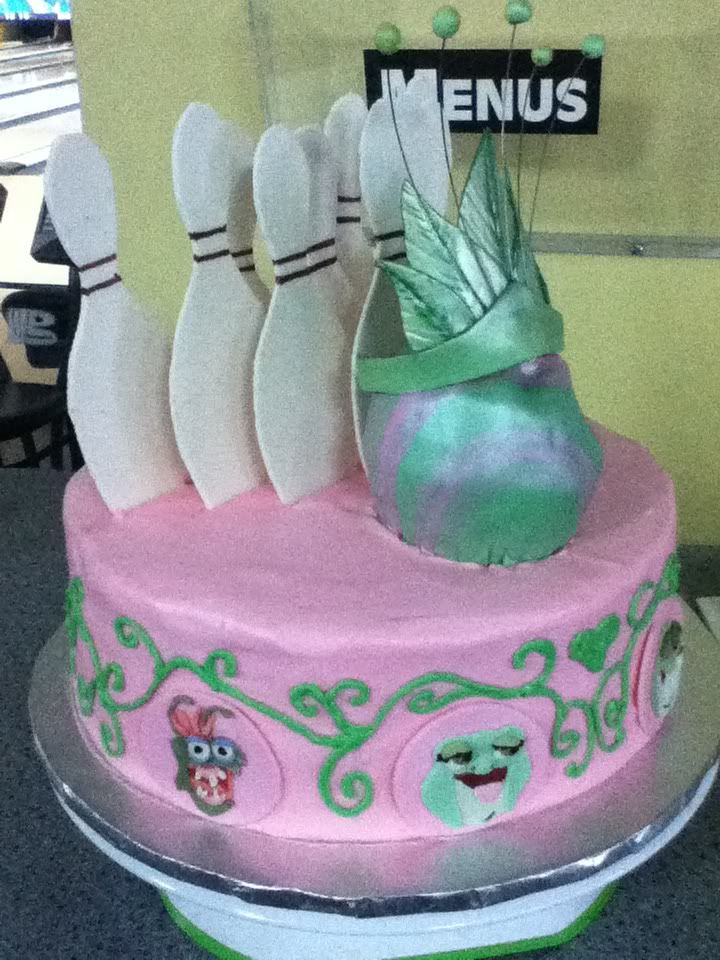
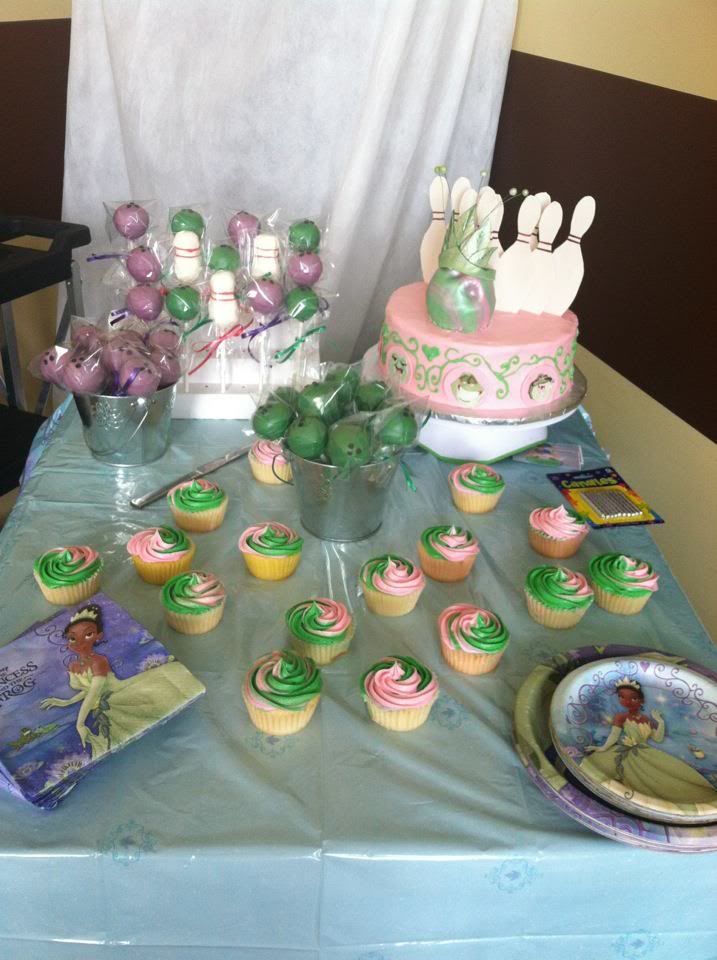
Princess and the Frog go Bowling!

Let me start off saying that I had a major case of zero confidence when I started this cake.  The first thing I made was the crown, and I got to use my brand new silicone flower/leaf impression mat.  This thing is awesome.  So anyway, it was really fun.  It's been a while since I made a cake and I got back into the spirit of things really quickly.  I made up the bowling pins by making a template out of paper and using that to guide my cuts on the gumpaste.  I made the bottom part of the pins long, so there is gumpaste sticking into the cake as well as wooden picks.  I thought it would give a little extra stability.  The characters were fun to make.  I was giggling as I made Ray, the Cajun firefly.  I love the teeth.

I used my old recipe and I have to say I think I'm going back to it.  It took me over a year to develop it and it is dense and moist.  The new recipe is a little easier to make and it is more consistent, but goodness, this cake was good!

The bowling ball is two little cakes I made in my Wilton Wonder Mold, layered with buttercream and carved into a ball, and covered in marbled marshmallow fondant.

I also made 16 cupcakes to complement the cake.  The cake pops in this photo were made by another amazing cake lady!  It was fun to talk cake for a while.  The kids had a ball eating the bowling pins and the characters.

Tuesday, February 28, 2012

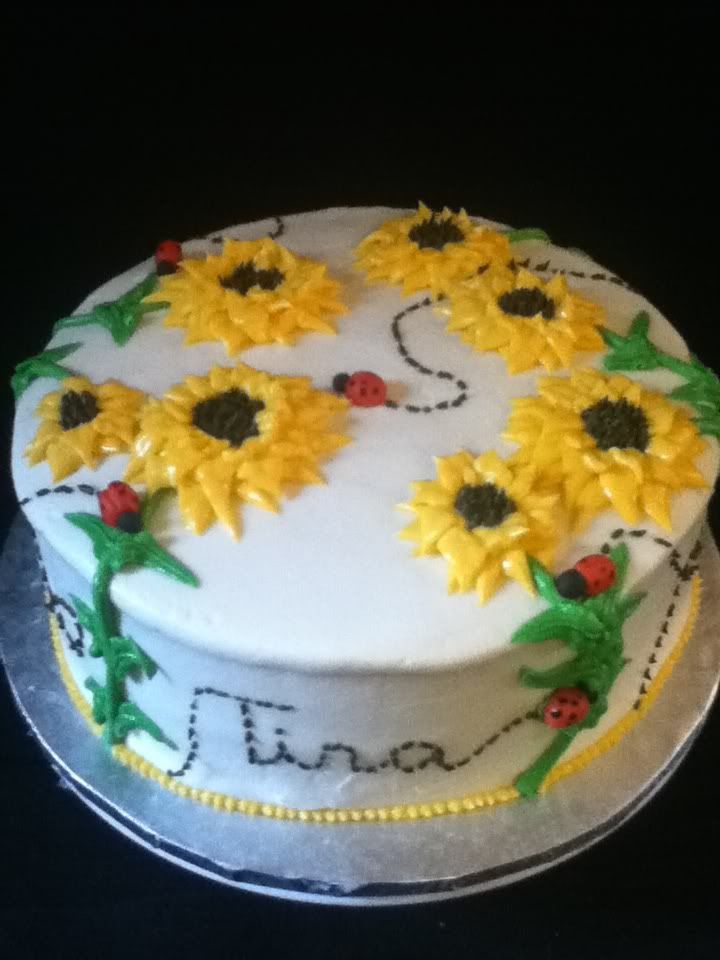
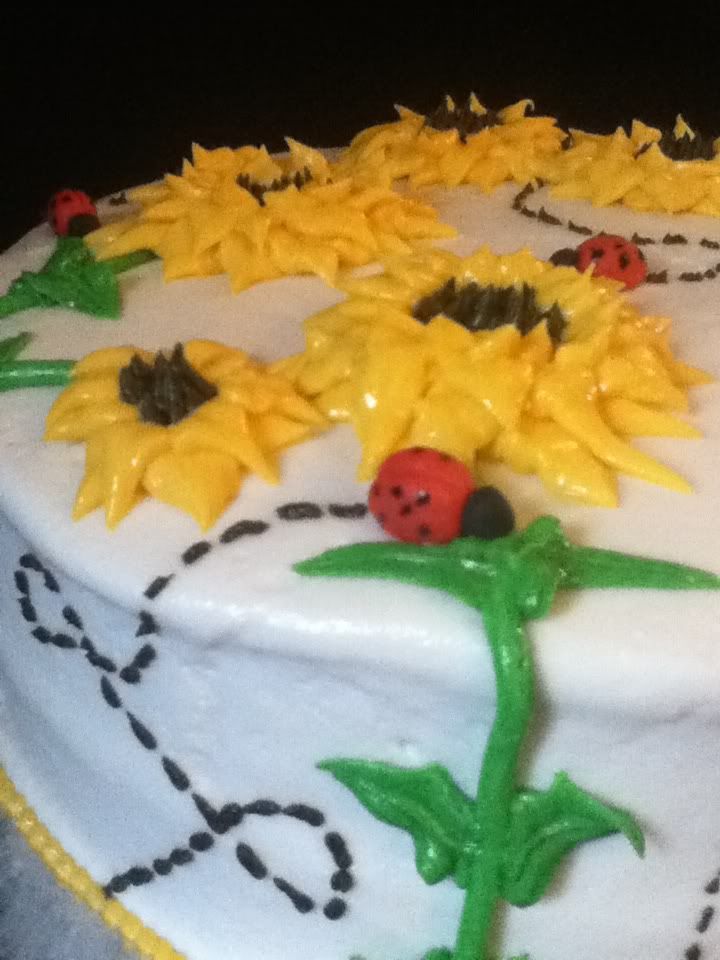
Sunflowers and Ladybugs!


This cute little sunflower and ladybug cake was FUN to make!  It was my first time making sunflowers out of buttercream, but it proved to be simple enough.  The ladybugs were so interesting to place, and the little crawl marks made me giggle.  Cakes like this are why I love to make cakes.  The cake itself is yellow cake with vanilla buttercream frosting and filling.


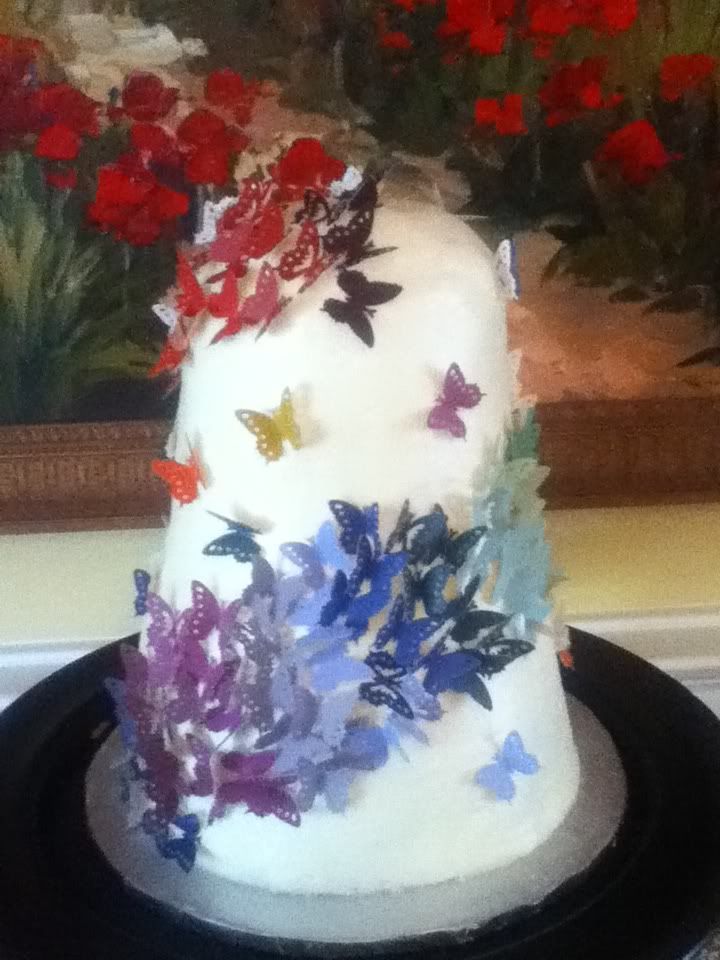
Butterfly Rainbow Cake

This cake is for a wonderful lady's 80th birthday!  While it didn't come out exactly like I had imagined it, I was still very happy with it.  It was about 2' tall, 9" round at the base.
I cheated on the butterflies.  I used paint chips and a great little Martha Stewart punch.  I know, I should have made the 100 butterflies out of gumpaste - but I'm lazy, and nobody minded.  It's buttercream frosting and filling covering chocolate and almond cake.

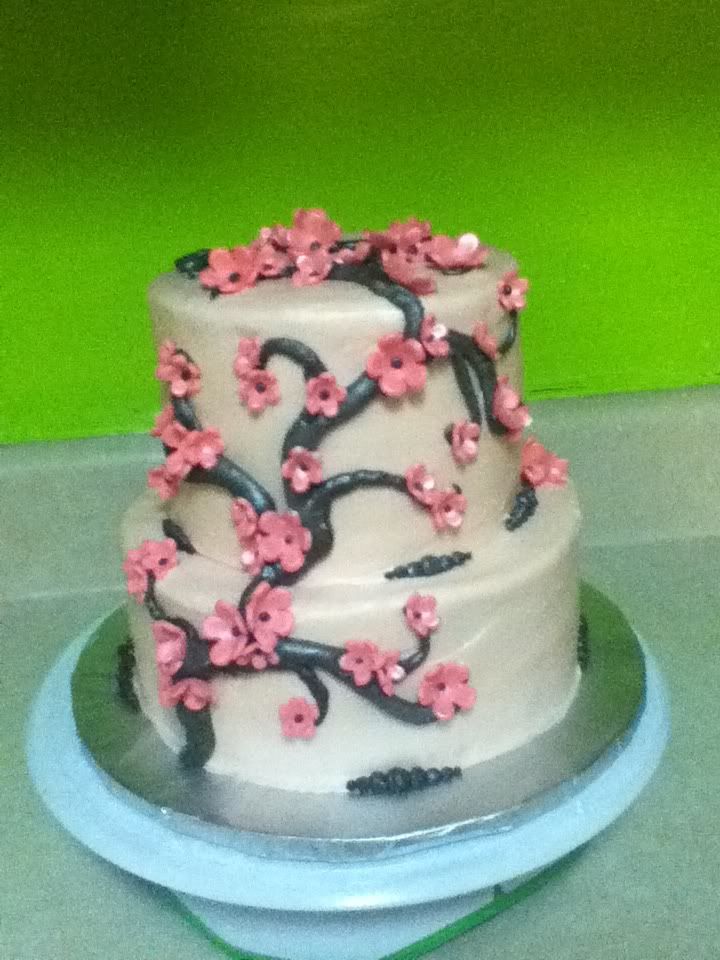
Sakura Cake


I really enjoyed making this simple Sakura cake.  Cherry blossoms are too cute and pretty!  The cake itself is my old yellow recipe.  There is a monogrammed letter at the top, "K" for Kristen, my sister-in-law.  I was given zero direction for her birthday cake, just that it was her 30th birthday (yay!)  I frosted the whole cake (the light pink) and used my airbrush to pearlize the whole thing, then added chocolate frosting "branches" and border dots.  I liked the idea of the randomness of them.  The flowers are fondant with chocolate buttercream centers. As a finishing touch, I airbrushed some silver on the branches for highlighting and pearlized the blossoms.
  One tip I would like to share about tiered cakes is how to stack them without making it impossible to remove the top tier without tearing off the buttercream on the top of the bottom tier.  I make the dowels just a tiny bit taller than they should be and put a massive amount of (sifted) powdered sugar where the top tier will rest. The powdered sugar absorbs perfectly into the bottom buttercream and makes it a little more durable.
  YAY for cakes!

Saturday, February 11, 2012

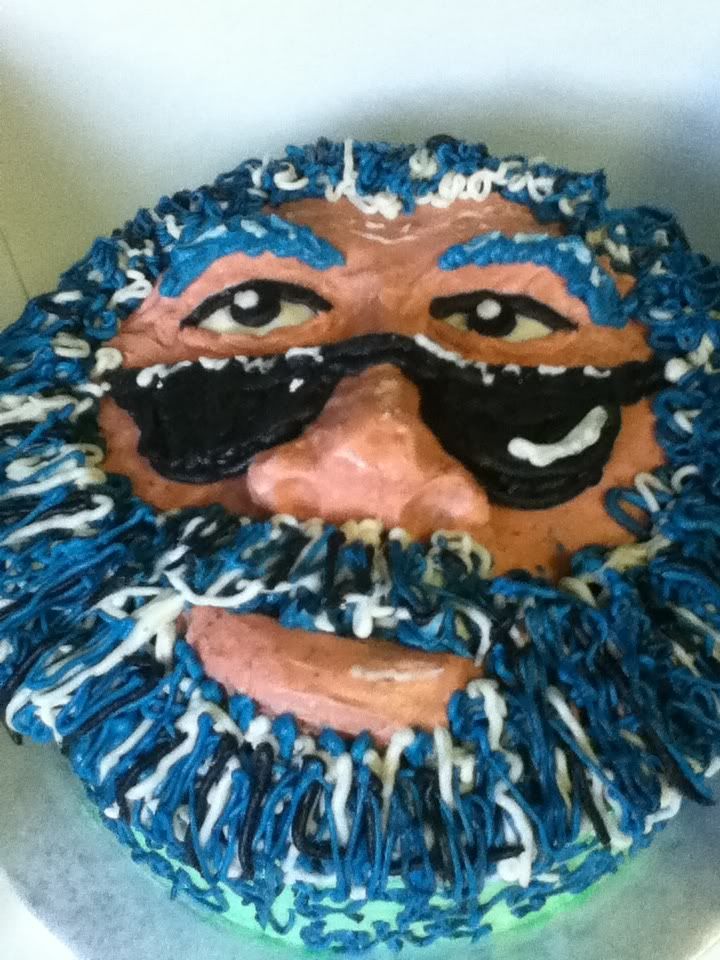
Jerry Garcia


There are just so many Dead fans in my life it seems.  My wonderful, awesome hubster turned 37 on the 9th and I wanted to make him a cool cake, so I picked this one!  I built up the features using cake spackle (cake mushed up with some buttercream), dyed the frosting, and smoothed it on with my fingers.  I was a pure mess by the end of it.  The hair I just applied with different size round tips.  I wrote lyrics real quickly around the sides to "Saturday  Night".  It seemed to fit!
Happy Birthday Honey!  I love you!

Saturday, February 4, 2012

Disney Pixar Cars Party on the Cheap!

My niece Dollbaby is turning 6 already!  Almost time for a new moniker, I guess.  Well, anyway.  She had her birthday party at Chuck-E-Cheese this year.  I'm not too hip on Chuck, to be honest.  It's loud and assaults the senses as well as dims imagination (all in my opinion, of course.  Kids go crazy over it!)  Their parties are always a hit with the kids, but are very cookie cutter.  When Dollbaby called me to describe in detail what she wanted her cake to be, I was shocked to find out she wanted a Lightning McQueen cake!  This is the princess girl, the makeup and skirts girl!  Cars?!  What is going on?  But deep down I was thrilled she is growing up and getting different interests.  Do we perhaps have a tomboy in the horizon!?  Be still my heart!

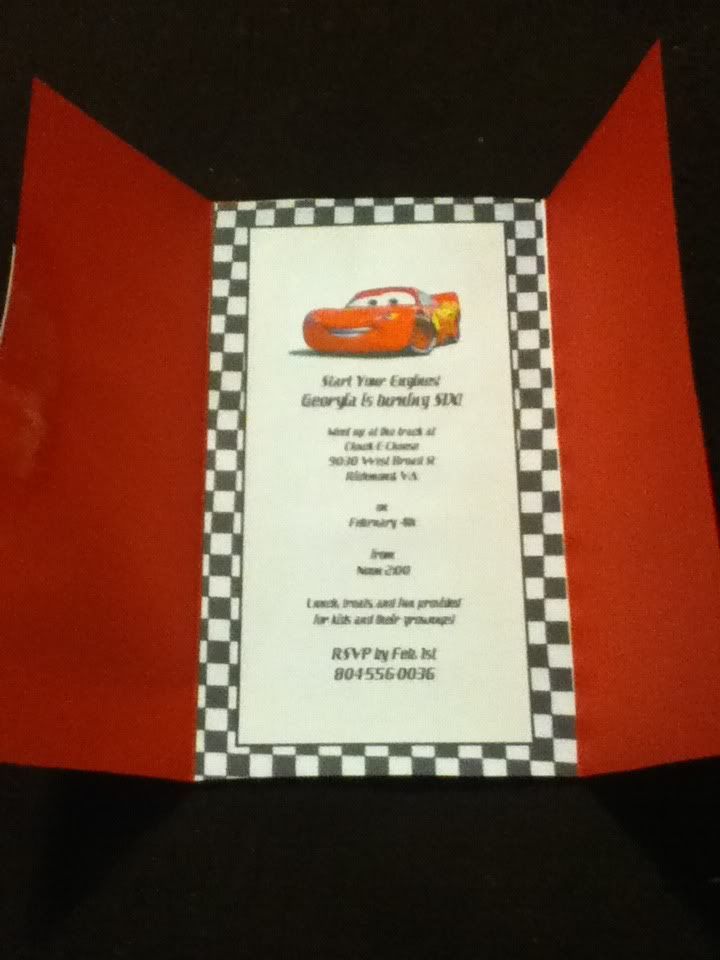
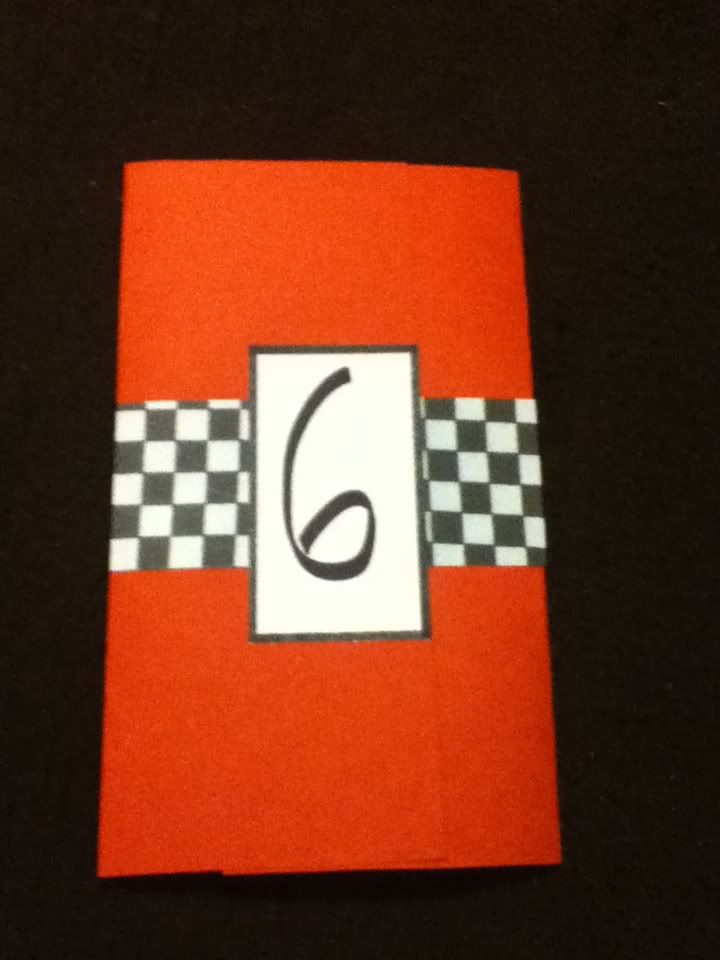
  I started using Pinterest to keep track of ideas.  The first thing is the invitation of course.  I got my inspiration here.   I am pleased with how it came out, though I'm sure they could have been nicer and I didn't include an envelope.  They are pretty big too, like 8" tall and 4" wide.  I like that though, it adds to the awesome.  I made the insert on my computer using a really old program I had on hand called CD Stomper.  It's a really cool program, but the downside is that you can't convert the file type (.cd2) to pdf for printing by, say, Office Depot.  I printed off the inserts (2 per page) and cut them out.  The red is just construction paper.  I thought about buying red cardstock but DANG, I'm not paying $13 for 500 sheets of red paper when I only need 16.  Cheapo here, people!  The construction paper was $2 and I have half the pack left for other crafts.  I cut the construction paper along the tall side to fit the height of my inserts and marked where to place the inserts.  I used a glue stick for pasting and my scale (fancy engineer's ruler.  I used to do engineer's work) to smooth.  Then I used the scale to make crisp clean fold lines on each invite.  The checkered "wrap" I just printed off using my computer and a Nascar .jpeg (here) and cut into 2" strips.  I used the glue stick for those too.

The "seal" is just some old blank business cardstock I used a sharpie on with my ruler to make the borders and then drew a 6 on, and separated then glued to the left flap.  The whole invite is held closed with some light strength spray adhesive.  I think it's a little too strong, and next time I would use something like maybe that blue tacky silly putty type stuff, or something that is specifically for this type of thing.  We live and learn! Total cost for invites: $8 (estimate including ink, red paper, glue stick.  I had the spray adhesive on hand)
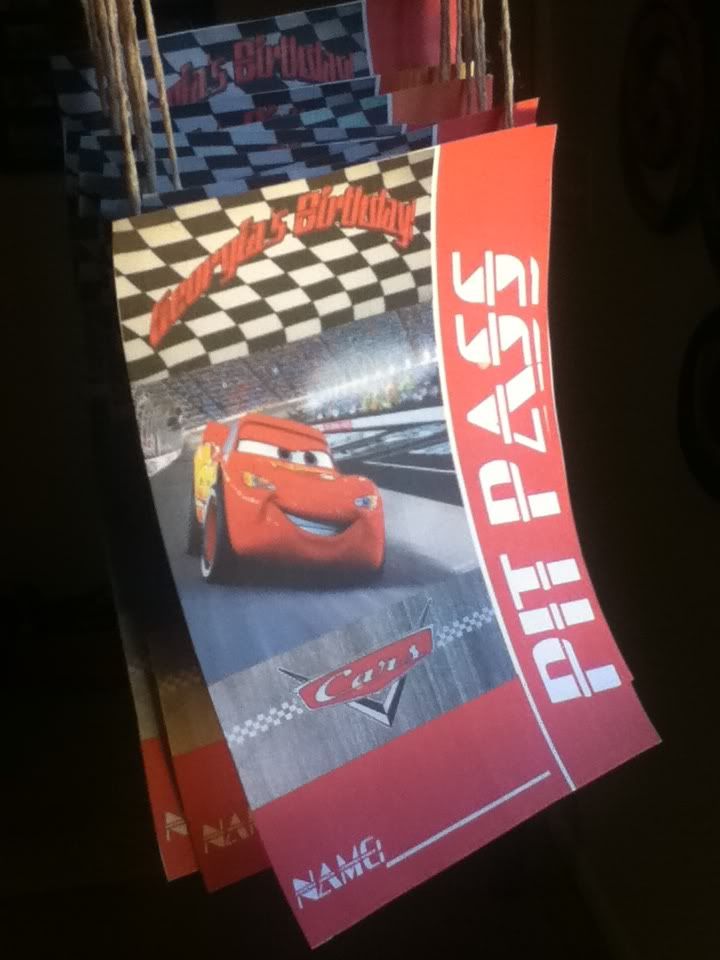
  The next thing is the party favors.  Since we are having the party at CEC, I thought that having something to identify the kids among the masses would be good.  I found the idea for pit passes on this blog and thought it was perfect.  I love the color scheme there too, and it is what I went with for inspiration.  I did want the passes to be more Lightning McQueen instead of generic racing, and that was easy since I  was making them from scratch!

I used the CD Stomper program again...and ran out of red ink quickly!  Holy cow!  I need to get a program that makes stuff I can convert ASAP.  After I got all the ones I could out of my printer cartridge, I hot glued some string to the backs.  Easy peasy.  Total  cost:  $0 because I had stuff on hand, but probably closer to $3 with ink and string included.
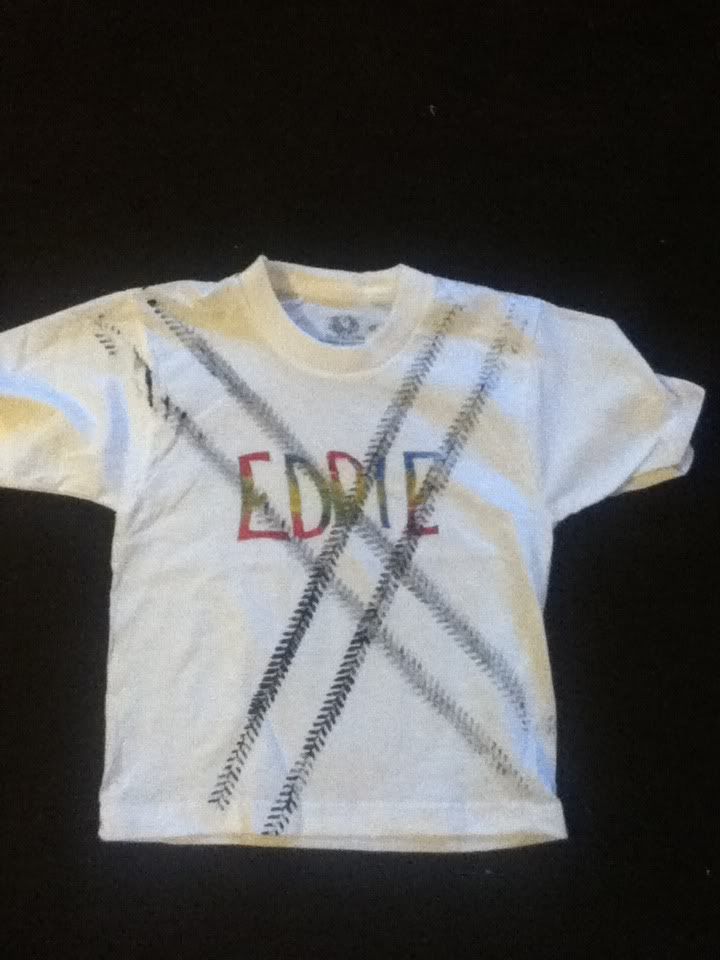
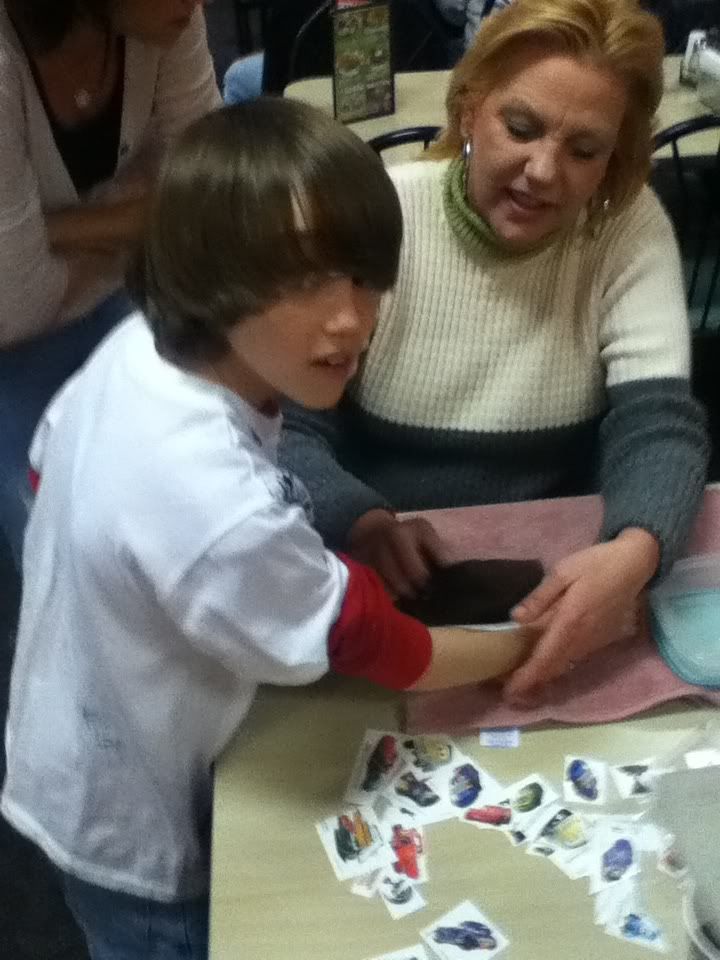
  Dollbaby's Mama (SIL) and I thought it would be cool to do a craft, since the party is 2 hours and each kid only gets 20 tokens.  The original idea was to have the kids paint their names onto shirts using pre-cut and ironed-on freezer paper stencils like I did with Stinkie here, but that is just too messy for CEC.... especially considering that the paint can't be washable!  So we got together one morning with two Hot Wheels monster trucks, white t-shirts in sizes 4 and 5, freezer paper, Xacto blades, an iron, and some paint.  First thing, we ran the trucks through some black paint and used the tires to make tracks.  While those dried, we cut out names from the freezer paper.  I just used a kids marker to write the names on.  I ironed the names onto the shirts and SIL painted.  She was so excited!  It was her first time doing the freezer paper stencils and they are pretty stinking cool.  This is how they came out:

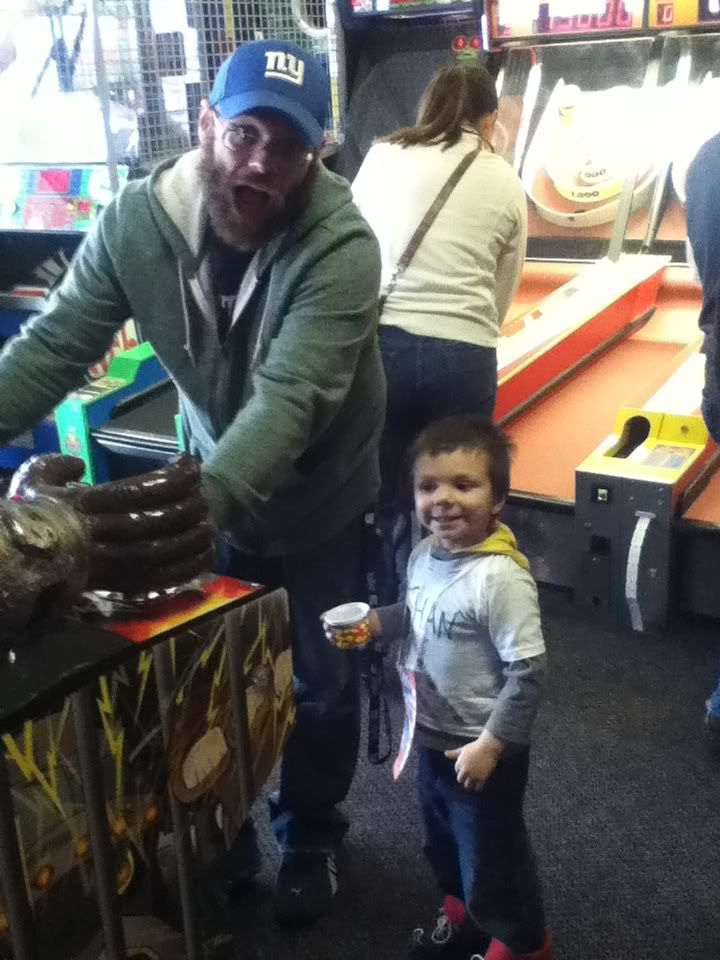
I found that cutting out all the little insides of the O's and D's and whatnot made them too easy to lose, so I left them connected to the stencil and just made the final cuts right before ironing.  This was great.  We made 15 shirts, total cost $23 (with paint and freezer paper included).  Yes, spendy-ish, but I really wanted something to make the party pop and something that the kids could wear and remember her birthday party!  Here's my kiddo in one of the shirts!

This was especially great because there were so many kids at CeC and it was EASY to spot all our party goers and call them by name!
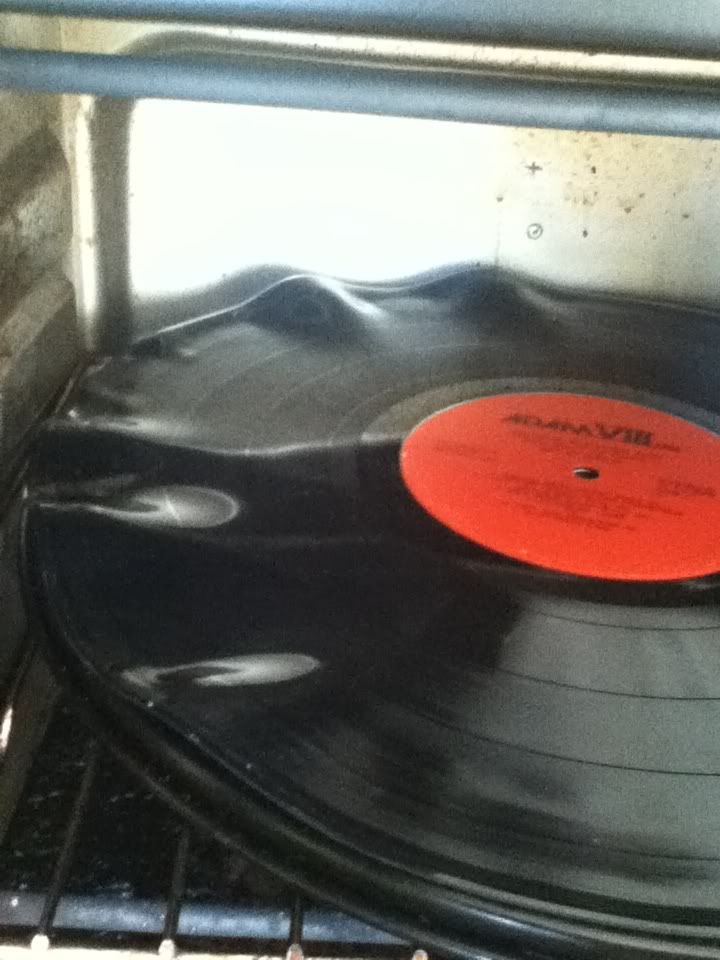
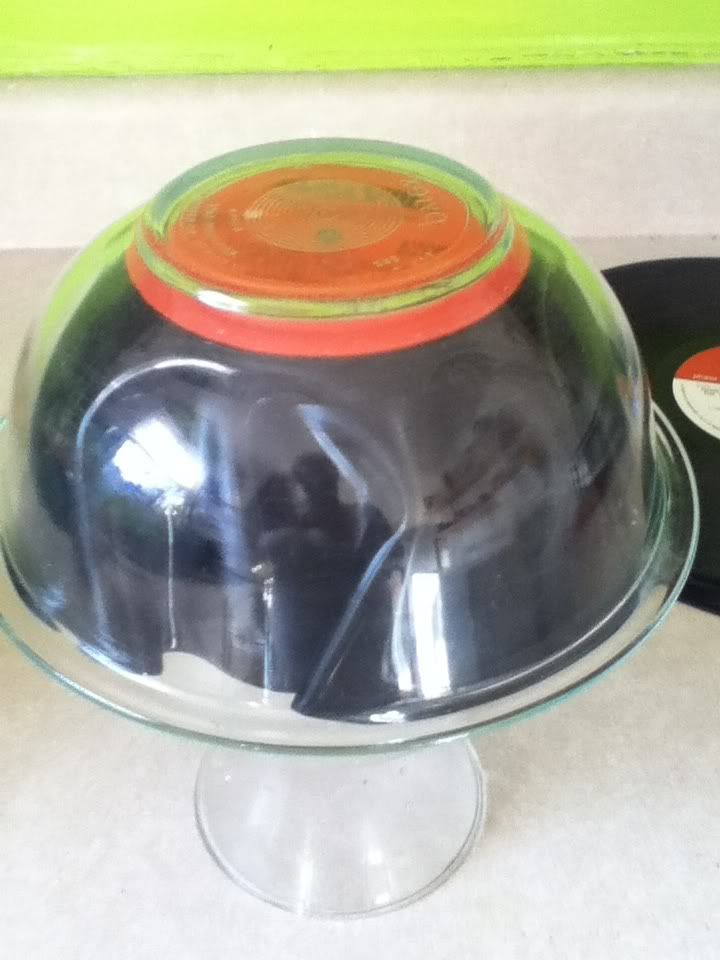
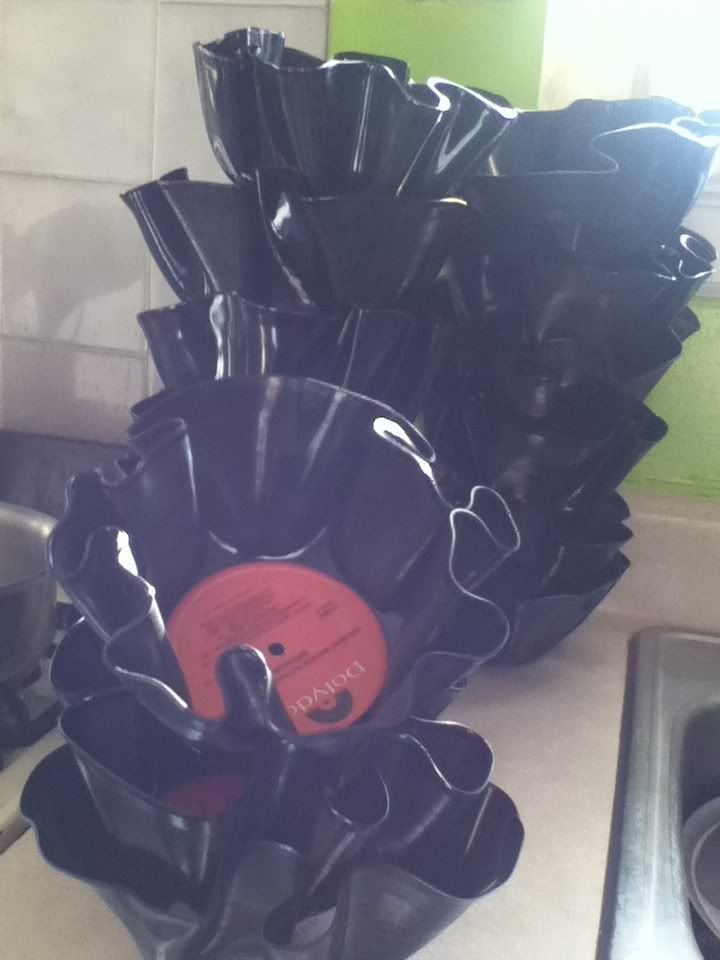
  Instead of goodie bags, I thought it would be cool to have reusable goodie BOWLS!  Cars has this 50's feel to me (and records are cheap and flashy) so I went with record bowls.  I mean, holy cow, 10 records for $1 at one of our local thrift stores (not Goodwill!  That place was 79 cents PER record!)  I picked through the ones without sleeves for the red, white, and black labels.  To make a record bowl, you just preheat the oven to around 300 and put the record in on a pizza pan for maybe 30 seconds.  Unless you have fingers of steel from baking for years like me, you'll want to wear gloves.  It will be weirdly floppy.  You can use a wide mouthed jar or another bowl, something made of glass or metal, to shape around.  Whatever you pick, shape your record how you want it and hold it in place until it cools (about 30 seconds).  I used a bowl to easily shape the records without scorching my hands.

Total cost: $2!!!  For 20!  OMG!
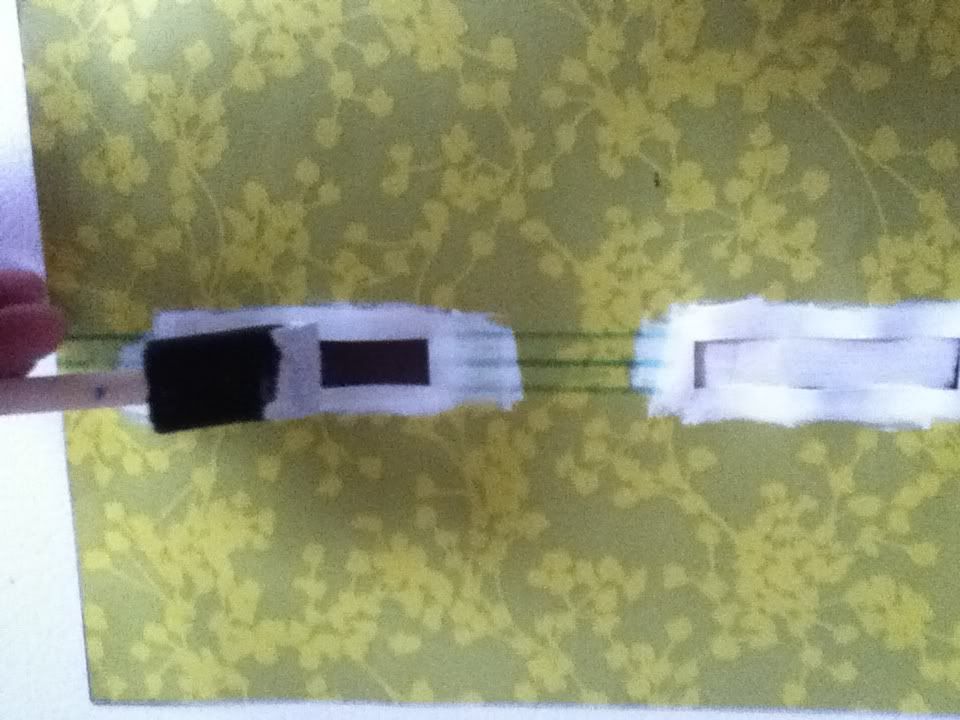
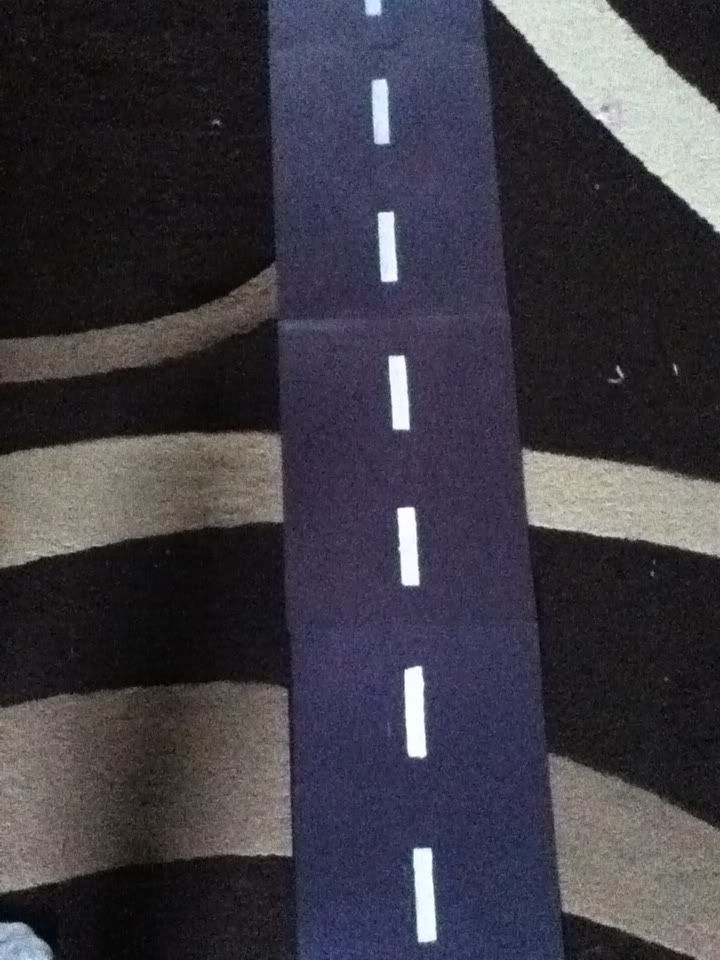
  I did buy a checkered flag tablecloth from Amazon.com that was spendy.  Oh well. We live and we learn.  I bought two red tablecloths from the dollar store to make sure we had enough area covered.  To tie the table design together, I made a runner.  It's a road.  Totally.  It's black construction paper I had on hand from Stinkie's last party where I bought tons of paper reams and didn't use the black.  So it was FREE, because I also had white paint on hand from other projects.  And it looks awesome and will tie the checkered tablecloth to the red seamlessly.  I love it.  I made a stencil out of another piece of paper so each piece would be identical and taped them end to end.

Total cost for tablecloth/runner: $8.  It could have been less but I bought the crazy expensive tablecloth :(.


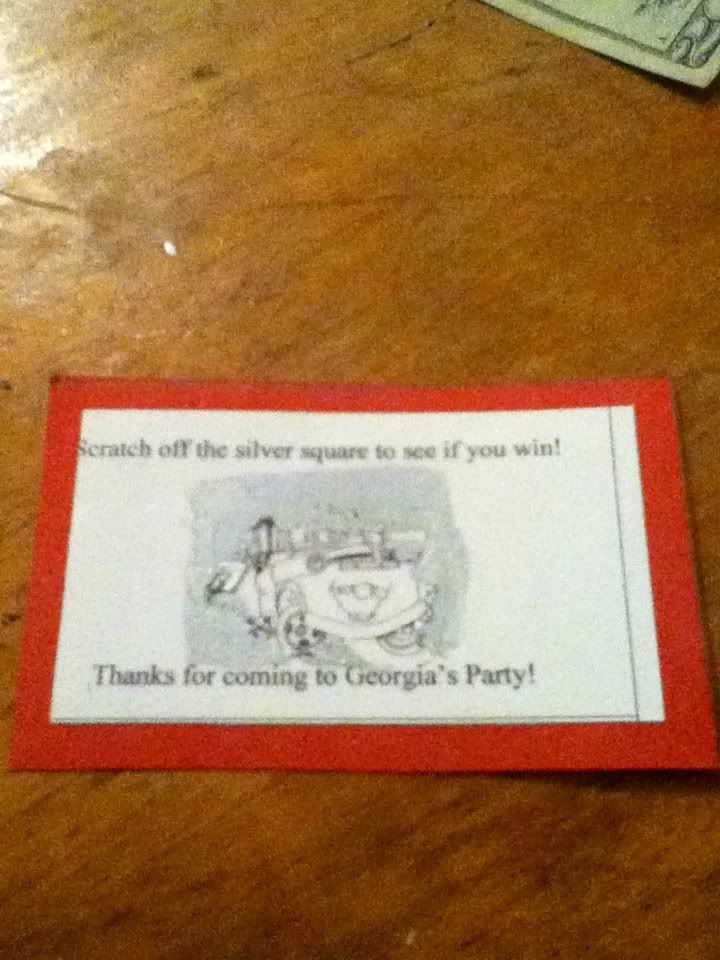
 I made some custom scratch-its with my Microsoft Word business card document template and business cards.  I printed them off and put some packing tape over the image, then glued that to a slightly larger piece of construction paper.  The silver scratch-off part is just silver acrylic paint.  That's it.  Three coats or so until I couldn't see the image anymore.  Mater was the loser, McQueen was the winner.  I had three prizes and three winners!  They were just dollar store items, so total cost for this was $3 for prizes, minus ink, card paper, construction paper, paint, and tape.  All those things I had on hand.

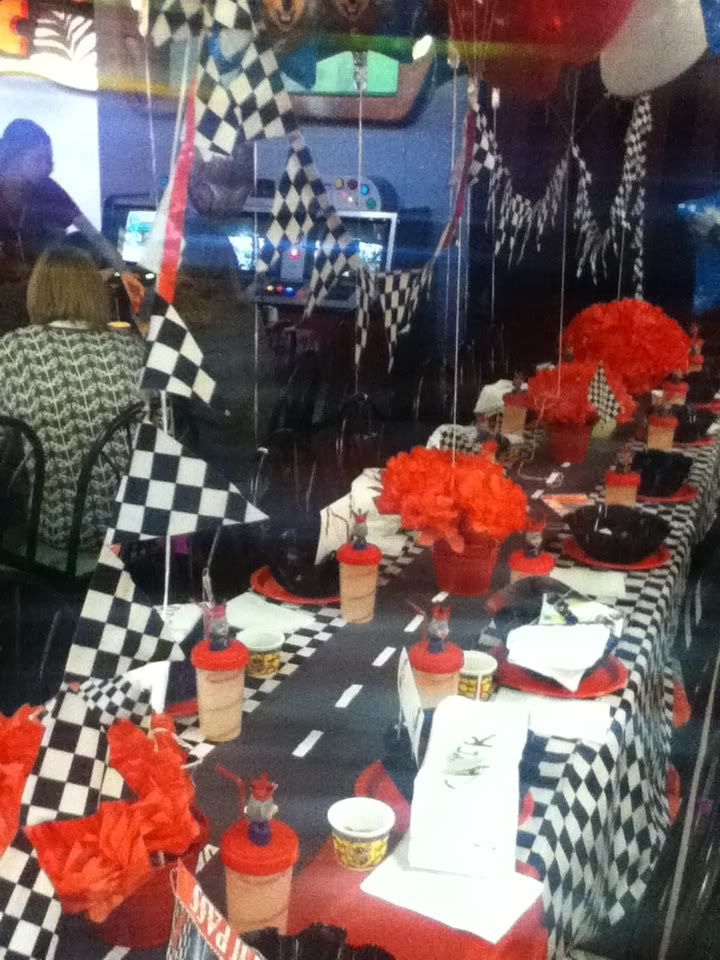
The pennant banner was a pain to figure out because I couldn't find checkered paper OR fabric.  Eventually I found checkered felt at Hancock Fabrics in the kid craft section.  Thank goodness!  I cut triangles out of it and hot glued it onto a ribbon.  Boom. Done.  It came out awesome.  You can see it in the pictures but I didn't take a picture of it by itself.  We hung it by the balloons attached to the buckets and anchored the ends.  Great way to hang a banner over a table without walls to attach it to!  Total cost: $7 minus hot glue and ribbon (on hand).
There was a tattoo station.  I found 50 Cars tattoos at Michael's and promptly returned the $3 for 12 tattoos I got at Party City.

Total cost: $5.


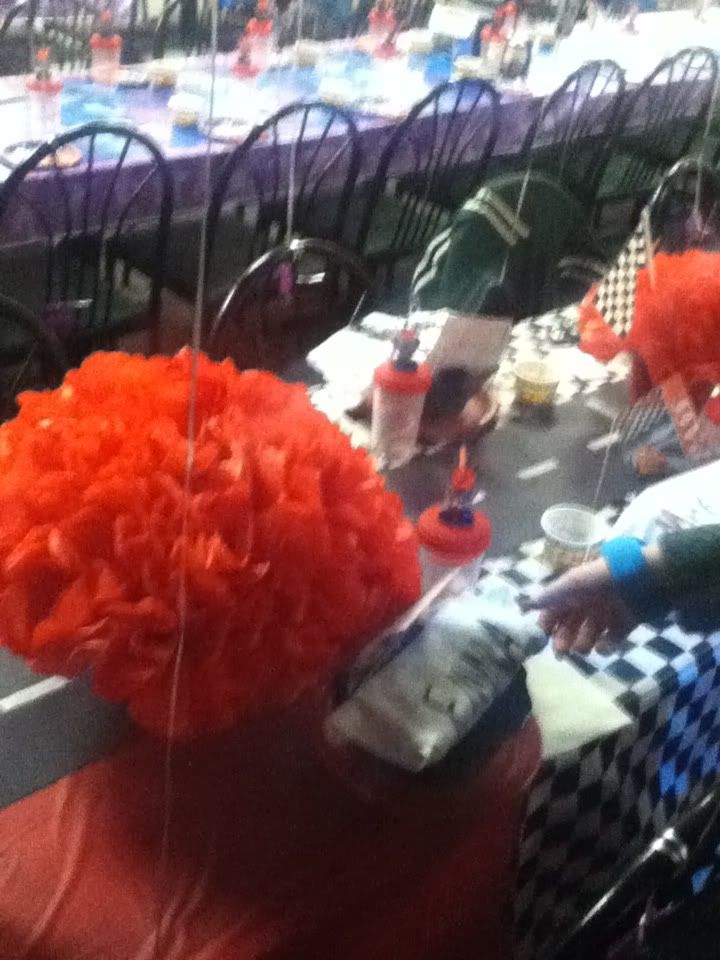
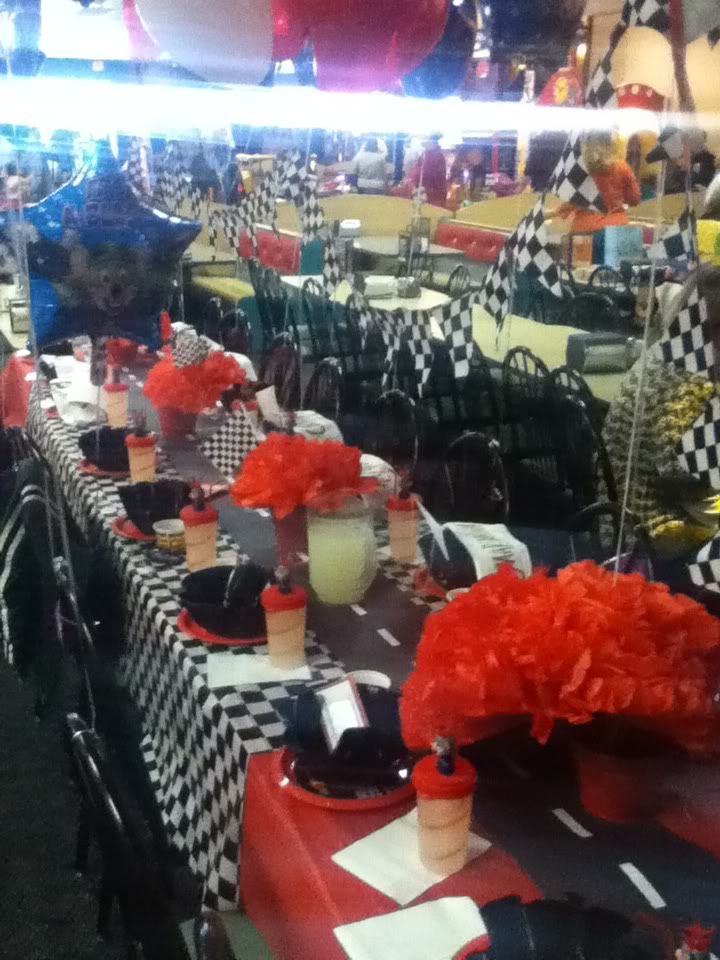
These tissue pompoms were awesome. Just tissue and a rubber band.  They really made the centerpieces.  I didn't make them, the mama did!  The pails were borrowed from her work, so they were free!  The little flags sticking out of the three smaller ones were received free from a mommy website I frequent.  Total cost for centerpieces with balloons (blown up by the awesome CeC employees): $8
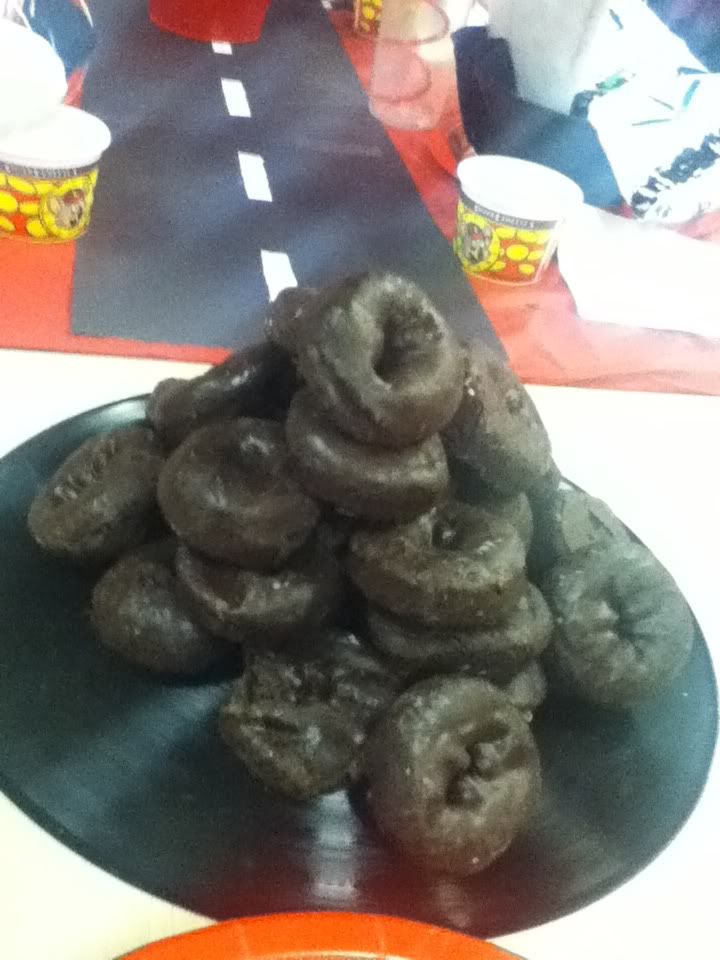
Here's the spare tires.  They are just chocolate covered mini donuts!  I wish I had crafted a sign for them but they were still cute.  Wonderful!  Donuts:  No idea how much they cost.  Mama bought them.

Here's the whole shebang.  Hang on to your lugnuts, it's awesomesauce.
So pretty much as original as a CeC party can be, right?  Dollbaby seemed to be having the time of her life, and all the kids love CeC.  The parents seemed blown away by the coolness, and can you blame them?  I almost felt bad for the other birthday groups....almost :)
Total cost?  $59!  Plus a few more for goody bag junk (candy).  It may not sound cheap but putting on a custom shindig isn't cheap.  I think there could have been a better deal on the shirts but they were bought on the fly.  I think I could have pulled it together for under $50.  Next time, Gadget!

Shopping and Cars Cakes


This first cake was pretty fun to make!  I had never made a high heel shoe, but there are excellent instructions and templates on cakecentral.com, so I followed those, but I printed them off half size for a smaller shoe.  I think the next time, I will make the heel thinner and do a peep-toe style.  The cake is my favorite yellow cake recipe, with vanilla buttercream frosting and filling.
Interesting sidenote:  I thought the cake that was due was a Barney cake.  I even made green frosting and frosted the cake before I realized!  So I scraped off the green and made up a fresh batch of soft pink.  I'm so glad I caught my mistake!  I really like the way it turned out.  I did shopping bags with tissue "paper" (actually gumpaste) on my American Girl cake and I really love the way fondant and gumpaste move and lay.
Looks like he's saying "Ka-CHOW!"
  The Lightning McQueen cake is for my  niece Dollbaby.  Her mom and I have been planning her party and working on the decorations for a while now, so this was like the climax of all that planning.  My hubby hung out with me in the kitchen while I caked it up.  We had a good time talking and just being around each other (he's been working 7 days a week, 10 hour days for a while now, and he's going to school two nights a week!)  I didn't have a real "plan" for this cake, other than the few things that Dollbaby told me she wanted.  She said she wanted red on top, blue on the bottom, lightning zigzags, and "a Lightning Mcqueen on top, but not a plastic one.  One made out of frosting".  Oh my.  Me thinks I have spoilt the child!  :)  It makes my little heart pitter patter.  The McQueen on top is made out of smooshed cake and frosting (think: inside of a cake pop) and is covered in fondant.  The cake itself is iced in buttercream with fondant decor.  I wanted it to be an impressive size, so I went with three tiers, 10, 8, and 6 inches.  The middle tier I tied to the party decorations (I'm going to write another post about that later.  The party is today so I will take lots of pictures!)  The candles were pretty cool, they are spirals and I got them in the cake decorating section at, you guessed it, Walmart.
  Well, lovelies, I'm still covered in powdered sugar and I am going to get cleaned up.  Till next time!

Thursday, February 2, 2012

Princess Birthday Cake


I didn't start out thinking I would LOVE this cake, and as things went together, I was suspect, but when everything was in place and I stepped back and checked it out, GOODNESS I really like this cake.  It's chocolate fudge cake with vanilla buttercream frosting and filling.  The crown and flowers are gumpaste and the draping is fondant.  I made the crown by rolling out the gumpaste and using a hand drawn template to cut out the shape, then rolling it around an empty and cleaned Crisco container to dry, then setting that in a bowl filled with flour (so that the points curved just the right amount of outward).  I learned to do this after much trial and error on the last crown I made.  I made the crown larger (last time I used an oatmeal container, which was smaller in girth).  The crown was pearlized using my airbrush machine.  I love that thing.
The flowers have inedible gem centers.  I just liked the look so much more than piped centers, it gave a certain pizzazz.

I think I like the back better than the front!
I have a lot of cake stuff coming up and I'm feeling the pressure!  Tomorrow is a Barney cake, then a Lightning McQueen cake for Dollbaby's birthday, and next weekend is busy busy busy too!  Everyone is having a birthday in February!

Ah yes.  I made this little smash cake for Stinkie's friend last weekend.  I also made another cake, but I lost my iPod so I didn't get a picture of it :(.  That's okay, everything was SO frustrating about those two cakes, so I'm not incredibly happy with how they came out.  It's okay.  Both cakes were loved by their owners, and this princess cake made up for it!

Monday, January 16, 2012

Oh yeah! A Cake!

THAT'S what I forgot on the last post!  Funny how this blog was nothing BUT cakes until last month, and now I'm forgetting my cakes.  This was just a little cake, but it was fun and cute!  I like the applique'd look.
It's Yellow Sour Cream cake with vanilla buttercream frosting and filling.

I really need to get another cord for my good camera.  This iPod camera just isn't cutting it.
I have a lot of stuff coming up and I'm really excited.  It seems the whole family I married into was born in the first few weeks of February!


Dino Hoodie and Fruit Leather


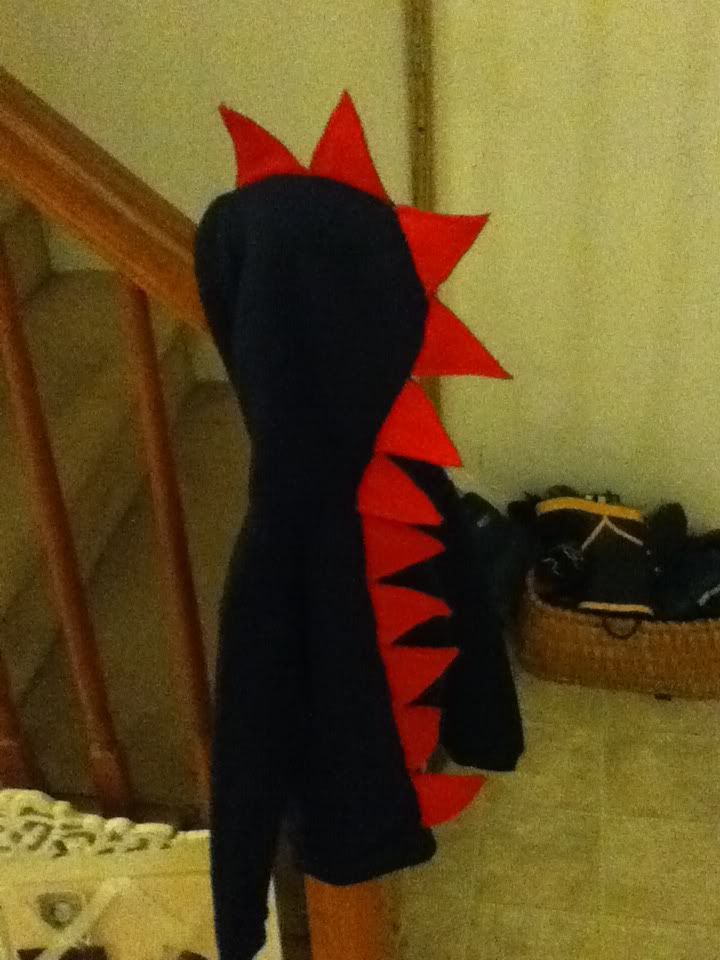
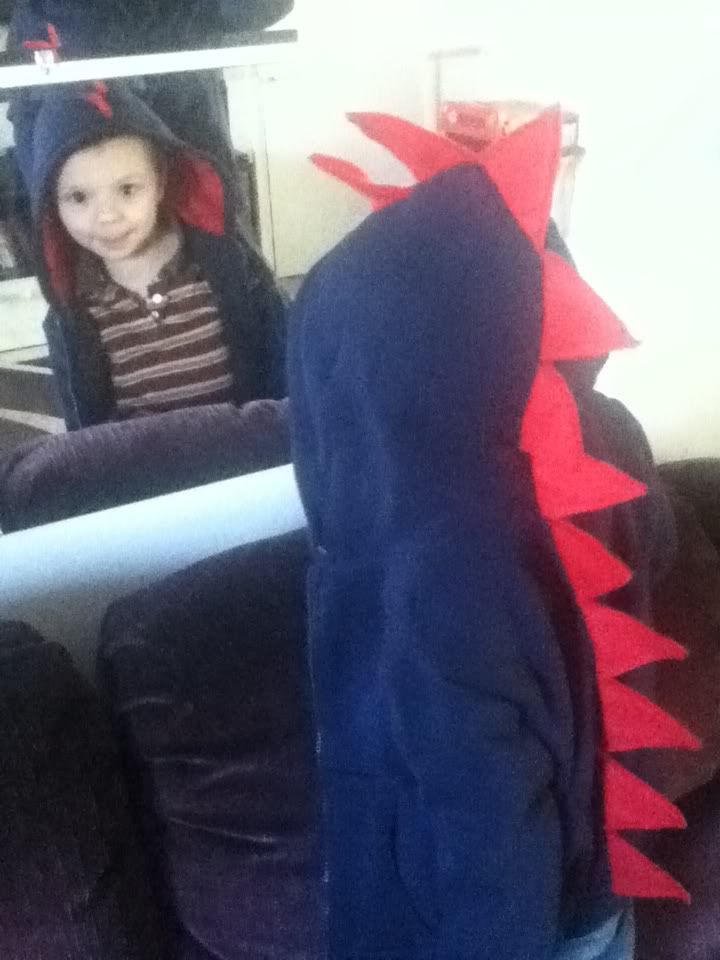
I followed a tutorial I found here (good Lord I love reading these crafty chick's blogs!) to make a fabulous dinosaur hoodie for Stinkie.  The hoodie was $7.50 at Walmart (geez I should do commercials for them) and the fleece was $3/1yd.  I bought one yard, but used maybe 1/8 yd.  So I spent $10.50, but could have gotten by spending $8.50.  He wore this out yesterday to the movies and dinner and got complimented incessantly on it, and when he put it on, he freaked out.  Just a fabulous article of clothing.  I am very lucky he's not a girl, or he'd be a constant crafting time suck!
  I drew a right triangle with a 3" x-axis and 1.5" y, with about 3.5" hypotenuse.  Then I folded along the x-axis and cut out the right triangle, opened up, and blam.  An isosceles with a 3" bottom.  I cut two of these out and lined the 3" side along the fold on the fleece.  The tutorial I used said to use felt, but I like the softness of fleece, it doesn't fray, and it does have enough stiffness to stand up when doubled like we're going to do.
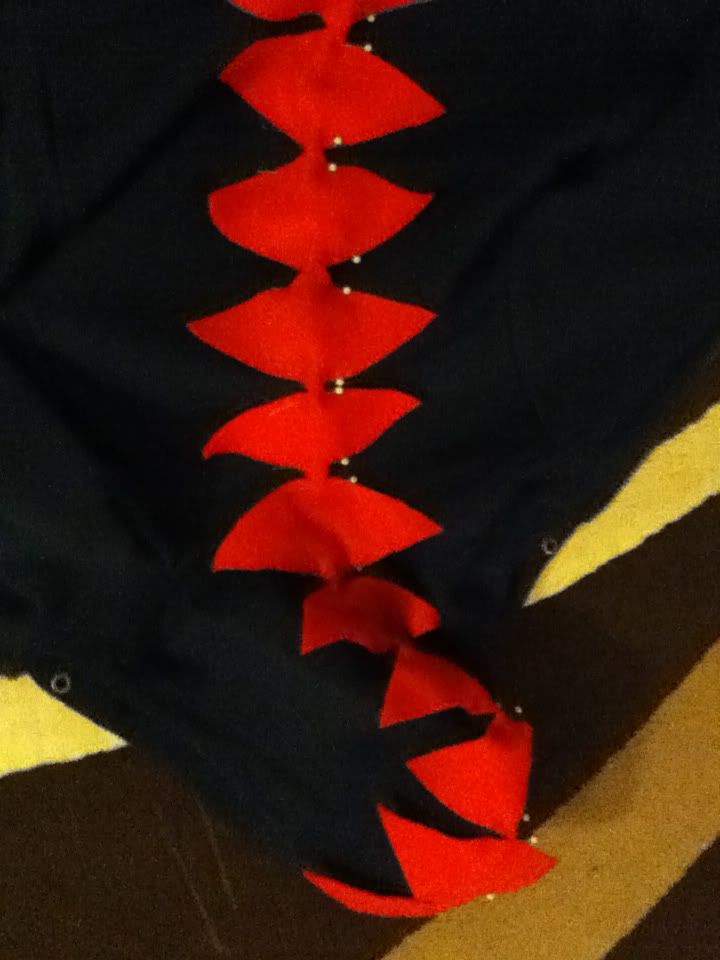
  I measured the entire length down the center of the hood and back.  My measurement was 33".  Since my diamonds measure 3" where it counts, I cut out 11 triangles and opened them up into diamonds.  It would probably have been better to measure this first, then create the triangles to fit, but it so happened mine fit perfectly.  Then I marked the center line and pinned the diamonds into place like so:

Sewing through the hood was harder, since there's like 3 layers of fabric, plus the fleece, plus a hem.  But I got through it, and the rest was a breeze.  Just sew down the middle of the diamonds in one line.  Backstitch and cut your thread.  Then close up all your diamonds to make triangles and sew them closed with a 1/8" allowance (or you could do a zigzag around the edges...but you don't need to).  I also pinned the triangles closed before stitching with just one pin in the middle.  It seemed to help hold everything together, as pins tend to do. :)

So anyway, that's it, and he LOVES it.
A friend and I were talking about organic fruit ropes and snacks, and how spendy they are, and we both decided they could be made at home, from real fruit, much more cheaply.  I didn't take any photos.  I just did it.  Stinkie (who is 4) helped me prep the strawberries.  When I say this, I don't mean he just rinsed them and I helped him chop one or two. I mean, he really helped me!  He is great with a knife, very careful.  This was the first time I let him really use a knife as it is meant to be used.  I was standing right there next to him, pitting the strawberries, but I could have been on Mars and he would have been fine.  I just can't believe it.  He cut uniform pieces and didn't risk cutting off his fingers.  He cut off ALL the green and white at the top without going too far into the red.  How cool is he?
I followed a few different tutorials (here and here).  I bought 1lb strawberries and 1 apple.  Peel, core, dice the apple.  Chop the strawberries.  You should have about 4c fruit.  Then put it into a saucepan with 1/2c water.  Boil, then simmer covered for about 15 minutes.  Add 2T or so of honey (to your personal taste) and 1.5t lemon juice.  Make sure it's mixed, then use a blender or food processor or Magic Bullet like I did to puree it.
I have a food dehydrator, but you can do it in the oven.  Line a jelly roll pan with plastic wrap (good stuff) and tape into place, the dry it in the oven at like 160 for 8 hours.  If you use a dehydrator, line it as smoothly as possible, taping into place and making sure you cut and tape for the hole in the center.  Once it's all smooth and level, pour the whole pan in.  It will spread easily.  Don't let it dry too much.  When it's done, you can cut off the edges (they are probably crispy dry) and roll it up still connected to the plastic wrap.  I used a sharp knife to cut the wrapped log into 1" wide rolls.  Instant fruit rollup.  Easy to make, and SO good, made from real ingredients!  I love that Stinkie helped make his own snacks.  I think it's really healthy for a kid to get involved like that.
I did make a produce bag out of a t-shirt as well, following this link, more or less.  It is really cool.  I'm thinking of making a ton of stuff and trying my hand at the Farmer's Market this year.  I think these bad dogs would sell like hotcakes there.  I can make 2-3 of them out of a $1 thrift store t-shirt and they are SO cute.  I could sell them for $1/piece, or even .75, and still make a profit.  Mass production of these would be very fast!
  I keep thinking I did something else I am forgetting.  Dang.  Guess I'll get it next time.  Long days and pleasant nights to everyone!

Wednesday, January 11, 2012

The Coolest Lamp in the Whole Wide World

I just finished this sucker and let me tell you, I am INFATUATED with it.  What a beautiful and simple piece of decor.  I followed the tutorial here.

First, you get a great big pink bouncy ball (I guess blue would work but pink gives it a little something), about 150 yards of thickish hemp twine (the tutorial calls for 400 yards for the ball I did, but I skimped and it was fine), 2 bottles of Aleene's Tacky glue (I liked the white stuff better than the clear stuff because I could see it going on), a bottle lamp kit (these are cheaper at Walmart in the hardware section than at Lowe's by about $4), a hook for the ceiling (Walmart sells these cool self-holding hooks but you could use any ol' hook and anchor system),  a permanent marker (mine was red!), a garbage bag or plastic Food Lion bags, and an extension cord, and a basketball pump needle.  Total cost: $22 without the light bulb, marker, bags, needle, and extension cord.  These babies sell for $80 so it's a steal!
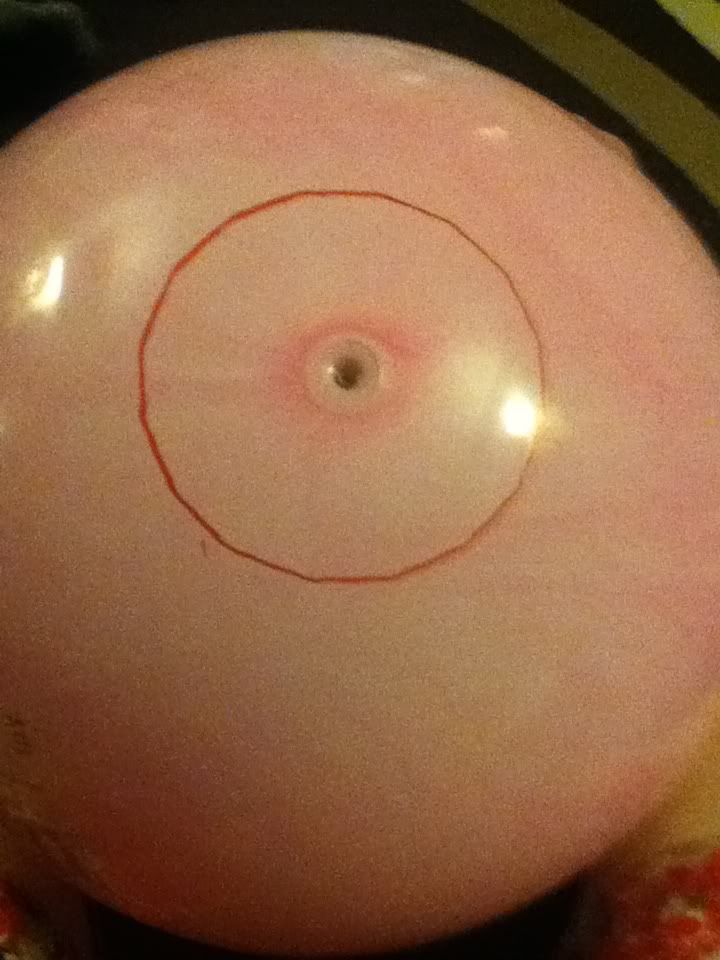
Mark a circle with something circular using the marker.  Center it on the valve.  I used a tupperware type lid.  Make sure it's big enough to comfortably reach your hand in.

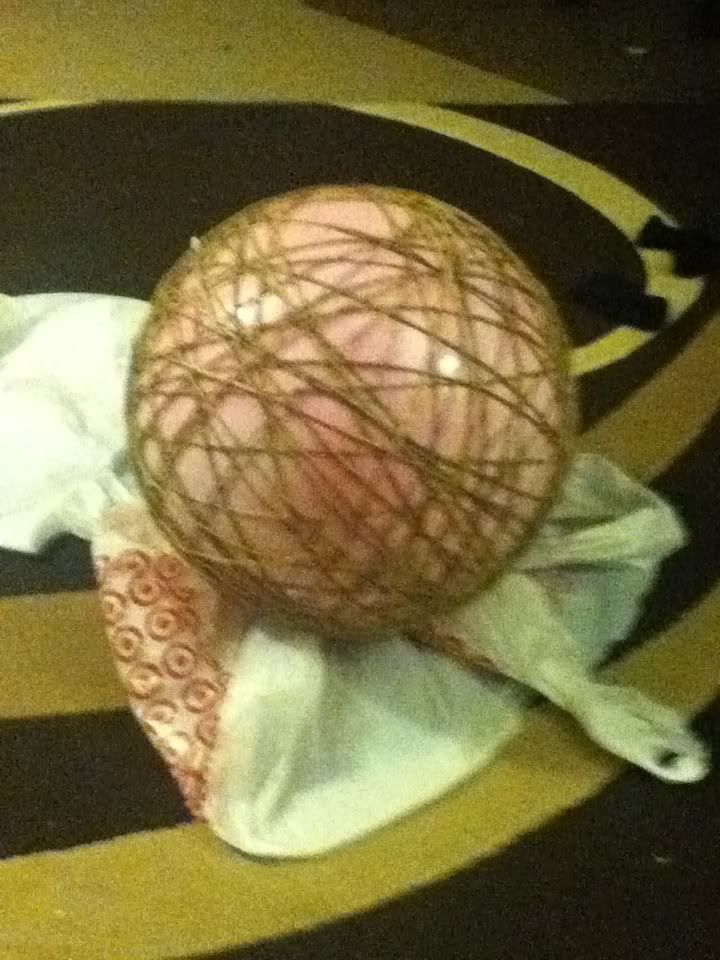
Get ready to get really messy.  Put a dime sized amount of glue onto your fingers and pull the hemp string through your fingers, coating it really well with glue.  Start winding the string all around the ball, keeping the string out of the circular area.  This is really a zen effort.  You get into the flow after a while.  I was really messy at this point so there's no pictures.  Anyway, after one 75 yard ball of twine, it looked like this:

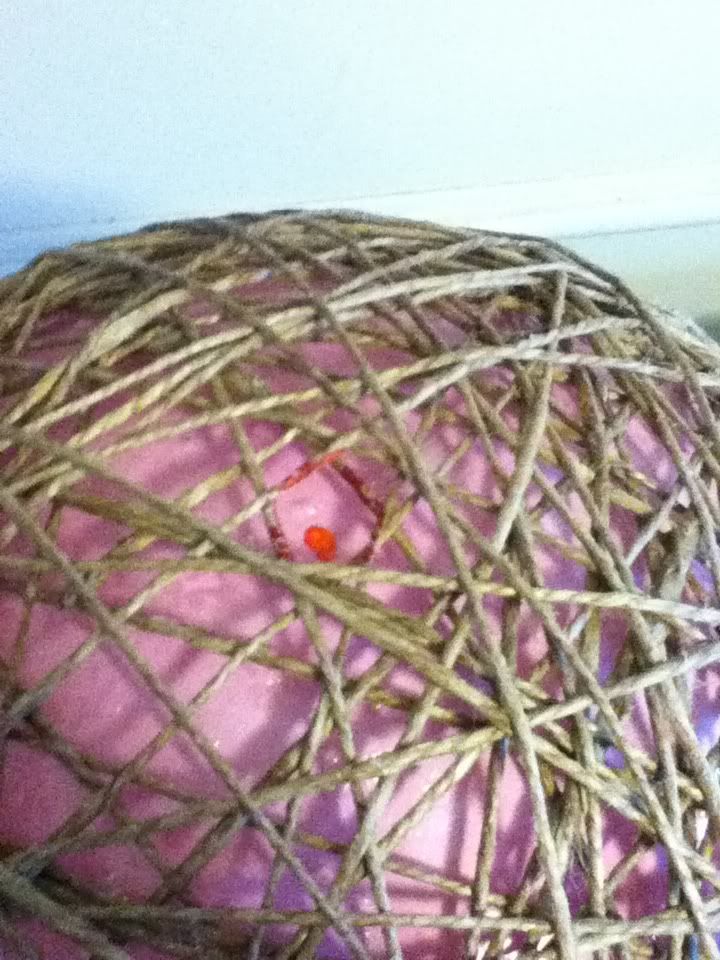
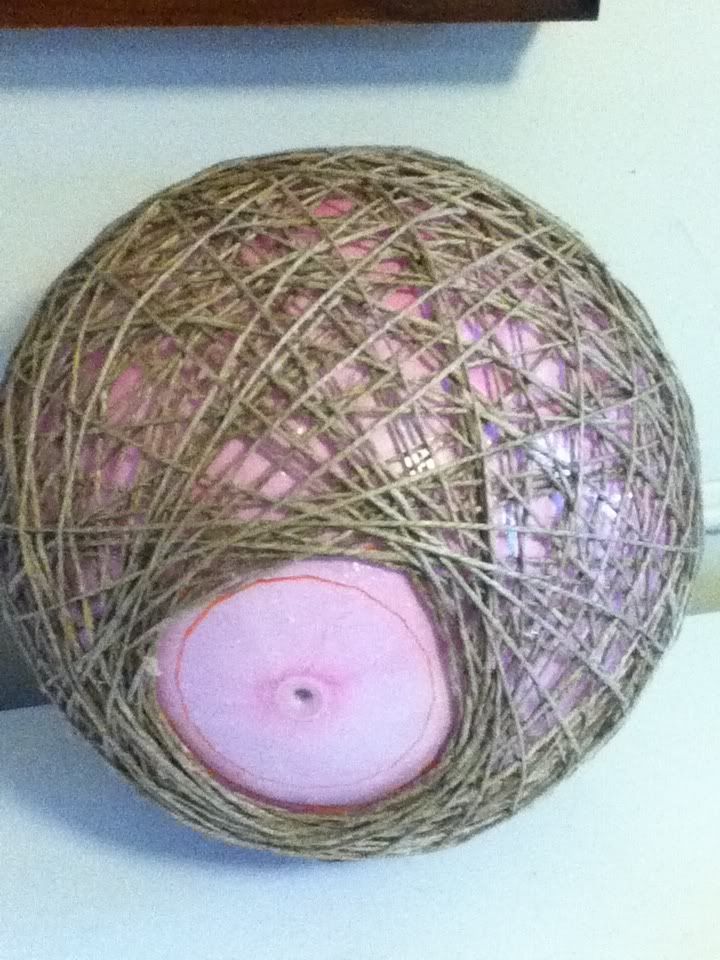
Recognize the photo from last blog entry?  That's because it's the same.  Ha.  Anyway, I let it dry overnight. This is because I didn't buy enough twine and I had to go back to the store for more, but I would do this again because it made an awesome framework to continue on.  It takes about 30-45 minutes to wrap 75 yards of string around this ball.  So it was nice to have a little break too.  Once the glue is dry, you can push in on the ball and the glue doesn't stick to it.  It makes this awesome little crackling sound as the twine and ball separate.  It is really cool.  I can't explain it very well, but it was very satisfying.  Anyway, then you put the other 75 yards around it and it looks like this:

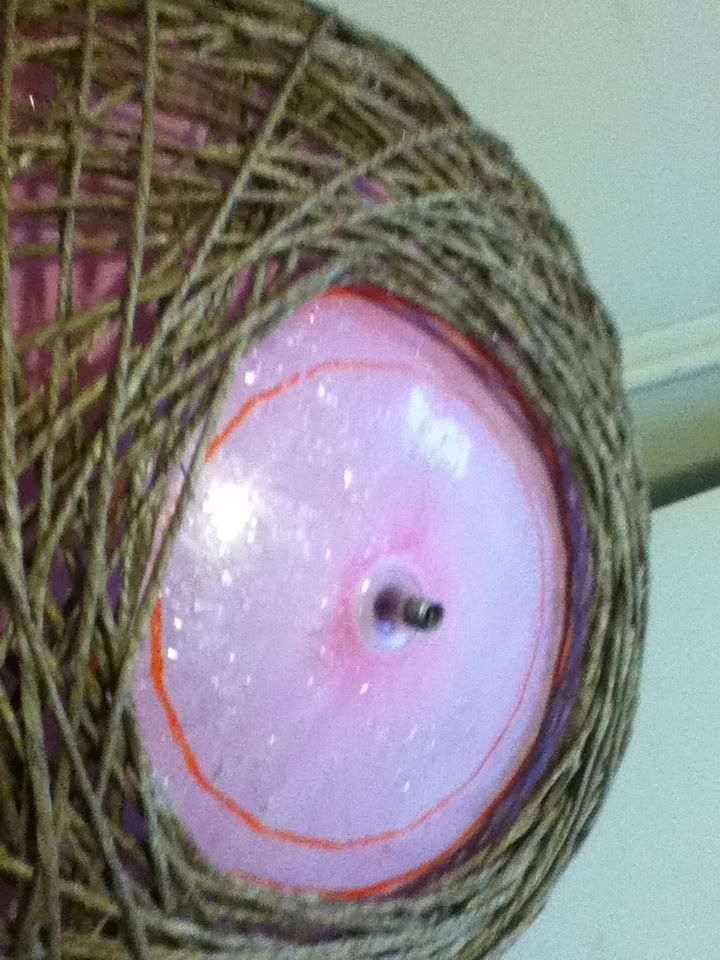
I took this picture after starting to deflate it, but you get the general idea.  After about 6 hours drying, I felt comfortable enough to start to deflate the ball.  Insert the basketball needle into the valve like so

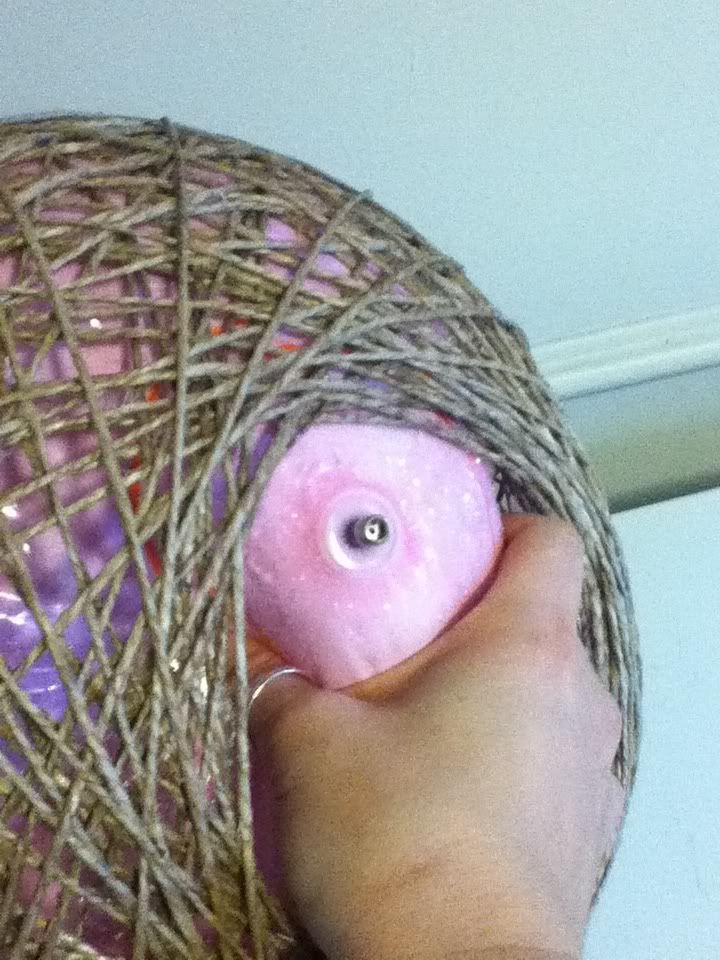
and let it drain.  After a while you need to start squeezing the air out

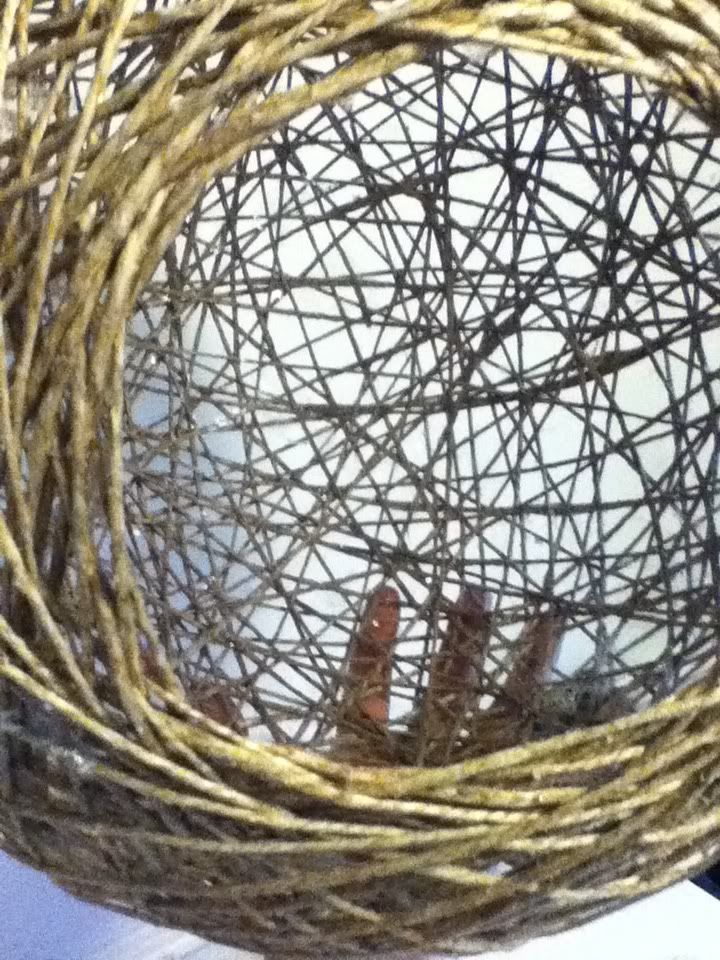
Then you can pull the ball out entirely and it looks like this!

The bottle lamp fixture comes with instructions that aren't great for this application.  Since this will be hanging, I put the cord through the top of the lamp which I marked like this:

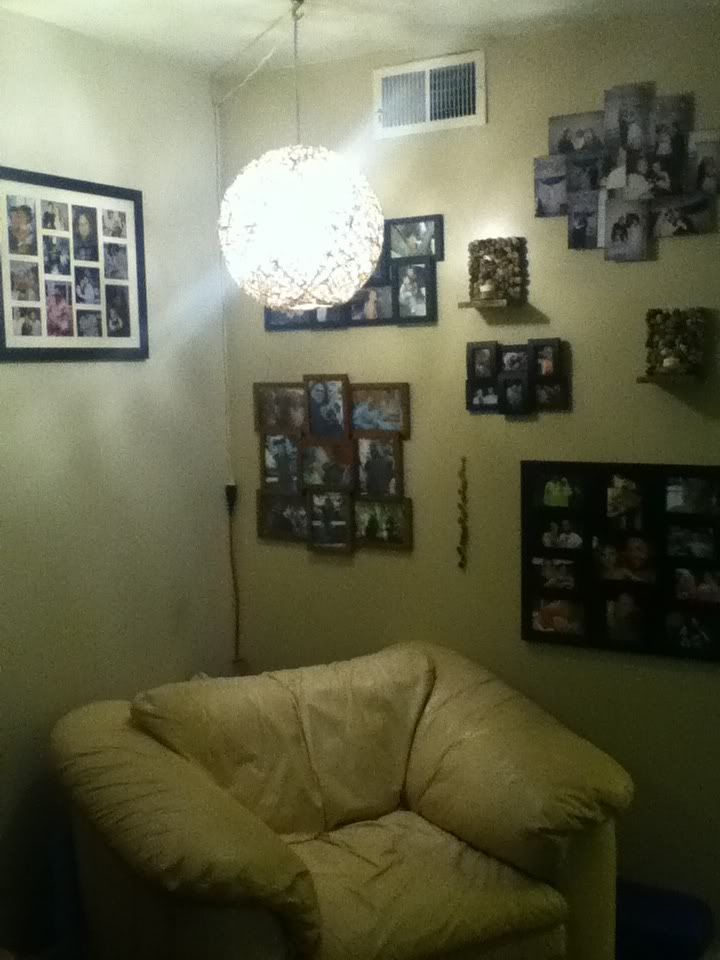
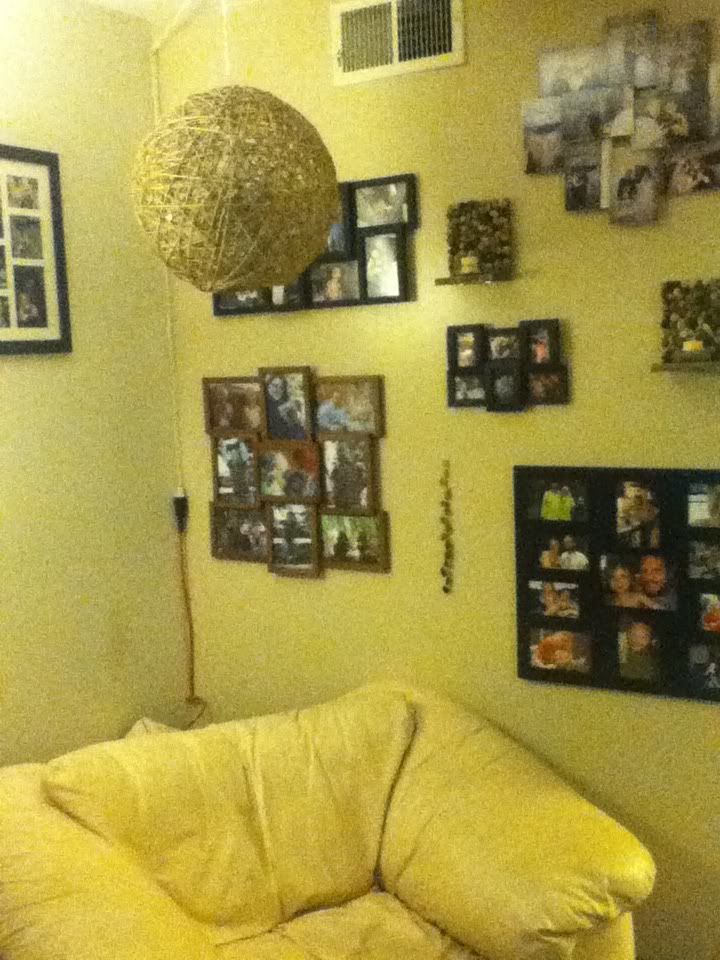
when I was wrapping the ball still.  Then I assembled the socket, using the large washer part as a stopper on the inside of the pendant shade.  Plop in a lightbulb!  Then hang from the ceiling by the hook and loop the cord around once.  That will be strong enough to hold it.  My cord situation still needs work.  I'm thinking of wrapping the cord in hemp like a necklace or something, and securing it more up towards the ceiling before going down the corner.  Suggestions are welcome!

Tiny little craft

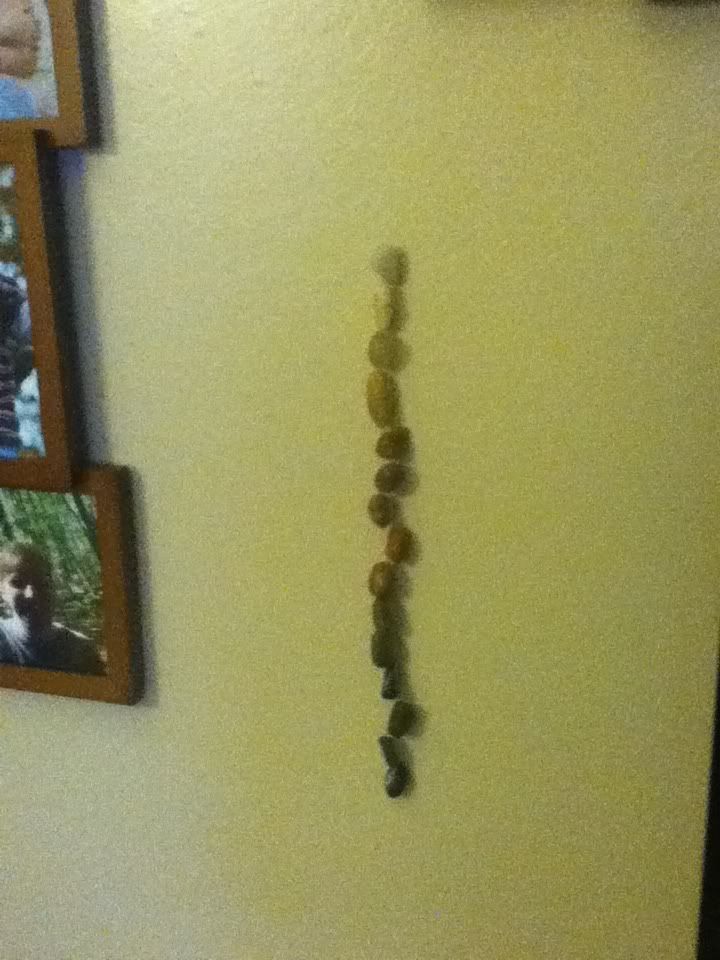
I don't know that you'd even consider this a "real" craft, but I had a little spot open on the wall in-between some picture frames.  I had leftover stones from the candle sconce project, so I took a string and hot glued on 15 stones in graduated colors, then put a screw in the wall, tied the string on, and hot glued the top rock to the screw to cover it.  Here it is:

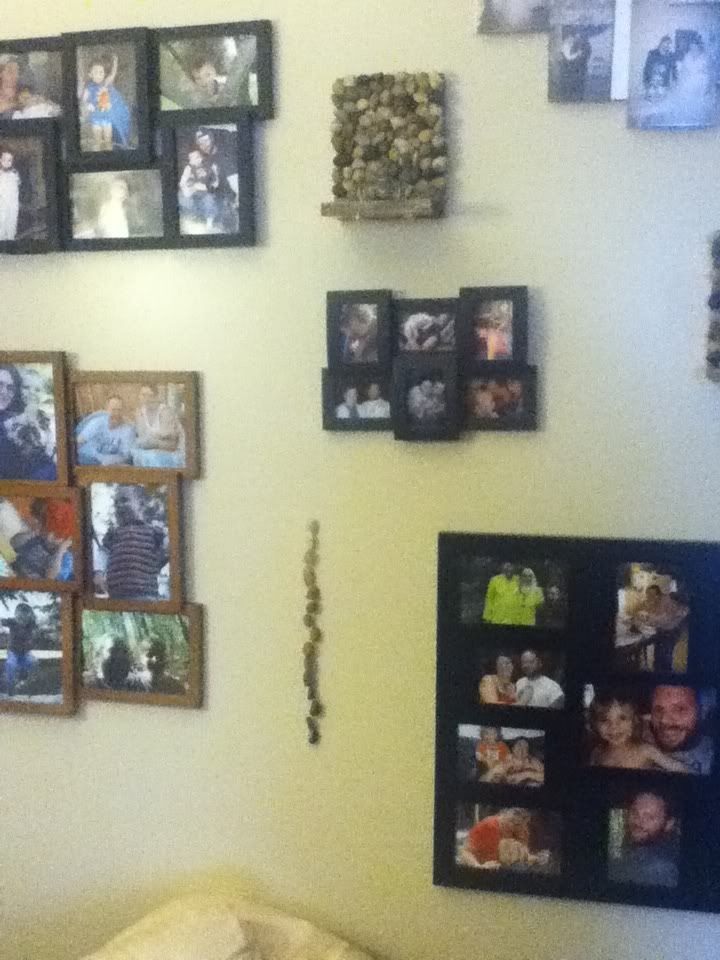
Stinkie loves to mess with it.  Weirdo.  Here's how it looks on my wall:
My husband has a thing for those photo collage frames.  See my candle sconce up there?  My little heart flutters every time I see them.
I finished another little scrapbook paper wreath for the upstairs bathroom and put it up.  Now there are two!  I am going to wait until I get that wall where I want it, then make a post for that.
I am also working on a hemp pendant lamp for hanging above my huge comfy chair in my living room.  I need to go out and get the rest of the stuff for it today.  Here's a teaser:
Long Days and Pleasant Nights, Everyone!