First, you get a great big pink bouncy ball (I guess blue would work but pink gives it a little something), about 150 yards of thickish hemp twine (the tutorial calls for 400 yards for the ball I did, but I skimped and it was fine), 2 bottles of Aleene's Tacky glue (I liked the white stuff better than the clear stuff because I could see it going on), a bottle lamp kit (these are cheaper at Walmart in the hardware section than at Lowe's by about $4), a hook for the ceiling (Walmart sells these cool self-holding hooks but you could use any ol' hook and anchor system), a permanent marker (mine was red!), a garbage bag or plastic Food Lion bags, and an extension cord, and a basketball pump needle. Total cost: $22 without the light bulb, marker, bags, needle, and extension cord. These babies sell for $80 so it's a steal!
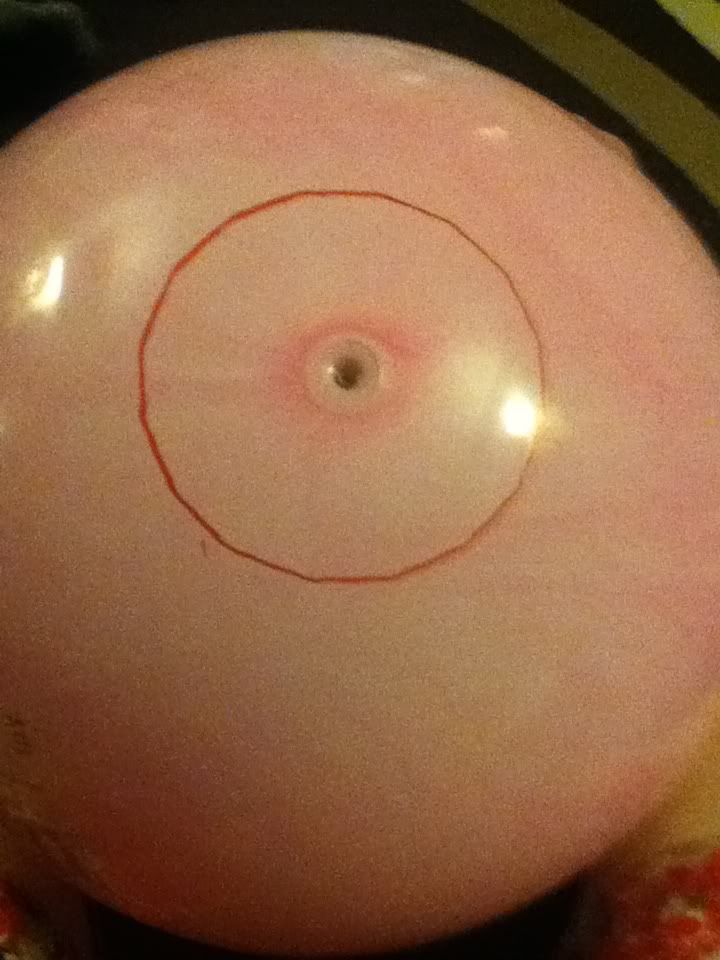
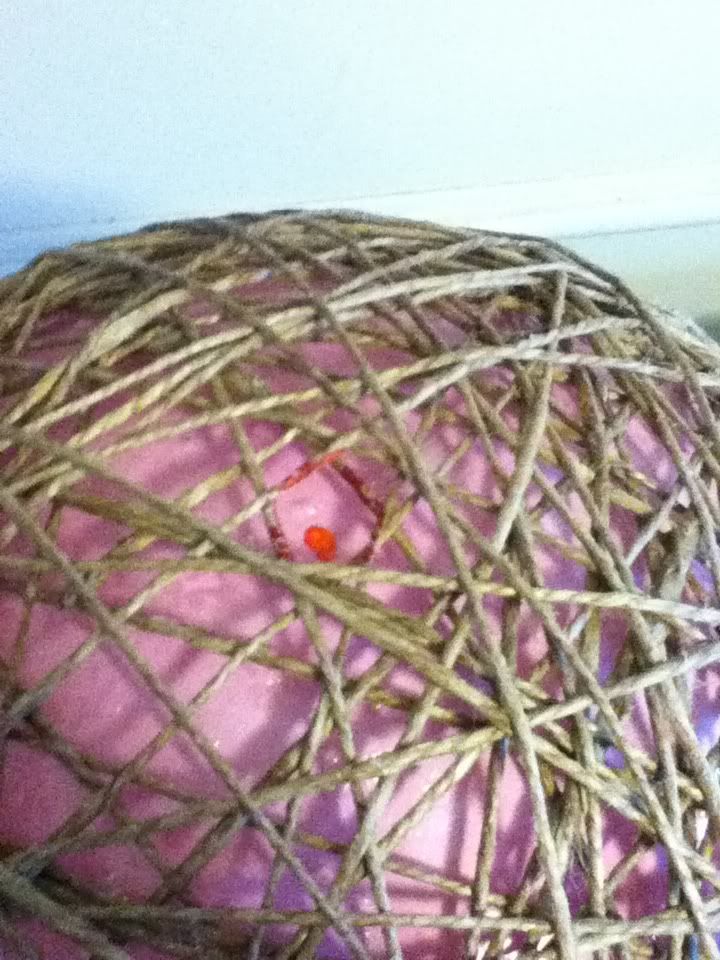
Mark a circle with something circular using the marker. Center it on the valve. I used a tupperware type lid. Make sure it's big enough to comfortably reach your hand in.
Get ready to get really messy. Put a dime sized amount of glue onto your fingers and pull the hemp string through your fingers, coating it really well with glue. Start winding the string all around the ball, keeping the string out of the circular area. This is really a zen effort. You get into the flow after a while. I was really messy at this point so there's no pictures. Anyway, after one 75 yard ball of twine, it looked like this:
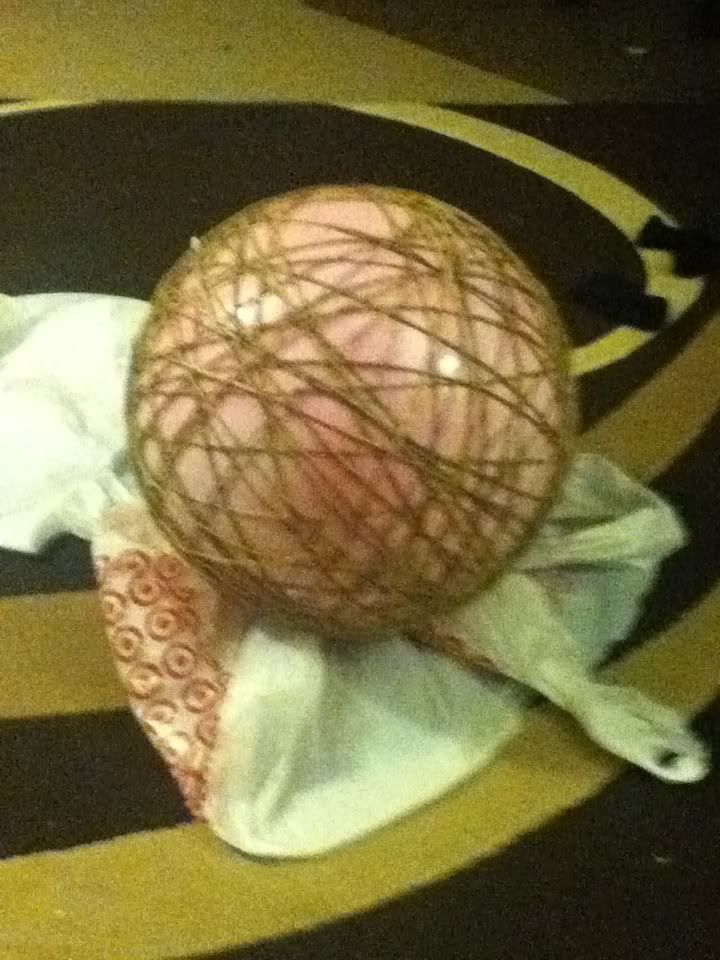
Recognize the photo from last blog entry? That's because it's the same. Ha. Anyway, I let it dry overnight. This is because I didn't buy enough twine and I had to go back to the store for more, but I would do this again because it made an awesome framework to continue on. It takes about 30-45 minutes to wrap 75 yards of string around this ball. So it was nice to have a little break too. Once the glue is dry, you can push in on the ball and the glue doesn't stick to it. It makes this awesome little crackling sound as the twine and ball separate. It is really cool. I can't explain it very well, but it was very satisfying. Anyway, then you put the other 75 yards around it and it looks like this:
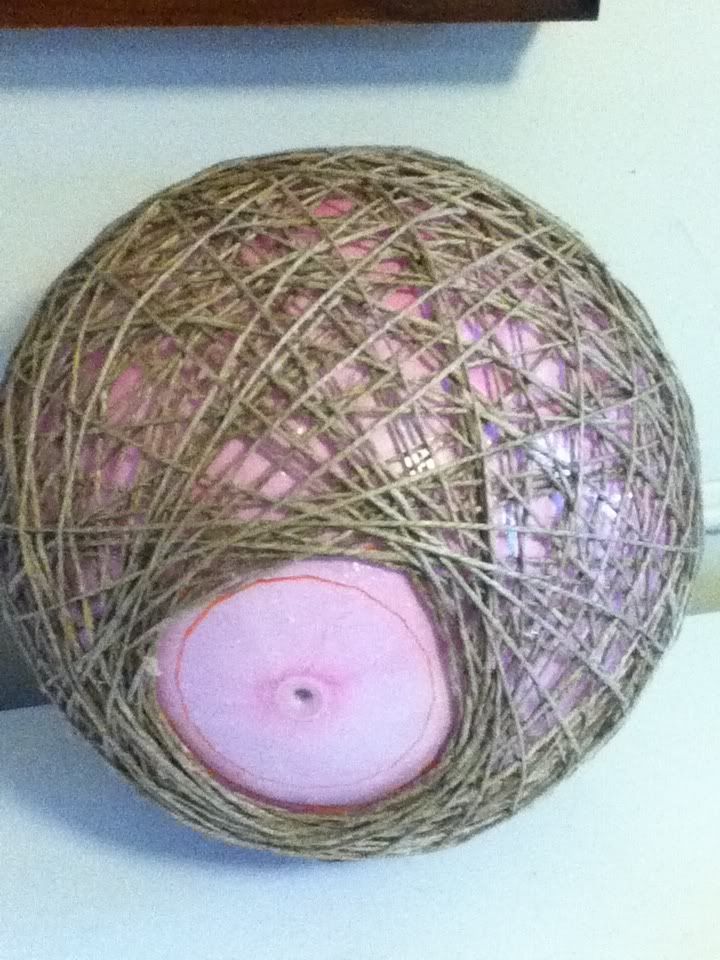
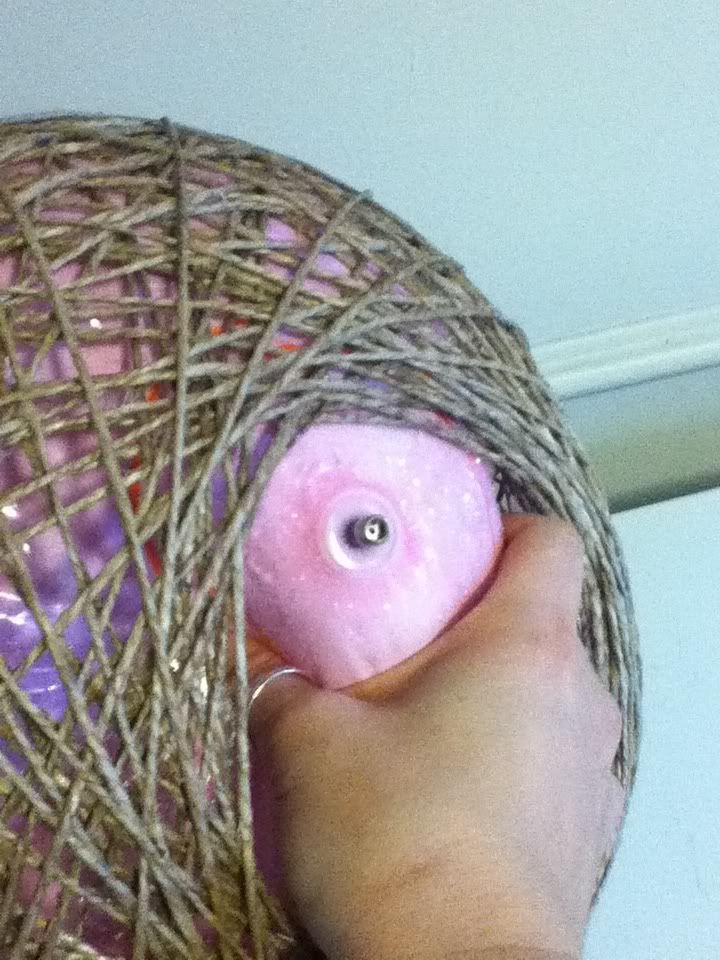
I took this picture after starting to deflate it, but you get the general idea. After about 6 hours drying, I felt comfortable enough to start to deflate the ball. Insert the basketball needle into the valve like so
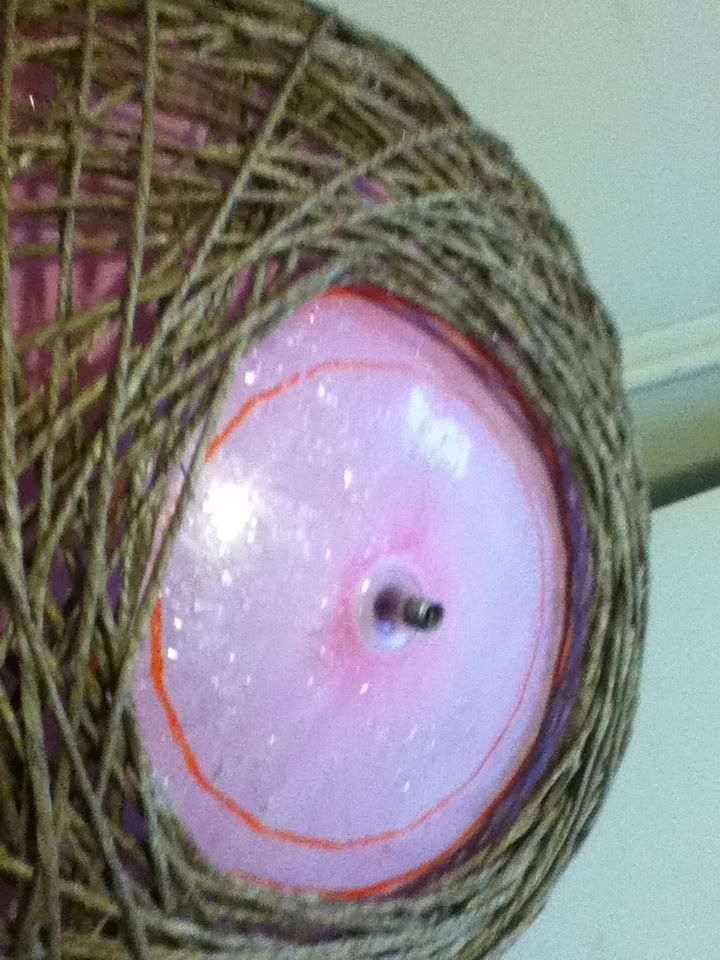
and let it drain. After a while you need to start squeezing the air out
Then you can pull the ball out entirely and it looks like this!

The bottle lamp fixture comes with instructions that aren't great for this application. Since this will be hanging, I put the cord through the top of the lamp which I marked like this:
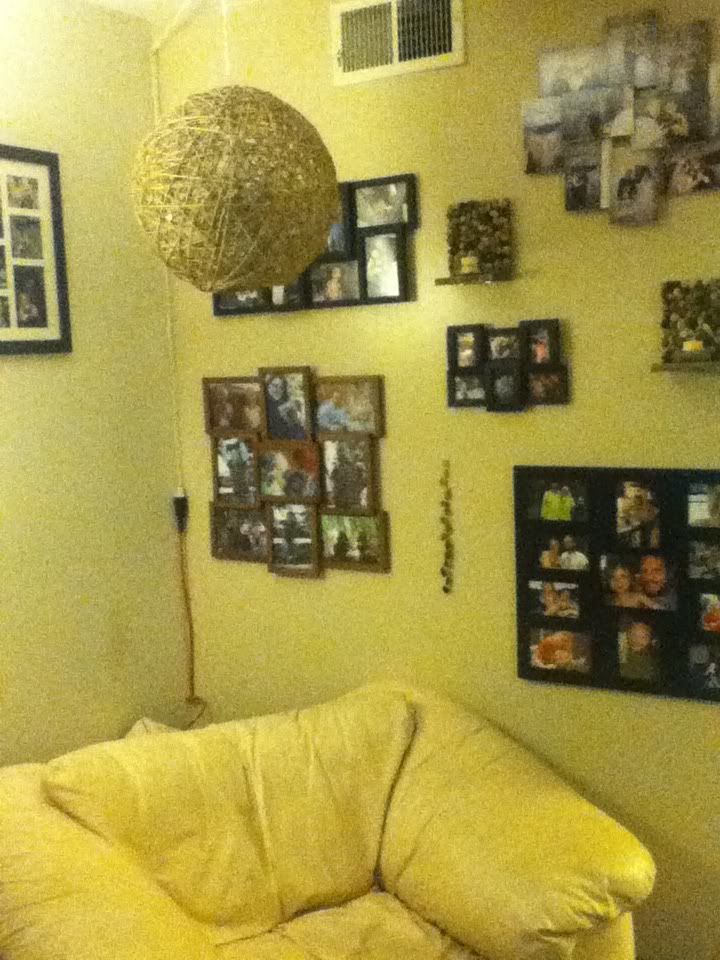
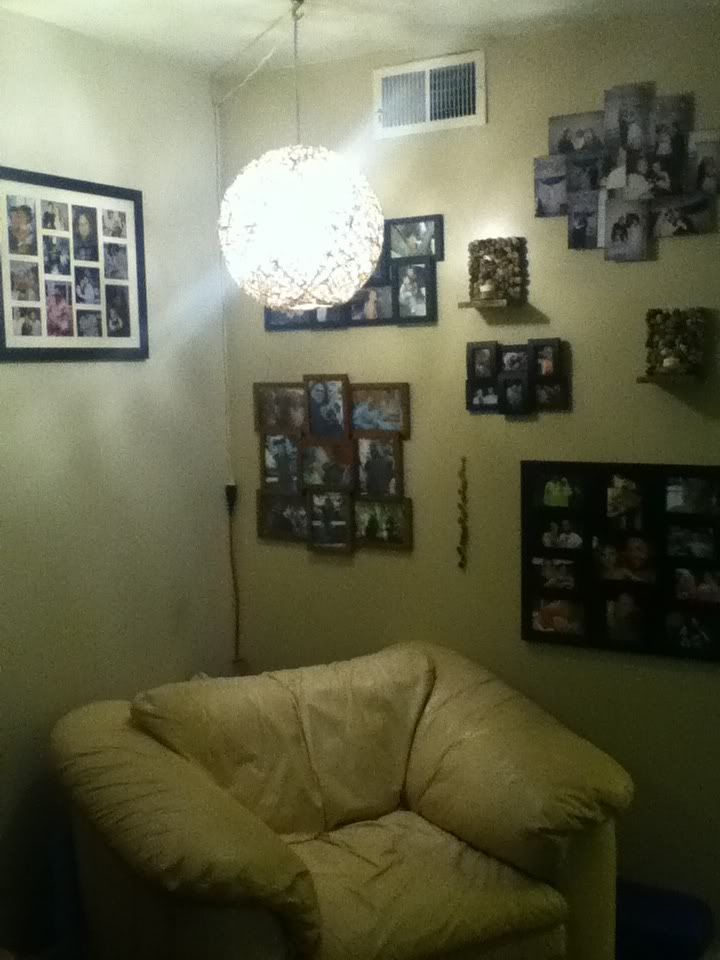
when I was wrapping the ball still. Then I assembled the socket, using the large washer part as a stopper on the inside of the pendant shade. Plop in a lightbulb! Then hang from the ceiling by the hook and loop the cord around once. That will be strong enough to hold it. My cord situation still needs work. I'm thinking of wrapping the cord in hemp like a necklace or something, and securing it more up towards the ceiling before going down the corner. Suggestions are welcome!